 3:45
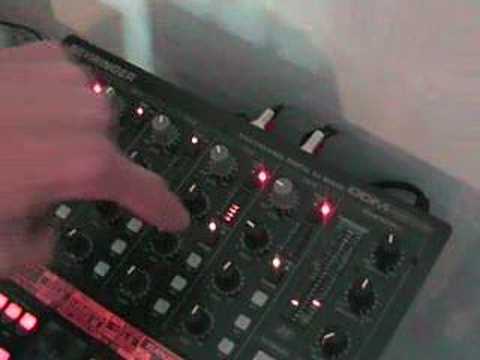
Behringer DDM400, A look at the EQ cut and gain control
Contents of the video
0:00 Mode, P1, P
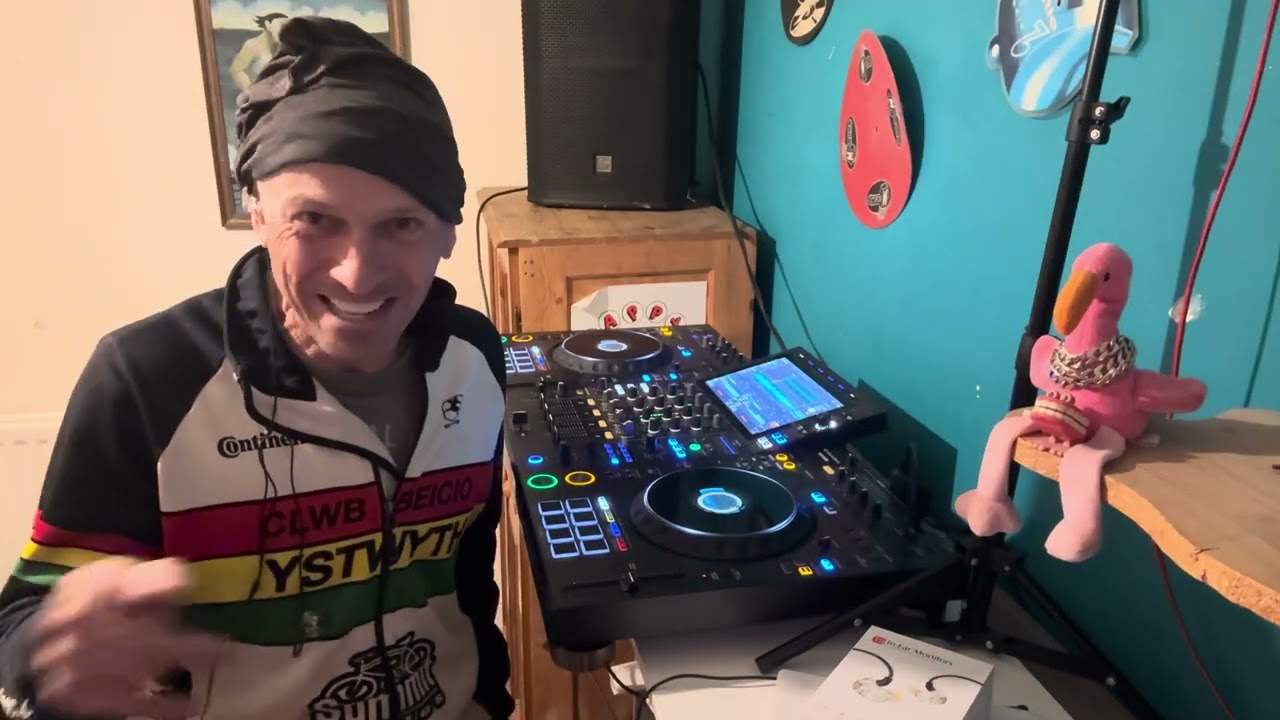
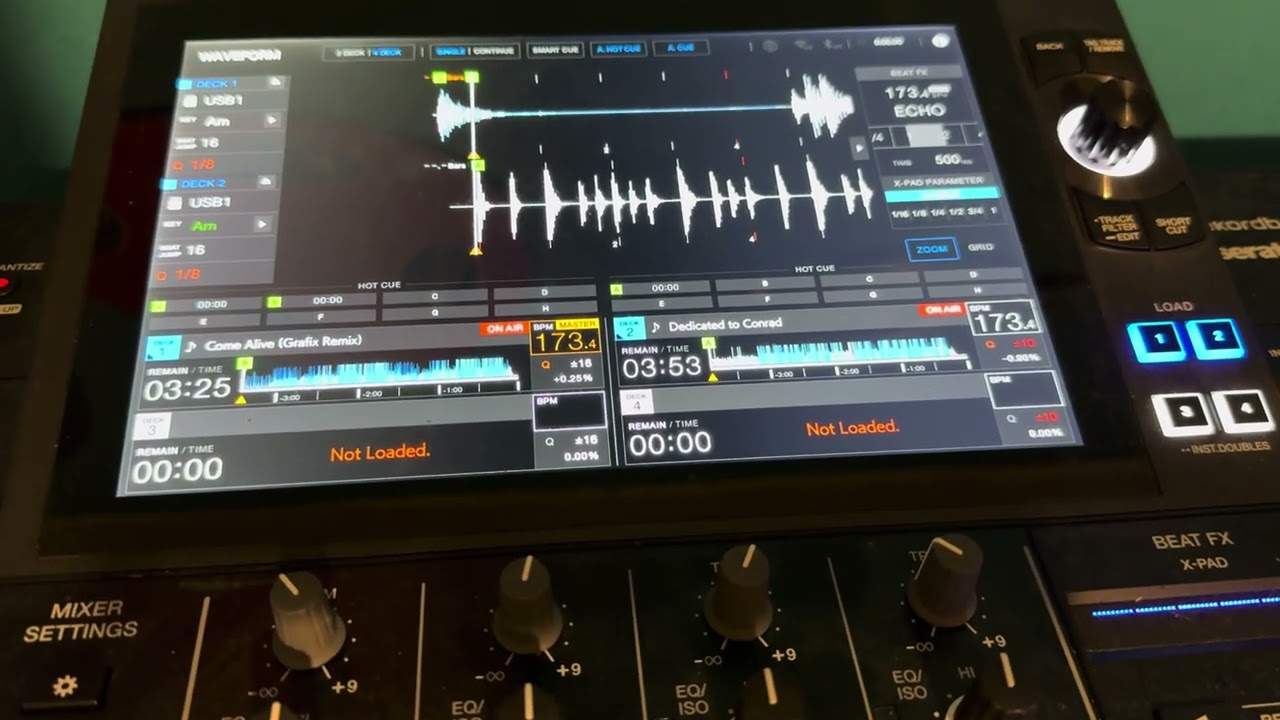
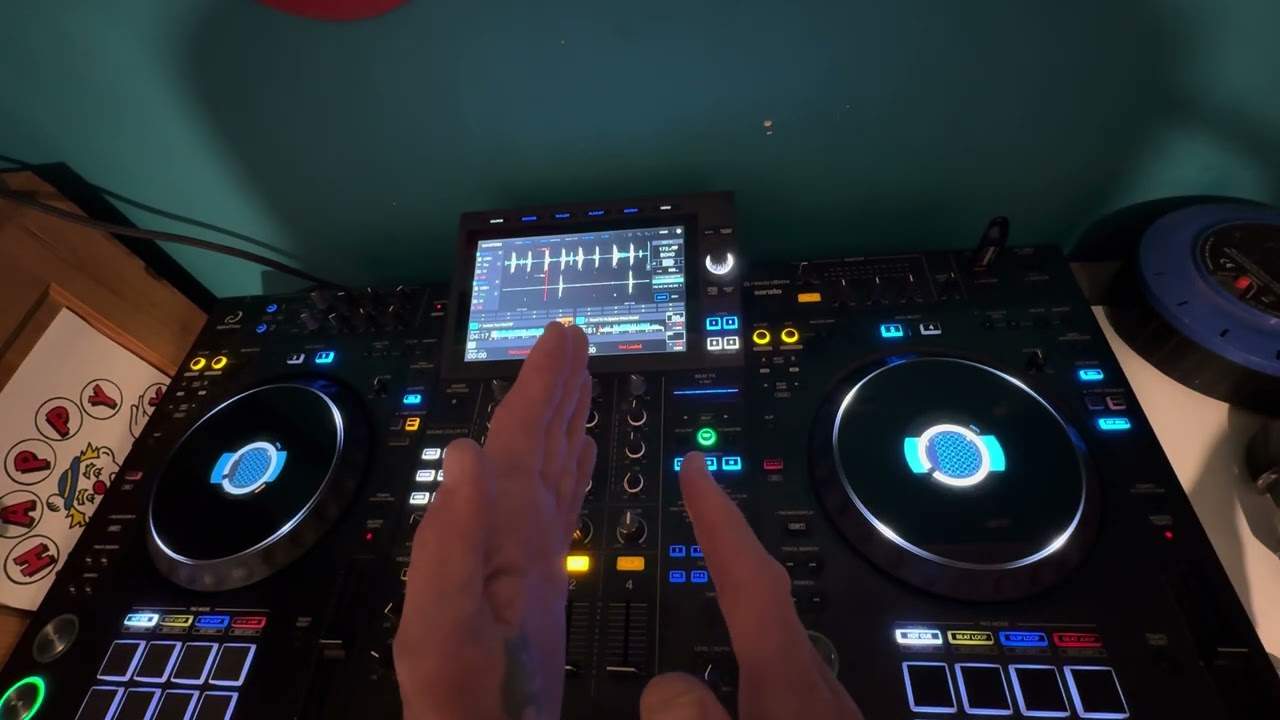
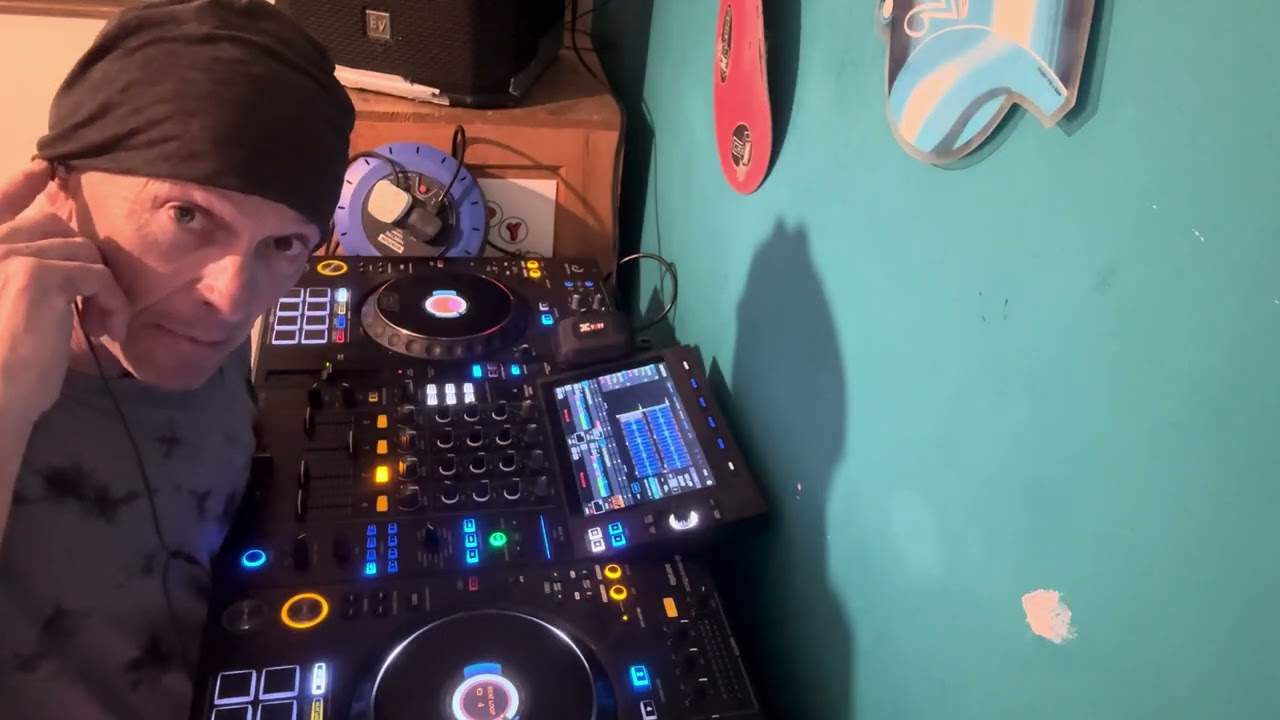
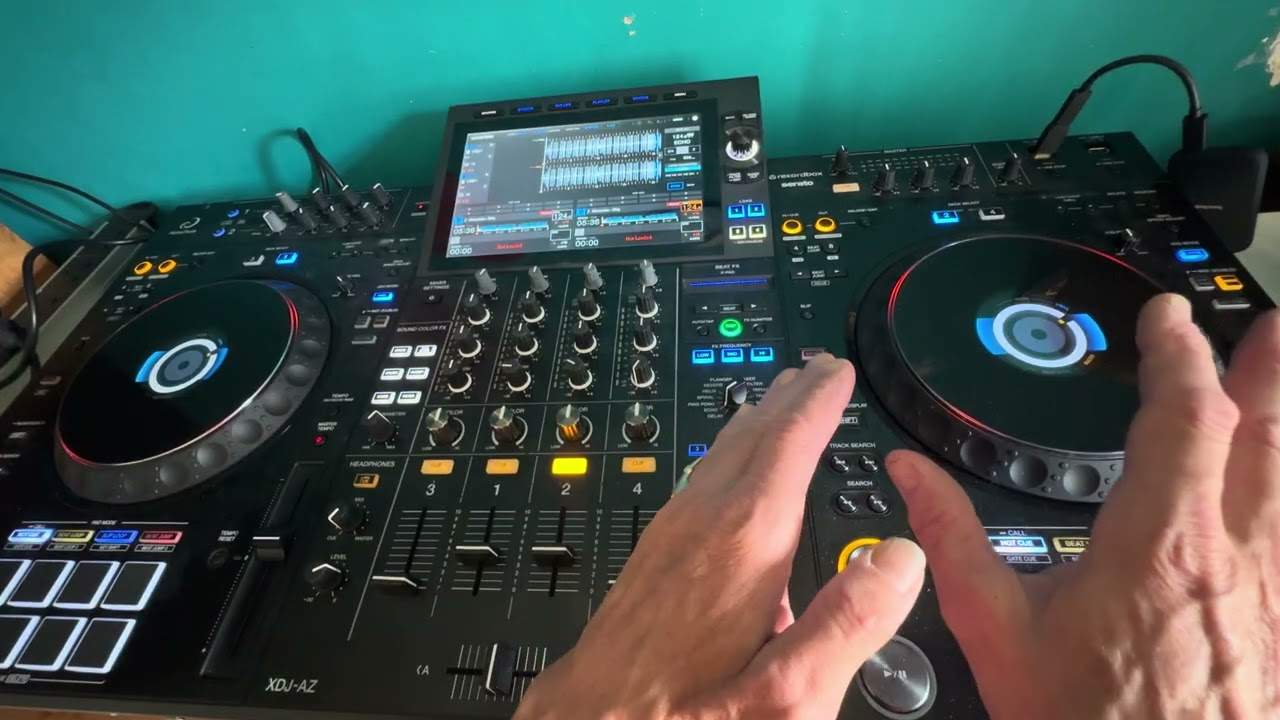
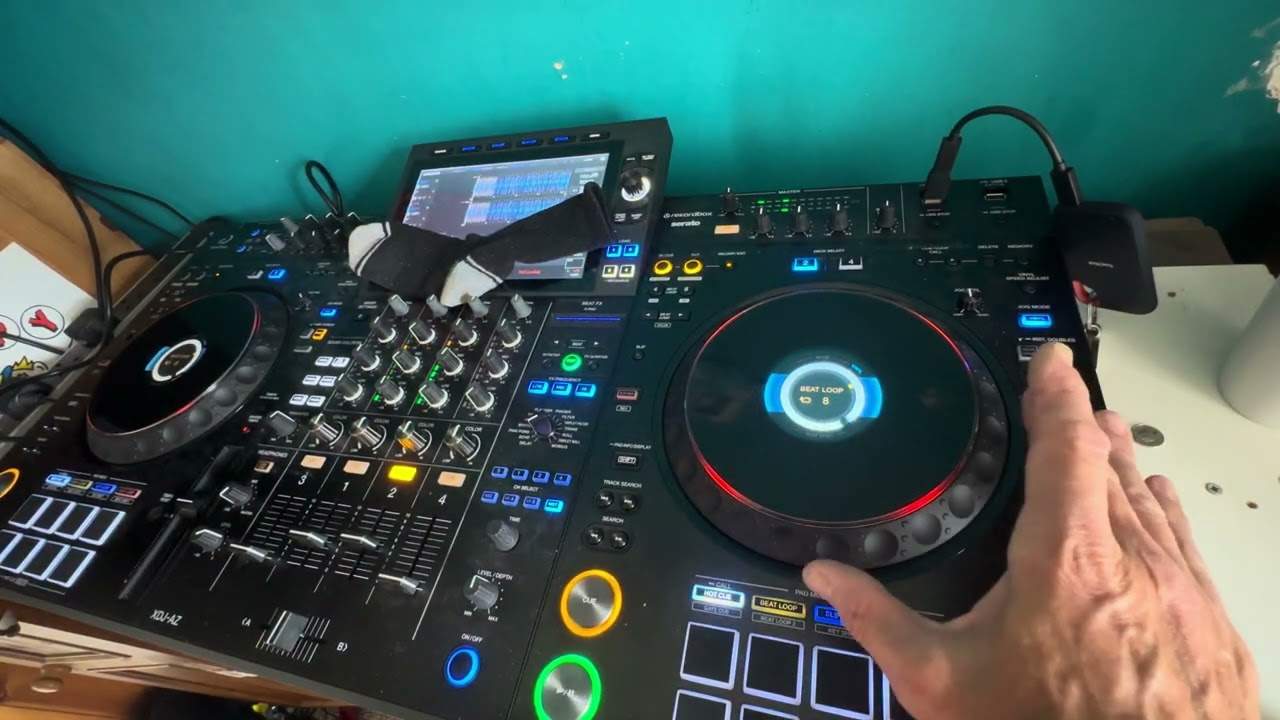
Alright folks, another demonstration stroke tutorial for you on this guy here. It's from a company called Behringer, sometimes known as Behringer, and it's the professional digital DJ mixer. It's the DDM-4000. In this video we're going to look mainly at the gain control, the high, mid and low. These three are sometimes known as top, mid and bass as well. We're also going to look at the mode, P1, P2, P3 buttons. Just to let you know as well... The volume control, or the slider, is set up to maximum on channel 3. That's all we're going to be looking at. Also, the master output here. What I'm going to do, I'm going to play the track first of all, just so you know, the track I'm going to be using is Nickelback, a track entitled Rockstar, and bearing in mind the gain is set to zero, the output is set to zero, so let's play the music. We haven't got anything. What I'm going to do now is increase the gain control, and you should notice, you should start to see the LEDs lighting up.
0:53 Press happened, treble bass, happened taken
What we need is, we need the LEDs to come into the zero position which is 0 dB. You don't want them to go into the red. So there we go. We can see now they're in at 0 dB. What I'm going to do now is start to increase the output here and we should start to see the LEDs light up here as well. OK exactly the same here, we want to bring it down So we're not tapping in the red. Now I know that I can increase the volume on my amplifier as much as I want, bearing in mind of course I want to make sure the speakers can handle that power and I'll know I'll get a proper good audio sound with no distortion. Now we're going to look at this guy here, mode P1, P2, P3. Just going to bring the volume down a tiny bit.
2:21 We're only left with bass
You can see there we've got a light shining in the amber. What I'm going to do, I'm going to press P1. What's happened there now is we've only got treble. The mid and the bass has been taken away. Press it again, press P2. What's happened now is we've only got mid and it's taken away the treble and the bass. Press that again, press P3. Now what's happened is it's taken away the treble. We're only left with bass. Press it again. Now I'm going to press mode. We've got the blue light shining now. Press P1. What's happened now, it's taken away all the treble. Press P1, treble's back in. Press P2, it's taken away the mid and left us just with treble and bass. Press it again, back in. Press P3, it's taken away the bass and we're just left with mid and top. Press it again. What we can do as well though, when we've got the blue light shining, we can either have just mid, just bass, we can even just have mid by itself or take the mid away or take the treble and the mid away.
Or take them all away. So in other words, these three will be complete cut-offs so we can cut off maybe one frequency, maybe the three altogether or maybe two and we can alternate in between any frequencies, the high, mid and low. Good for a small effect in the mix. Alright, another insight into this guy here, the DDM 4000 to practice and enjoy.
This transcript was produced automatically from the audio of the video and may contain mistakes.