 7:13
Citronic MP-X10 USB , Video 2
Contents of the video
0:00 USB functionality and also the construction
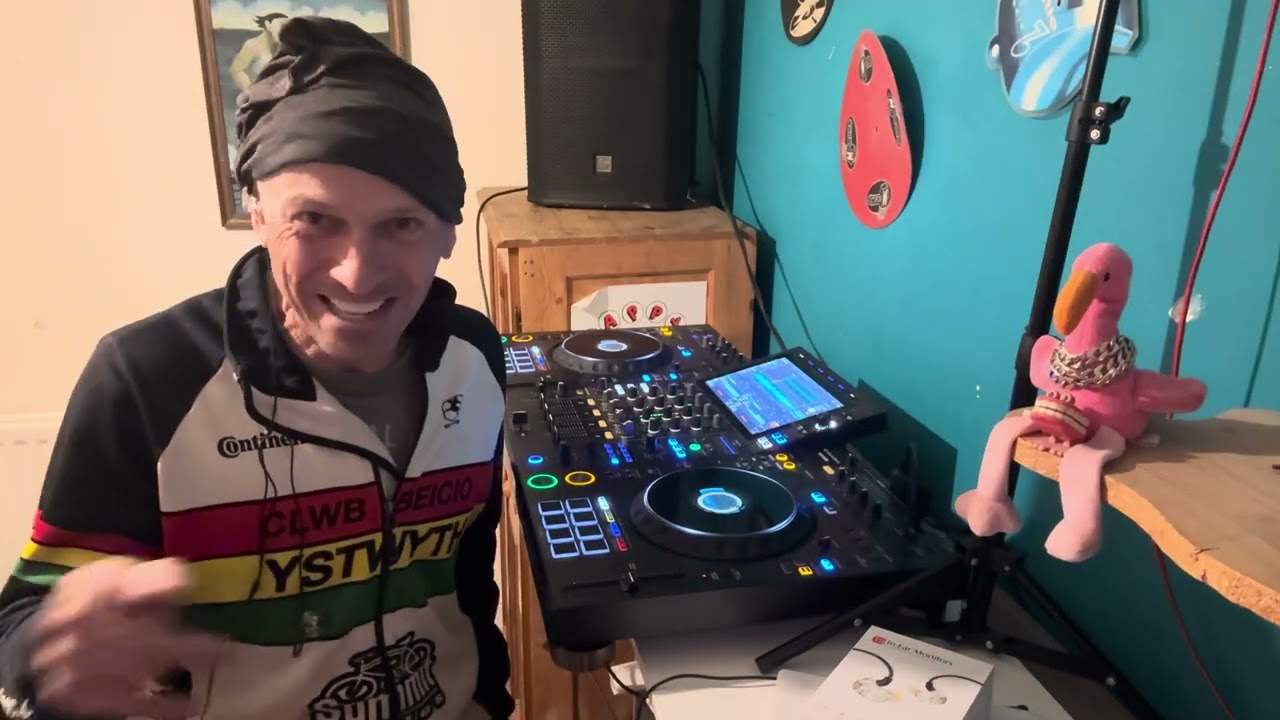
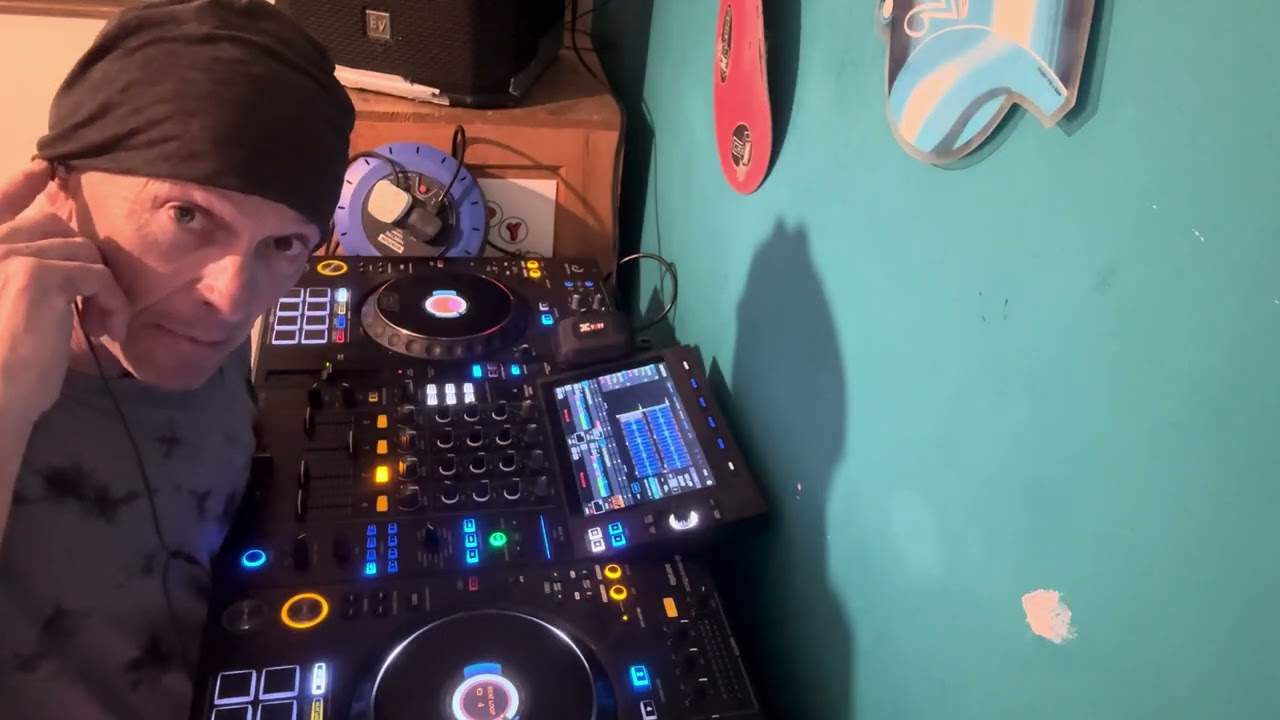
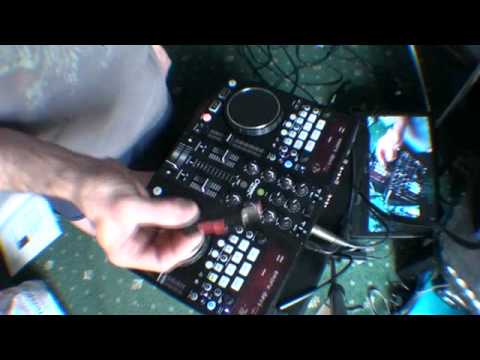
Alright guys, video number two on this piece of kit from Citronic. It's known as the MPX10. In this video we're going to look at the USB functionality and also the construction of the unit. You can see my monitor down there, that's so I can see what I'm doing. Right, first of all, construction. Plastic and metal. Very good metal chassis underneath there, so it's not going to start falling apart or wobbling at the seams. The layout is very good as well. Very straightforward, mixer and your two players. Now bearing in mind as well in video one I did mention about the usage and how you can use this so what I'm going to do is I've got a wide angle lens on as well so if you can't see correctly do apologise but I will point and explain. Power in, that's your switch.
On off, USB 2, USB 1 is on the top of the unit. USB MIDI, so that goes directly to your PC for the PC program, comes with VirtualDJ. Balanced out, so again I must stress if you're going to use this on the road and your amplifiers are a distance away, it's always a good idea to use balanced out. In other words, full stop, if you're a mobile DJ then use balanced out. Unbalanced, master out and booth control. So again, booth control is for your monitors. Channel 2, channel 1 switches on both of these guys and that will enable you to use external CD players or external vinyl turntables. These guys here are for the earth cables on your vinyl turntables. Very quickly, small point but very relevant, might help one person out there in 10 years time. If let's say one of these falls off...
Don't panic because you can put two earth cables on the same one. This guy here is for microphone 2 and you can see you can use an XLR, sometimes known as a Canon. Also you can put a jack input there as well. Right, top of the player we have gain, high, mid, low, master meter, we have relay, we have booth control, relay. Great little feature. Let's say, for example, you're at the beginning of the gig and you've got half an hour to burn because no one's there. Press relay and then the track will just flop from one side to the other. So you'll have track 1, track 1, track 2, track 2, track 3, track 3, track 4, track 7, track 18. Just kidding about that, 18 and 7. Right, volume controls, pitch controls. You know, it feels good. It doesn't feel as though it's going to fall apart. There's quite a bit of sturdiness with the jog wheels.
2:37 Fader start on or off
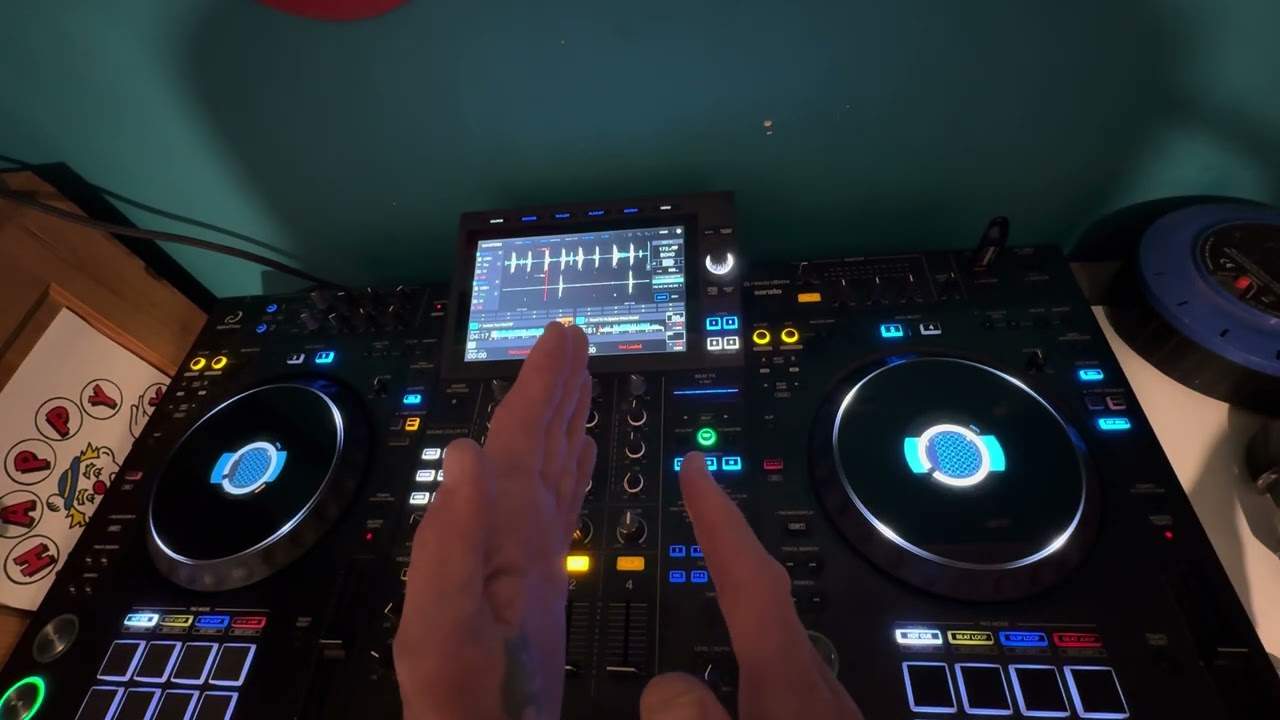
Which is what we want. A couple of players you do tend to feel as though they're going to start, you know, not necessarily falling apart after six months but there's no movement there so I like that. Right, curve so we can go from a flat curve through to a bit of a mix. Through to, let's say, a good transition. And again you can see small little figures just above the CF curve. Very difficult for you to see but I will explain as I, well I'm actually explaining anyway. Fader start on or off. So I did say that I believe in video one. So let's say for example you're over this side and fader start is on. You don't have to press play. As soon as you flick over, that track will start. Cue, cue there as well, cue play, sorry, cue.
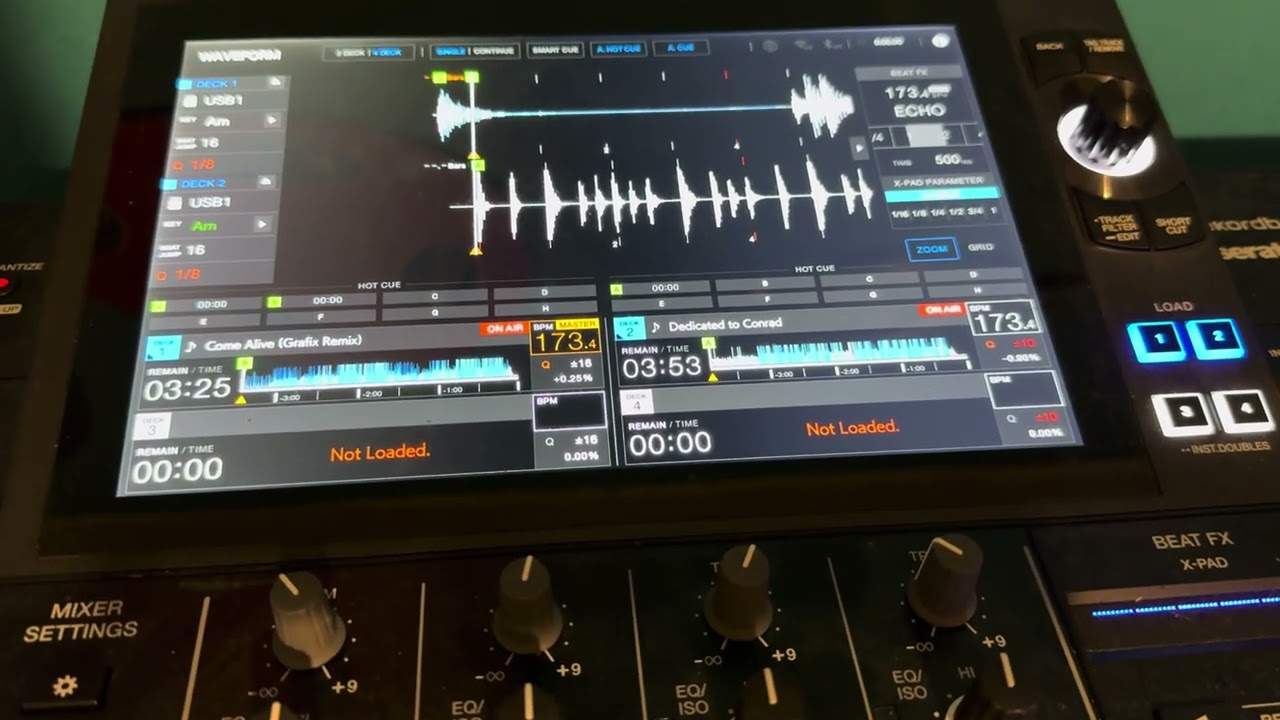
Play, pause and tap there for auto BPM. Pitch bend, plus or minus pitch control here. Key lock, very quickly, good feature. We can do plus or minus 6, 10, 16 or we can go wide. So in other words, wide is down to the track virtually stopping 100% or increasing in speed by 100%. Okay, so I have not got the data management on this guy here. What you can do with the software that comes with the unit You can set it so all of your files are tagged correctly, they're in the right folders, etc, etc. So probably deal with that in a future video. I'm going to put that in there and it's got connecting, reading and good to go. Press play. There you go, we've got a Danny Bird tune on at the moment. Right, I'll take it off wide. Right, CD DJ mode, speed up, slow down. So we have a touch sensitive jog wheel on the top.
4:49 A professional scratch turntablist
Vinyl. Now I'll be honest with you, if you're a scratch turntablist, possibly not for you because there is a slight sort of digital sound here and if you want perfect movement backwards and forwards then you're probably not going to get it with this. I don't think it's my PC or anything like that or the music but at the end of the day if you are... A professional scratch turntablist. You have to remember you can attach vinyl turntables into this so you can do proper scratching with vinyl turntables. Alternatively, if you have very good quality CD players then you can do that so you don't have to rely just on this unit. So that's in vinyl mode. We have auto cue here. We have some effects. We have echo flanger. We've got parameter there so we can hold the effect, filter and break.
We have these banks here so we can have some cue points and we go in, out. That's pretty responsive. Bring this down, meter there. So at the moment now you can see the LEDs flashing on the right hand side tells me the level of the right hand side. Alternatively hit master and we get the LEDs on both sides telling me what the master output is. Also very quickly here a bit of a tip for you'll notice gain controls. A lot of people think the gain controls are the volumes. You need to work on this principle. Let's say, for example, you have recorded files at different levels. One file could be slightly higher than the other. So what you need to do is set your gain control on this side. If I just flick there, you can see... I'm just going to turn it down on the speaker so I don't blast people. Right. What I'm doing now, I've got the volume up there, set the gain. And you need to set the gain so it's at zero.
The recording level is very low on this particular USB. I need to set this so the LEDs are just hitting in at 0 dB. Now it could be that another file I've done, the recording level could be slightly higher or lower. So what I can do, then I can use the other gain on the other side to set it at the same level. So I know when I go all the way up like so... Both levels will be coming at the same sound or the same frequency, etc. Right, video number two on this guy from Citronic, MPX10. Practice and enjoy. Thank you.
This transcript was produced automatically from the audio of the video and may contain mistakes.