 17:18
How the Formula Sound FF2.2L LPF and HPF Filter Sound with Vinyl
Contents of the video
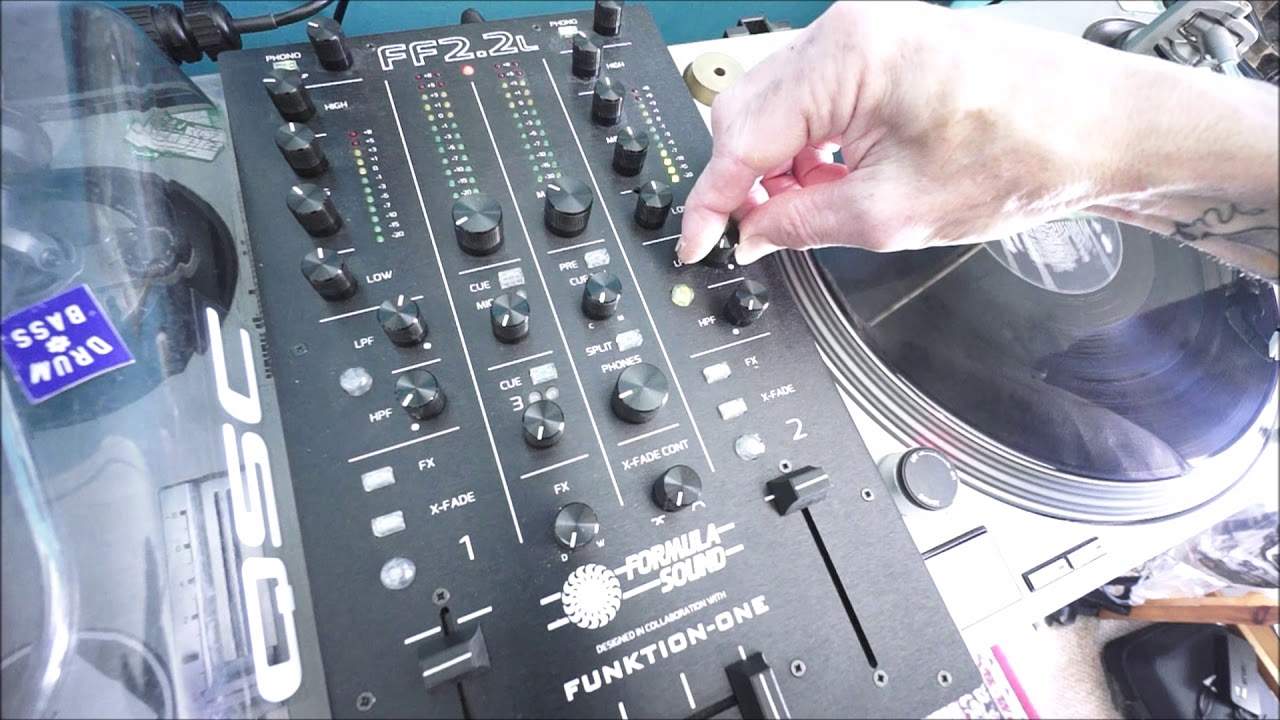
0:01 You've got in front of you the Formula Sound FF 2.2L
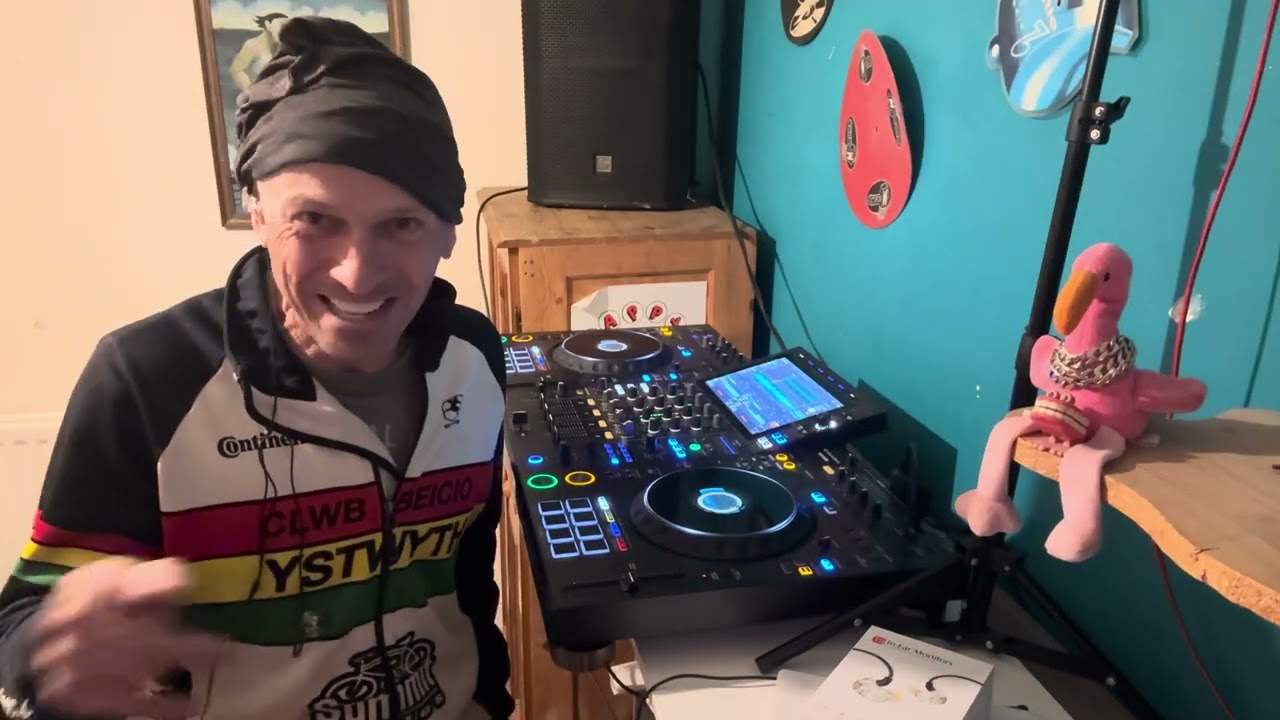
Alright, you've got in front of you the Formula Sound FF 2.2L. This has been designed in collaboration with Function One, a great speaker manufacturer and believe me, they are not, I repeat, not at all under any circumstance going to put their name behind any product unless they know how good it is. Two channel mixer here, on the right hand side we have Technics SL1200M2. 12-inch, size 9, I'm ready. OK, so I'll be only using a tiny bit of this audio, just in case I don't want to get any copyright crap. Anyway, first of all, humble pie being eaten here by myself, Jonathan Ellaskins, The DJ Tutor. A while ago I posted a video telling people to be wary or not buy, or just watch if you buy a Technics SL1200M2 because they don't make the parts anymore.
They do. Now, I'm not saying Technics make them. All I am saying is that you can still get parts. Just buyer be wary. So analogy for you, if you've got a great Audi or a BMW or for that matter any vehicle, it's always a good idea to get the original parts for that vehicle. Be wary about buying cheap and cheerful parts because they might not last as long as the original. But it's highly likely the Technics SL1200M2 turntable. There are companies out there who are manufacturing high-end precision made parts for the Technics SL1200M2, but it's about doing your own research anyway. Back to the mixer. Now this is not a cheat and cheerful mixer. Don't expect to go and run out and buy one of these for a few hundred quid and have change for a McDonald's on the way home. It's not going to happen. This here is a high-end mixer for your hi-fi audio buff. So for that matter, if you're a DJ in your home and you do want to have the warmth and depth of vinyl but at the same time just
2:39 Here you have low, two mids and high
Plug in your CD player at the back, which you can do so, then look no further. Now this looks very simple, but there's a lot more to this than meets the eye. This is an extraordinary mixer. What this mixer will do, it will bring out the colour of the vinyl that you're using. Now generally with most mixers you have low, mid and high. Here you have low, two mids and high. You also have high pass and low pass filters and believe me the sound quality from these pilt...pilters? Oh Jesus Christ! I'm not going to edit that, that's funny. Do you know what I'm going to call them? Pilters now. Do you like my pilter? Low pilter, fast, high pilter. Fat, oh god. Anyway, alright, tune I'm going to be using, only a tiny bit of it is size 9, I'm ready. This is a classic track from 1995. Alright, so let's have a listen with everything set to 12 o'clock. I'm just going to play the beginning a few bars so you get a general idea. Turn the trim up very slightly. That's it, right.
So first of all, again it's very difficult for you to get the true audio sound quality because of course it's being picked up by the microphones in the camera which is then uploaded blah-dee-blah-dee-blah to your laptop and you're listening to something that sounds just as tinny as something from your Bluetooth speaker next to you which is what you're listening through. You get what I mean but what I am hearing here I'm hearing depth and warmth, and you cannot get that with a CD. You definitely can't get it with an MP3. It's just, I'm sorry, if you listen to an MP3, then a piece of vinyl, and you say they're the same, then what I suggest you do is stop watching this video and go watch fluffy puppies or kittens jumping around chasing balls and stuff like that. Or maybe fiddle with your own. Anyway, on the other hand...
If you do appreciate the sound and quality of vinyl then continue watching. All right so as I said we have low, we have two mids and we have high. So let's just turn all of those down to the off position which on any mixer is at seven o'clock. Put the needle on the record once again and let's do the bass first. So straight away we can hear
5:11 We have complete kill
We have complete kill. Now I'm going to rewind the deck just a little bit. I don't want to go into where we start getting the baseline. Let's do the low mid, high mid, now the high. Okay, what I like about the EQ or one of the frequencies I like is actually the mid-high because what you've got, Almost an enhancement of the mid, but it's still adding the high. So what I'm going to do, I'm going to turn down the high completely now and just have the low, low-mid and mid-high. So let's go back to the beginning and start again from the beginning. Now this is with no high at all. But, like a WAV, that's because the sound on a WAV, depending again on the speaker you have, and there's so much more to this, believe me. I mean, I am no audio buff by far. But what you've got, you've still got that nice mid, you've got the mid-high, but of course you haven't got that clarity, that really nice smooth crystal shining high end.
7:30 At a time or we can use both
We can hear a hell of a difference and this is where this mixer seems to just start to bring out the fun. Okay, so I'm going to slowly turn the high up. There, now again, I can hear a difference but it's probably difficult for you. What I'm going to do now is look at the low pass and high pass filter. Now we can use one... At a time or we can use both. And because we have a button here which is highlighted with a green LED, at any time we can engage or disengage that so we can set the low and high pass and engage, disengage and get the high and or low snapped in at that position. So there. Okay, let's just now have a listen to...
Then the upper mid, sorry, the lower mid, then the upper mid and I'm left pretty much with the high. So the movement of just one dial is the equivalent of me moving the low while I'm nearly at the end of moving the low, I'm starting to move the lower mid and while I'm starting to move the lower mid, the lows off and then before I... End up finishing moving the lower mid to the off position. I've then started to move the upper mid until the lower mid's off and then the upper mid is off and we're pretty much just left with the high. So the opposite now applies with the low pass filter. So let's move the high pass filter back to the off position and start the track again. So, low pass filter, the off position is at 5 and we're going to move that to 7.
9:41 Low-pass filter, scratch turntablists, position great
Okay, so again one move on one dial is the equivalent now of moving the high down and then just before the high has finished all or I've stopped moving it as far as I can to the seven o'clock position. I've then started to move the upper mid from the 12 to the 7 and before I finish moving the upper mid to from 12 to 7 I then start moving the lower He also covers bass, mid, which is of course the upper bass from 12 to 7. So what I'm going to try and do is emulate that by using two hands and trying to get a similar sort of sound if I was using just the one dial on the low-pass filter. So let's bring that back and slow that down a bit so it gives me a little bit more time. Not as good as using the low-pass filter hence why you have a low-pass filter.
So I will be doing this in a future video hopefully very, very soon is one great way of forming a mix on the FF 2.2 L is by basically using the high or the low pass filters. So for example what you would have to do is and again you can engage or disengage the crossfade And you can set that to different curves. You can either go to far right, which is the 5 o'clock position, which is great for scratch turntablists. Alternatively, you can go to the left position, which is 7 o'clock, which is great for the mixing DJ. Now, I have been told by the people from Formula Sound that at the moment, and I believe this was one of the first FF2.2Ls that they brought out, The changeover from the right hand side of the X fade has been or will be changed very slightly from this mixer to the next ones because what was happening with the right hand position is that when you were bringing the crossfade over, let me just tilt the camera down a little bit more so you can see what I'm doing. Generally
With scratch turntablists, if you like to do the crab, practically as soon as you move the crossfade over a millimeter or so, the other side, excuse me, the audio comes in straight away. So in other words, let's say for example, you are playing a track on the left-hand side, your crossfade is over on the left and you want to bring in a sample or a cut on the right-hand side but you wanna snap it in, you don't want it from 1, 2, 3, 4, 5, a slow increase of volume. You just want it from 0 to practically 10 in straight away with the slices of moves. Now at the moment with this mixer but not with future mixers you had to bring the crossfader over about a centimetre or so. I can demonstrate that now, put the needle on the record. Sorry, do apologise.
13:17 Had to edit that because I didn't press the x-fade buttons, silly me
Had to edit that because I didn't press the x-fade buttons, silly me. Right, so let's press play. I'll demonstrate that now. What you'll notice is as I move the crossfade over, you've got quite a bit of movement before you hear the sound. So here we go. And also, you know, you can hear the sound coming in very briefly and then if that was a curve, What should be happening and will happen as I said in the mixes even now they would have done it is instead of a small curve then a sharp rise it should be just a sharp rise but of course that is something that will happen right now. Okay so again that's the crossfade but if we go over to the seven o'clock position which is ideal for people who want to do a nice smooth mix then we have this
14:32 A nice smooth increase of volume
A nice smooth increase of volume. Now again the reason for that, and this is really for beginner DJs as well, if you want a nice smooth increase of volume from one track into the other of course you would slowly bring your volume in on one side and slowly take the volume out on the other but that means two hands using the crossfade With both volumes set correctly, you just have to move one hand or use one hand to go from the left to right or right to left. Okay, so I hope this has been a help. It's a little bit of a, not so much a random video, but explaining about the low and high pass, also low, low mid, mid, high and high as well. And again, with the high and low pass filter, If you want to, what you can do is you can always completely disengage the crossfades. So for example, what you can do is once the crossfades are disengaged, you can engage the low and or high pass filter. You can set that to any position you want, slowly bring the volume in and then as you're doing that, move the high pass filter from the
Off position or from wherever you've set it, sorry from the on position to the off position which is of course on the high pass seven o'clock and the low pass five o'clock so then you can get a nice sort of smooth increase of volume with the higher low pass and then if you want to as well you can do the opposite with the other side. So for example if you're using high pass filter and let's say you've set them both to 12 o'clock As you bring in the volume, sorry I'll repeat that, I'll start that again. The high pass filter on the track that's playing is off. The one that you're bringing in is set say to 12 o'clock and then what you do is the track that you're bringing in you would then turn the high pass filter to the off position which is the 7 o'clock.
But while you're doing that, of course, you would turn the high-pass filter on the track that you're bringing out from the 7 o'clock to the 12 o'clock. So you're doing an opposite motion with both hands. So while one is going to 7, the other one is going to 12. Alright? Now, I hope that's been a help. I haven't confused you too much. Practice and enjoy. Thank you.
This transcript was produced automatically from the audio of the video and may contain mistakes.