 6:54
KAM KCM-400mk2 Demo
Contents of the video
0:00 It's from a company called Cam and it's a DJ mixer
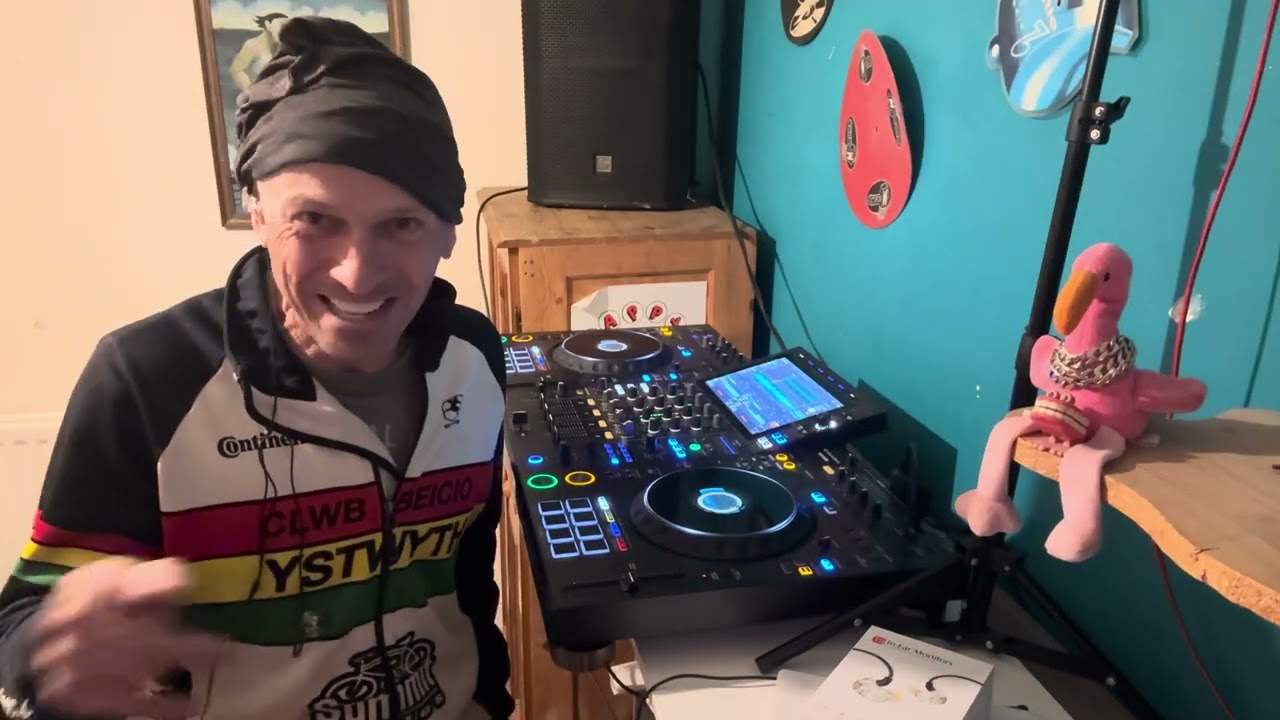
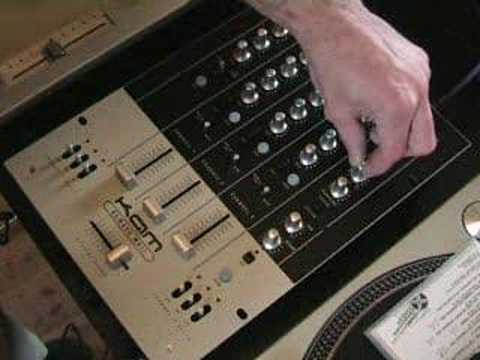
Alright folks, in this video I'm just going to give this guy a bit of a demo for you. It's from a company called Cam and it's a DJ mixer. It's known as the KCM400 Mark II. Now my first impression is that if you're a turntablist then check this out. That is what you call a nice smooth movement on the old crossfade. And if you actually sell this product in your shop then here's an idea for you. Link this video... To this mixer, and then if someone comes along to your shop and thinks, yeah I like that mixer, I need a demo, then they can watch this video and they know exactly what they're going to be buying. So what I'll do is I'll just show you the back of it first of all, see what we've got. Don't know if you can see that, but we have got a master output and we've got a record output. We've got a master balanced output. We've got send and return so we can actually have effects on here as well.
So that's channel 3, and we've got a switch there to go from auxiliary to phono as well. That there is for ground. Now that there is to put your vinyl turntables to. In other words, if you've got one of these leads and you wonder what it's for, that there, that has to be attached to there. The next one we've got line, phono, same again, ground, that's on channel 2. Channel 1, line... He also covers vinyl and phono. Line can be your CD player, your MP3 player, etc. Phono is vinyl turntable and again there is your ground wire or that's where you will put your ground wire from your vinyl turntable. So I'll pause the camera, plug it in and we'll give it a bit of a demo. Alright here we go. First of all like I said it's three channels. We've got channel 1, 2 and 3. Each individual channel you can have a vinyl turntable
2:11 The light is shining, that's quite important
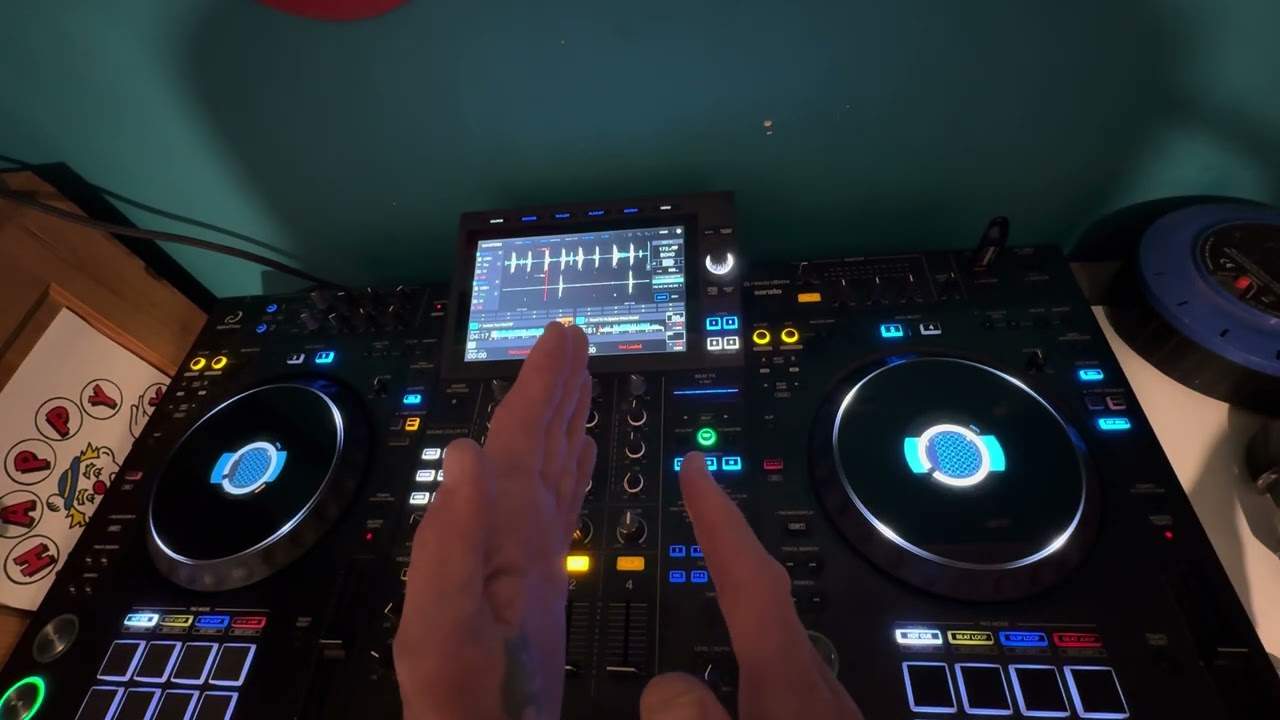
Crossfade works on channel 3 and channel 1. Above each individual channel you've got the buttons for send and return. Also you have your cue buttons so if you want to listen through the headphones make sure... The light is shining, that's quite important. Now above these you have bass, mid and treble, minus 40 to plus 10. Above that you have your gain control for each individual channel. Basically a gain control is the equivalent of a volume so you can actually increase or decrease each individual channel separately, that's quite important. What we've got here is we've got these things, now these are called kill switches. We've got three modes. In the centre is on, so in other words when they're all in the centre that means all the frequencies, if these frequencies here, bass, mid and treble are at 12 o'clock, that's exactly what these will be like, 12 o'clock which is known as flat. If you bring any one of these down and pull them down, they actually just flick back up by themselves, that's quite important. So let's say for example you're in the mix and you want to knock out a tiny bit of mid very briefly, you can flick that down.
Alternatively, what you can do is if you push them up, then they will stay off. Those individual frequencies will stay off. That's quite important, okay? So we've got here send and return. We've got split cue, sorry. We've got phones level. That is basically the level for your headphones. We've got cue here. So in other words, if it's set to cue, you'll only hear what you're listening to through... Each individual channel. As you move this around, you'll start to hear what's coming out of the main PA as well. That's quite important. Pan control left and right. In other words, if that's set dead centre at 12 o'clock, it means that you'll have exactly the same amount of sound coming out of that speaker and exactly the same amount coming out of that speaker. If you start to move this from one side to the other, that basically means you will start getting more side on the right hand if that's set to the right, and you'll start getting more on the left if you set that to the left.
Here you've got master output, that's your master volume control. That's different to these three because wherever you set this, this is how loud all of these channels will be as opposed to these guys here that will just set the levels for each individual channel. Here, bass and treble gain, this is actually for your microphone. What I'm going to do now, pause the camera and we'll have a look at this front area here. Alright folks, I've got the actual mixer tilted very slightly. I want to show you this. Now first of all, look how the actual fader curve is set. It's set to the 5 o'clock position. Now watch the actual slider, the volume control on the top of the actual mixer. As soon as I lift that off, we're getting the sound in straight away. Now as I then move the fader curve to the opposite direction, now it's at 7 o'clock.
4:53 Exactly the same applies with the other volume as
In other words, we have a more smoother, gentler increase in sound as opposed to when that fader curve is set to 5 o'clock. The reason for that, and that's good for turntablists who just want to cut the music in quickly. Also what we've got here is we've got a similar feature on the fader curve but for the crossfade. And what we can do here now... You'll notice that is good for turntablists who want the volume to come in Straight away. Also, if we press this, we're now in reverse mode. And then we can set the curve as well on the crossfade. Now exactly the same applies with the other volume as well. And there you can see a headphone input. So there you go, a little bit of an insight for you into the Cam KCM400 Mark II. Practice and enjoy.
Just forgot to say about this particular feature as well. We've got reverse mode on each individual channel. So at the moment now, if we take a look at the actual channel, the slider, the slider is right down as far as it can go in front of you, close to you, and the actual reverse button is not on at the moment. Now watch what happens. We actually get sound as we lift the slider up. Now watch what happens if we then press reverse mode, we get sound here. But as soon as we move it up, the sound vanishes. So in other words, we've now actually gone reverse mode on the upslider. Put it down again, turn it off, there you go.
This transcript was produced automatically from the audio of the video and may contain mistakes.