 4:23
KAM KR-KIT LIGHTING STAND Demonstration. Video 2
Contents of the video
0:00 Second video on this lighting stand from Cam
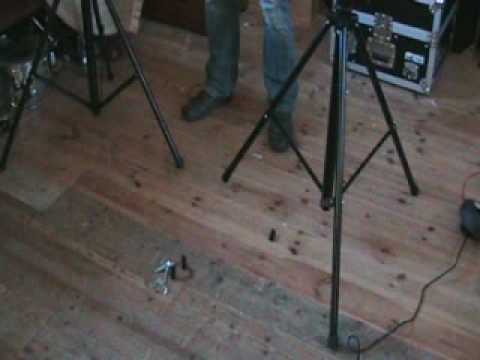
Alright folks, second video on this lighting stand from Cam. Let's just have a look at it. There's the centre point, that's where you join the two bits together. I'll show you that in a second. And straight across down to the other side. Well let's pause the camera and we'll have a look at that over there. Right now hopefully you'll understand the pure logic where this is concerned. Now a lot of tripods will have holes there. Now, if you imagine we've got this here and if I pull this up, if I turn this, it will basically take the weight. But what you need to do, if you've got holes, you need to use them. There's a good reason. It's because these guys aren't perfect at keeping up a great amount of weight. Plus the fact, if you turn these too much, there's a very good chance over a period of time you'll start to wear away the thread. So, think about it logically.
It's not tight at all, alright? So what I could do is just lift that up. I could get that finger tight enabling me to put this through here like so and then if I wanted to I could just let that go bong or bong bang whatever. Alright and then just finger tight that again. There you go. Now that isn't going to move anywhere at all. Now, on a stand like this, to have that through there is a must. Full stop, because if you don't put it through there and you tighten that up and you think it's tight enough, well guess what? Once you've chucked half a dozen lights on the top of it, over a period of time this could start to move down and before you know it, you could have lights on your head, which is not a good idea. Right, I've taken it off. That is the centre position where the two units are joined together.
1:57 Can you see those two there?
Now, just for this demonstration I used the wing nut but ideally you will need the three locking nuts. Now can you see those two there? They'll fit inside there to go one across there, one at the top and one at the bottom which is just there and you can see I've got that one shoved in there so it's literally putting that in when you've got the three in, whopping that together. But, you know, let's imagine you've only got a small gig. Well, watch this. Alright, here we go. Look at that. Need I say any more? There's only one piece on there. There you go. Right, so I'm going to show you something that's quite important actually. Can you see the legs doing that? That's because they're not set correctly. Now if you think about it, we're dealing with 90 degree angles here. So, make sure it's set so it's not wobbling. In other words, a couple of minutes spent
Doing something like this means a lot of agony saved with not having lights falling on you, or worse still, having lights falling on somebody else. Right, I just want to show you one other thing. Right, I just want you to note which way the legs are pointing. One, two, three. One, two, three, in relation to the bar itself. So we've got a one, which is either side, and that one there Underneath the light trussing area itself, come down like so. Alright, so basically it just means that it's absolutely rock solid, which I will prove to you right now. I'll prove to you right now, hold on. Right, I'm going to be a little bit careful here because you should put some wing nuts on there, on that side as well, but give you an idea of how strong it is. Oh my missus is always saying, Jonathan, why are you always hanging out?
I'll put all relevant information inside of the video in the description. Alright, it's from a company called CAM. Practice and enjoy. Thank you.
This transcript was produced automatically from the audio of the video and may contain mistakes.