 6:09
Pioneer DJM250 mixer review
Contents of the video
0:01 Demo stroke product review of the DJM250 from Pioneer
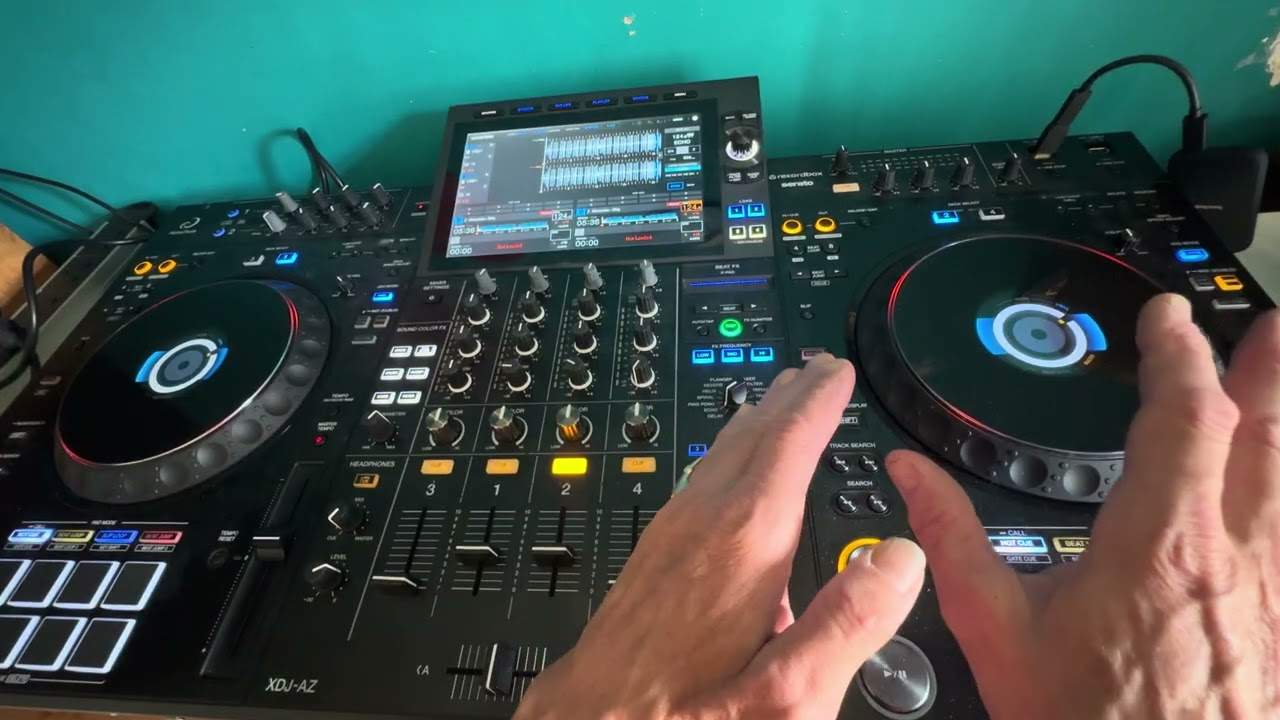
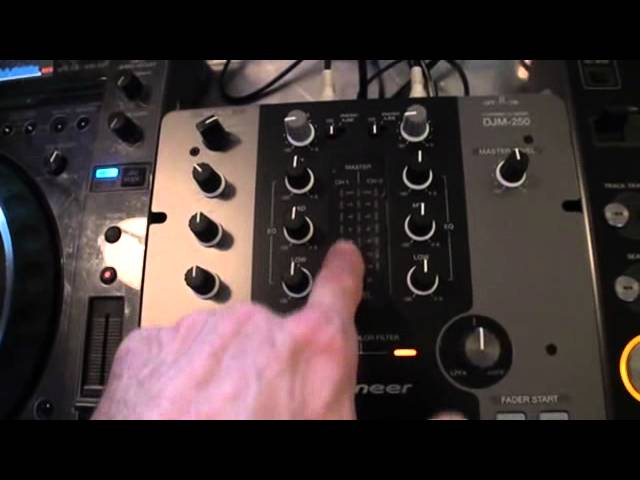
Alright guys, demo stroke product review of the DJM250 from Pioneer. Two channel mixer, ideally suited in the bedroom but you could get away with this guy in a club as well. Main reason on the back you have XLR output. XLR is great if you, let's say you're going from the mixer to speakers or amplifier powered speakers but there's a bit of a distance instead of let's say mixer there and your speakers are about two foot away. If they are two foot away, you're fine with RCAs. If your powered speakers or your amplification is quite a distance, then highly recommend you use the XLR which you can see there. Alright, two channel mixer, but we can also have a third channel as well here using this guy, mic or auxiliary. Fader start for one and two, so if you have got small cables and you've got...
The crossfader. This guy here, what that will let you do is, it's mainly for like scratching turntablism, so with the crossfade on the right hand side, as soon as you bring it over, the left hand side will come in straight away 100%. Other side, if it's on the left hand side and you switch the crossfade over or slowly slide the crossfade over to the right hand side, A tiny bit, full volume will come in. If we set that to the centre position, that is more for mixing purposes. So a slow transition from one of the tunes, halfway you've got 50% of each and then as we go over to the other side, the one side starts to reduce in audio and then the other one will increase. If we switch to through, that means the crossfade is completely disengaged.
1:54 Tune there, by the way, is by Danny J
Tune there, by the way, is by Danny J. Lewis, a definition of garage. Sound colour filter, slightly more bassy. What we're doing here is we've got that beautiful bass sound, very, very tiny bit of mid. The emphasis of the sound colour filter is to almost cut away the high and the mid and the mid-low. It's a bit like having an equaliser and flicking around with the dials. To get that beautiful separation of sound. If we turn it clockwise, we end up only getting the high frequency. Low, mid and high on the EQ. Trim control. A trim control must not, you mustn't think it's exactly like a volume control. There's your master volume control. The reason for the trim, very simple. Two CDs, one on the one side, one on the other. Let's say, it's not so much now, but years ago if you had a cassette player and you recorded on cassette, there'd be a very good chance that one of the cassettes, the audio level would be slightly higher or lower than the other. What it means is, let's say we had a CD in there and we had a CD in there, and we had the trims both at say 9 o'clock, and we noticed on the LED that the one on the left was tapping in a lot lower than the one on the right.
3:43 Means hear, auxiliary, channel
So we could do one or two things. We could either turn the one on the left up, so the levels would be the same, or we could turn this guy down on the right. What that means, alright, this is why you shouldn't really mess around with those too much. What that means is that when you set the trim correctly for each channel, it means when you turn the master volume up, both levels would be the same, just so long as you've got the volumes up at the same place as well. If you've got them down there and the levels, the LEDs tapping, Headphones, channel 1, channel 2, self-explanatory, your headphone volume and mixing. Fully over to 7 o'clock cue point, that means you'll only hear what's coming through the channel that you've assigned. Either one, either nothing or both of them. Mixing means you can hear both so you can hear what you're listening to.
And what's out there, master means you just hear the master output. That is your master volume control. If we have a look at the back, you've got your microphone in, you've got a mini jack there. That is if you want to say bung your iPod in. So you'll notice that that one there is number 1, auxiliary 1. So if we switch that to auxiliary 1, we can now use this guy here for another channel. So if your mate turns up with his iPod with a bang in tune... Turn it up. Off is off, MIC is short for mic, level for your microphone, also level for auxiliary 1, 2 and 3, high and low. You'll notice on the back there we've got auxiliary 2, auxiliary 3, channel 1 and phono, so CD and line. So that guy there is for here and same on this side here.
GND, also short for ground. That there is to attach the small cables from your vinyl turntables on off and we've got the switches there for line and phono. You can see there's two of those and we have its own little power adapter in. Alright, there you go. Pioneer DJM 250. Practice and enjoy.
This transcript was produced automatically from the audio of the video and may contain mistakes.