 8:10
DJ Advice on Setting up Your Mic Volume
Contents of the video
0:00 Jonathan here, The DJ Tutor
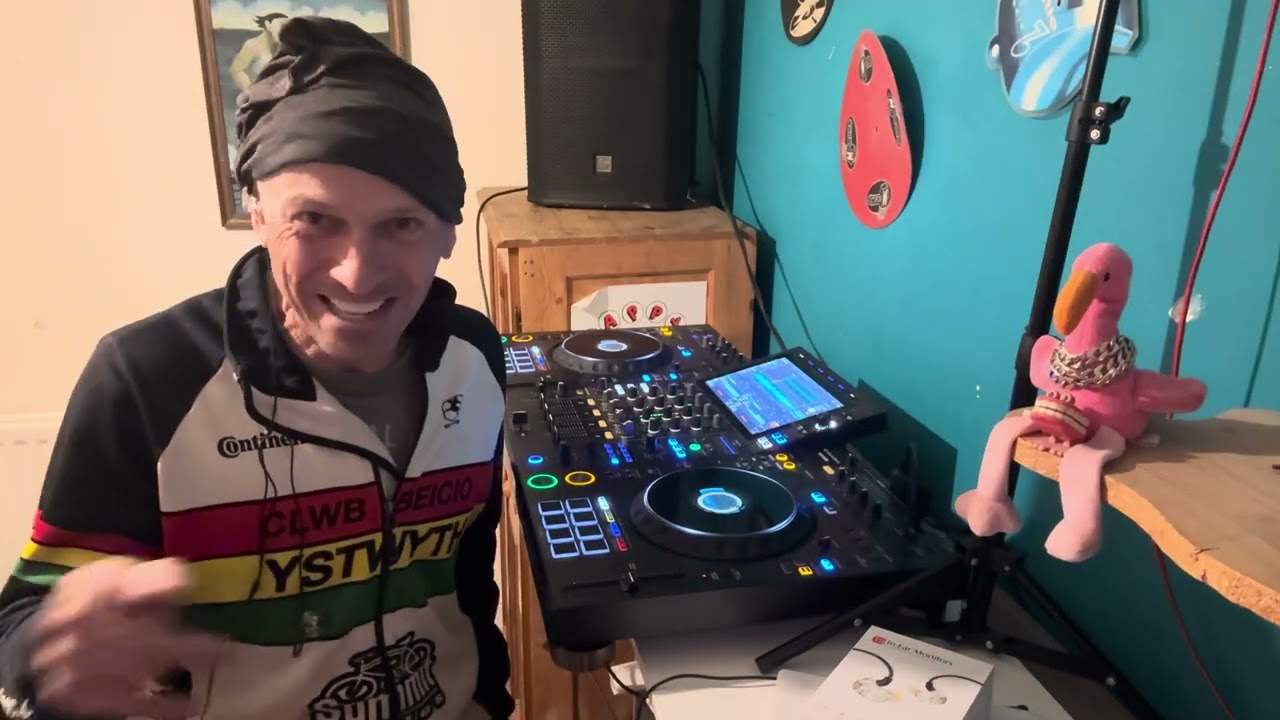
Right guys, Jonathan here, The DJ Tutor. Let me ask you a question. Out of all the kit that a DJ could ever use, what do you think is the one item that's quite possibly misused the most and also not used correctly? Right guys, Jonathan here, The DJ Tutor. Let me ask you a question. Out of all the kit that a DJ could ever use, what do you think is the one item that's quite possibly misused the most and also not used correctly? This is, you can use the microphone and talk as you normally would, and the microphone will make you sound a lot louder. But still to this day, people are not setting the microphone correctly. Now you may think, yeah it's a mic, all you've got to do is turn it on and off. No, not at all.
Have you ever been in a position where you've heard another DJ and he or she has started talking and you get that horrible whistling sound? Through the speakers. It's horrendous, isn't it? Not only for them, but for you. And it makes them look like an absolute idiot. This video is about showing you exactly how to set your microphone. Not only so people can hear you, you can talk without having to shout, but also you will never ever get that nasty feedback sound, which is what we don't want. And I'm going to show you that sound. First of all, you need to make sure that the volume you set on the master will be as it is going to be set for the rest of the evening. Now that is very important. Believe me. And I will show you why it's important during the course of this video.
2:18 All of those as well
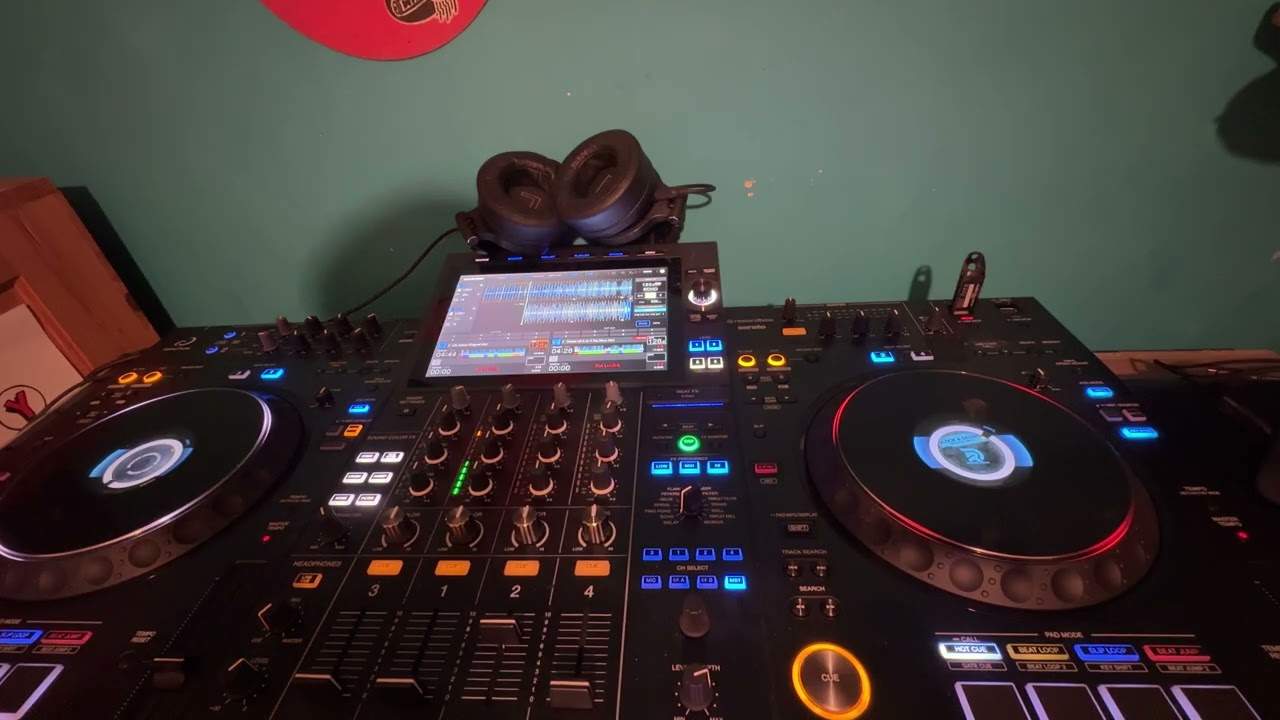
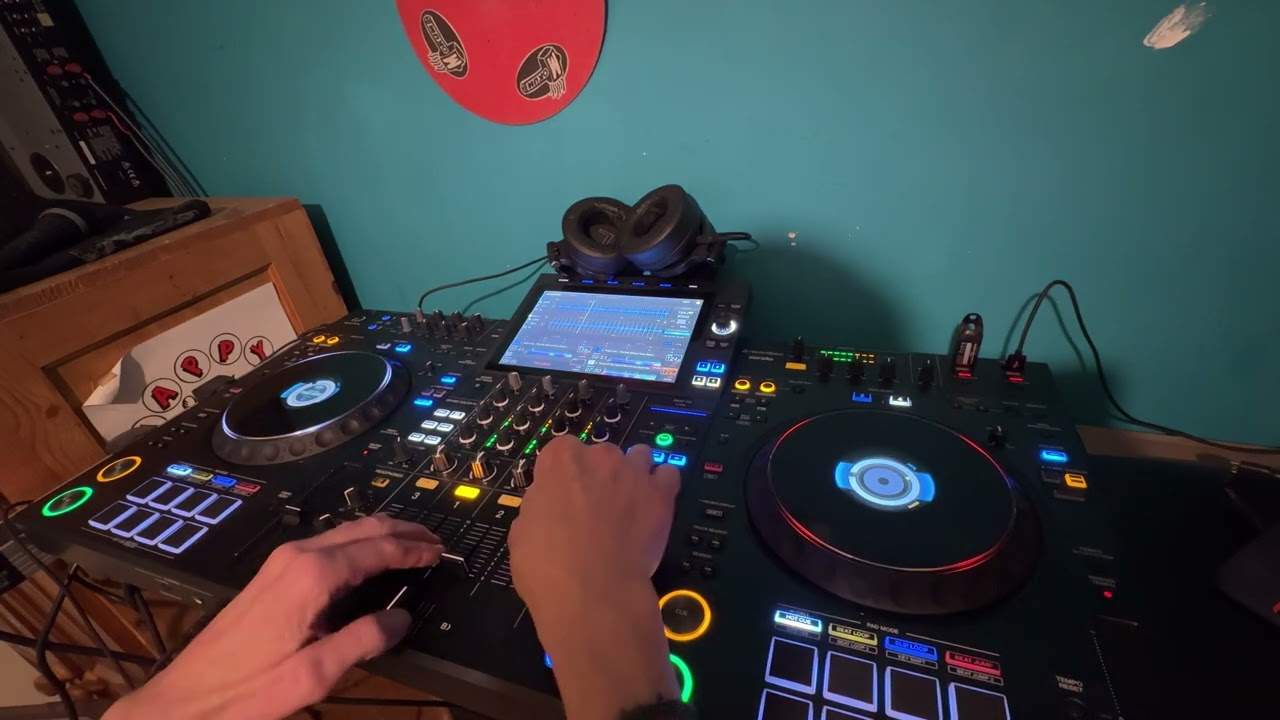
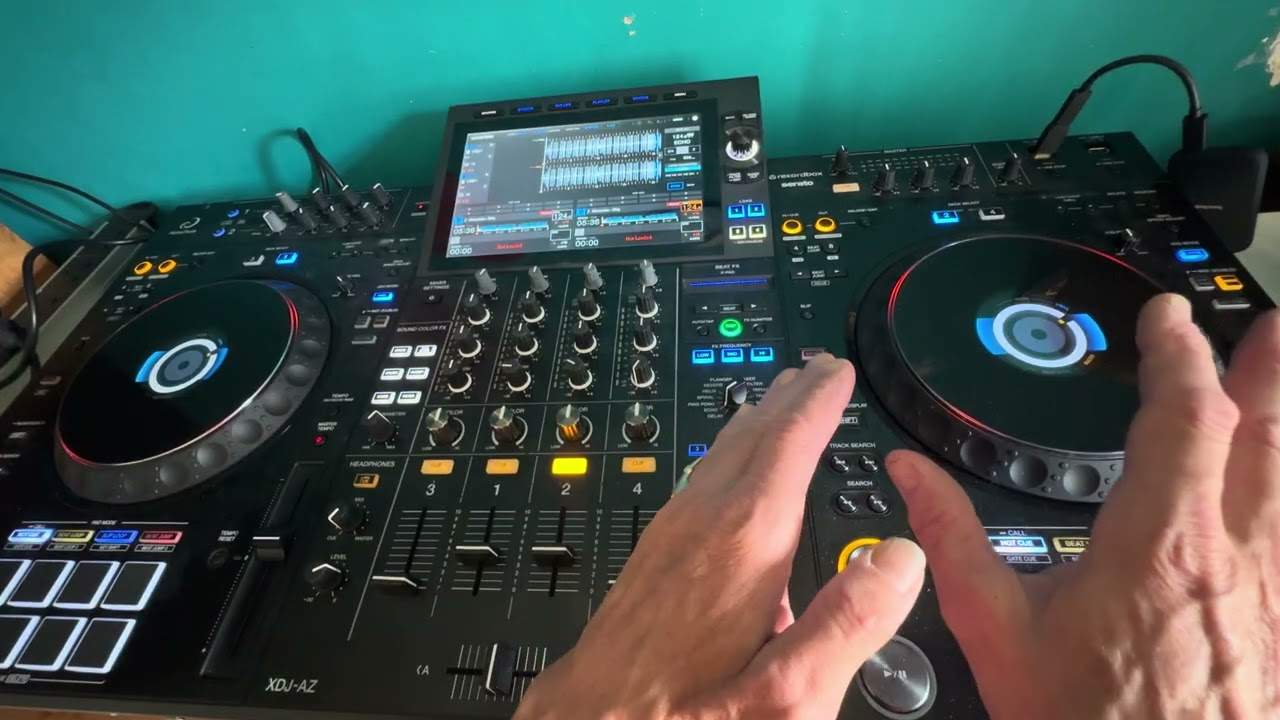
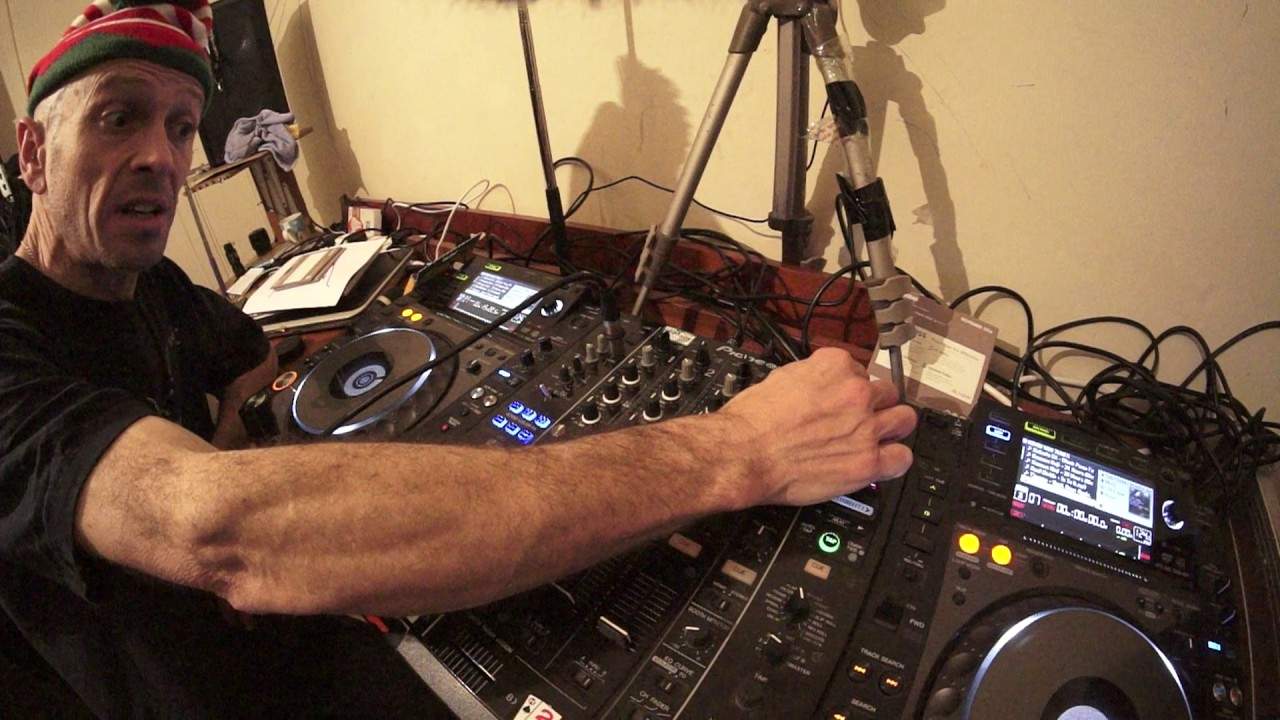
Right. On this mixer here, the DJM900, we have the microphone area. I have got an F1. XLR input, also known as a Canon input. And I have two volume controls, one for mic 1, mic 2, high and low. And I've got a switch toggle switch here with off on and talk over. So I'll explain all of those as well. So if I just bring the camera down a little bit closer, there you go. All right. I will explain as well in great detail. So as I said, the first thing to do. Very important is to make sure that the master volume is set to the maximum level you want during the course of the evening. And, of course, the best thing to do there is prior to anyone turning up sound check, turn it up to the max or as far as you feel you can go as far as compatible for the room or until you get complaints until the sound limiter kicks in whatever.
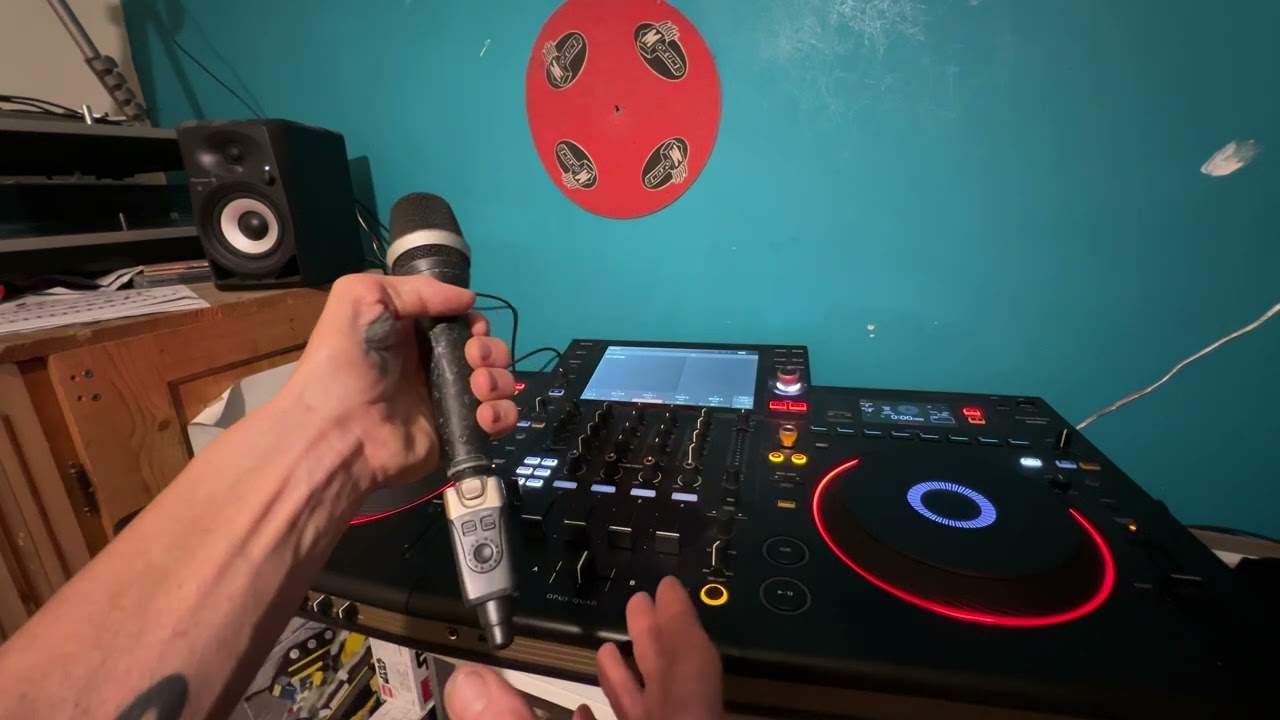
But that's important. Now, I'm going to set my master level to there, to 12 o'clock for argument's sake, and I'll prove a point later on in the video. Okay. So what I'm going to do now as well, I'm going to turn my microphone level down. I'm going to set the low and high to 12 o'clock. Now I'm gonna hold my microphone. Now this microphone doesn't have a switch on and off, but there is a switch on the mixer. I'm not going to turn that to on. And if I talk. Through here, one, two, three, four, you can't hear anything. That's because the volume on the microphone is down and the volume is off, and I know that because the actual dial is set to the seven o'clock position. I'm now going to start talking 123 and slowly while I'm talking, I'm going to bring the volume up.
You can hear me getting louder and louder 1234123412341234. There you go. So now then, can we hear any nasty feedback? No. Do I sound relatively good? Don't answer that. And do I need to use the high or low? Not really. I could increase the treble if I wanted to, or increase the base or decrease according to the color of my voice that I would like to give over the main PA. So let's imagine now that that is a good audible sound. Now bearing in mind, sorry, asthma. And I think I've got a little bit of a cold or something. But so imagine now and again, the volume in this room is very low. So, of course, if we were at a gig, the volume on the microphone would be a lot louder. So I have set my level. I have now set the optimum sound that I want for the microphone.
5:33 I'm going to start turning the volume up, right?
And all I've got to do is turn it off and that's it talk over here on this mixer. It's a great feature. Because if I don't want to manually move the volume up or down, if I want to talk during the course of a track, then if I kick switch over to talk over, as soon as I start talking in here, the sound will automatically dip anyway. But it's not as quick as you're using the up fader as you would, for example, the music is playing and I switch over to on and then one, two, three, four. Volume down. And as soon as I finish talking, quickly put the volume back up, turn the microphone off so right now then whistling sound, I can get that now if I want to. So if I hadn't have done this correctly and during the course of the evening, I think, do you know what?
I'm going to start turning the volume up, right? I'm not going to touch the microphone now at all. I'm just going to turn it on and I'm talking quite happily. And now listen to what happens when. I now start to turn the master level up one, two, three, one, two, three, one, two, three. Now I get the feedback. Why turn that off? Not only will I be increasing the volume of the sound of whatever is being played, whether it be CD player, turntable or anything, but I'm also increasing the volume of the microphone. What you have to remember, the key here is whatever is playing in this mixer, whatever it is, it doesn't matter what it is, that sound will increase in volume as soon as you turn the master level up.
So if you've already set your microphone volume to a suitable audible level where it doesn't feedback as soon as you turn the level up thinking halfway through the night, I want the sound a bit more pumping. I'm going to turn it up. Of course. Yeah. Your audio volume will increase. Whatever you're playing will increase, but also you have increased the volume of the microphone. So unbeknown to you, as soon as you turn the microphone on, there is a possibility of having that horrendous whistling sound. Now, also to stop having that whistling sound as well, make sure your speakers are a good distance away from you. They don't have to be like 1000 feet, but just so long as they're like six, seven or eight feet away from you or four or five.
The main point here is to make sure that the speakers aren't facing towards you. Try and face them a few degrees either side away from you. So it's almost as though if you imagine a triangle, you're at the tip of the triangle and the speakers are at the base they're facing away from you. All right, now I hope that's been a help and I'll finish off with practice and enjoy. Thank you.
This transcript was produced automatically from the audio of the video and may contain mistakes.