 8:11
Recording a mix into Audacity
On YouTube this video is called DJ Lesson, How to record files to AUDACITY
What this lesson teaches
Eight minutes with Audacity - free, and still a sound choice for this job - and the lesson is mostly about what you do before you press record.
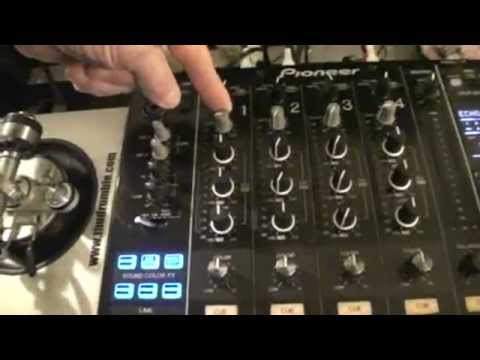
Set the mixer flat first
EQ at twelve o'clock - low, mid and high. Monitors flat too, and their gain at zero dB.
The reasoning is that you are capturing the record, not your taste. Anything you add with EQ while recording is permanent; anything you leave out can be added later. Flat is the only setting you can undo.
His method for finding the level: trim all the way down, needle on the record, channel fader all the way up - so nothing is audible - then bring the trim up until the level is right. Setting the gain with the fader already open means you are adjusting one thing instead of two.
Clean the record first
A digression that belongs here, because a recording preserves whatever the needle finds.
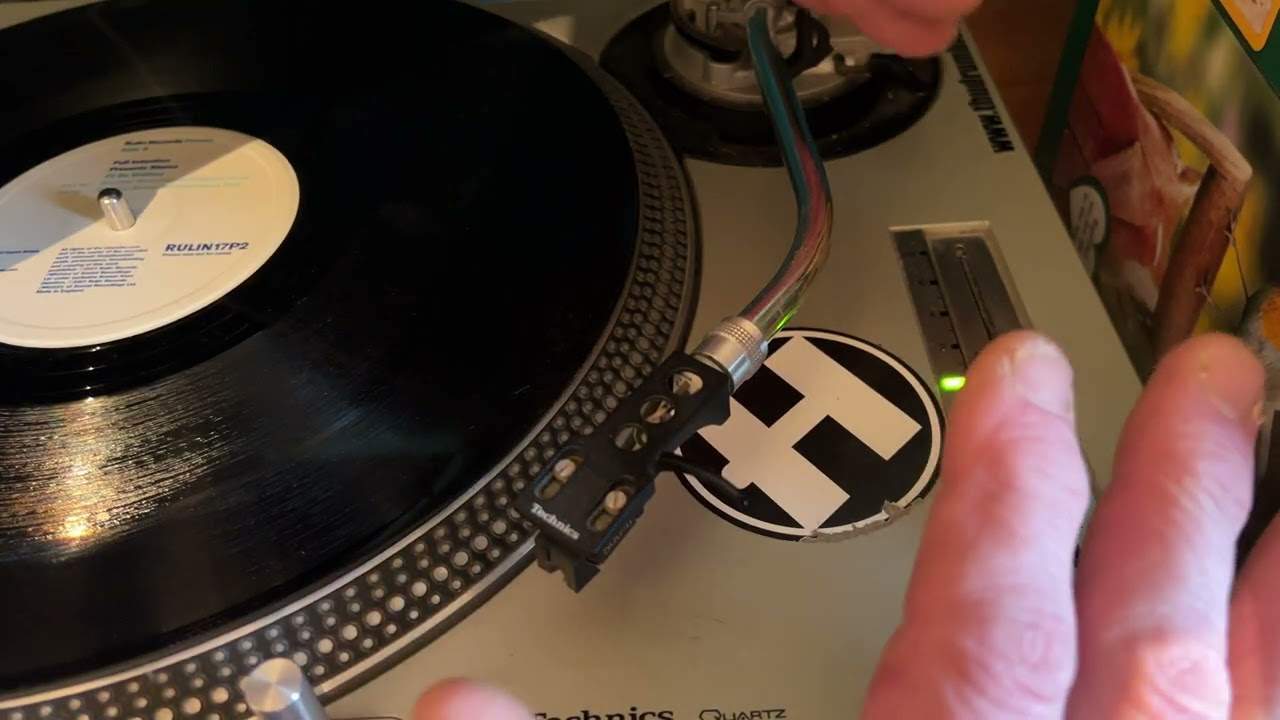
Water, a sponge and a cloth. He recommends plain water; mild non-detergent soap if you want it. Wet the surface, work the sponge round with the platter turning by hand - power on if you like, but the motor not running - then dry it with the cloth.
And back the counterweight off a little. Not pressed all the way down: you want the true sound out of the groove, not a needle being ground into it. The same argument as the turntable lessons in this stage.
Five minutes of cleaning is worth more than any amount of software restoration afterwards.
The connection
He goes from the mixer's record out - which exists for exactly this, and whose level is independent of the master - into the computer.
One honest correction to make here. He goes into the computer's mic input, and that is the wrong socket: a mic input expects a signal a hundred times smaller or more than a line output, so it distorts immediately, and on most machines it sums to mono as well.
Use a line input if the machine has one, or - better - a small USB audio interface, which gives you a proper line input, a level control and clean conversion for not much money. Everything else in the lesson stands; this one connection is worth getting right, because no amount of care with the mixer helps if the input stage is overloaded.
Start the record half a turn back
A genuinely good detail that only a DJ would think of.
Before you start, pull the record back at least half a turn from your cue point. That gives the platter time to reach full speed, so that when the first kick arrives it is at the right pitch and in time rather than slurring up to speed.
A recording that starts with a wobble is unusable and nobody notices they have made one until they play it back.
Recording and trimming
Press record in the software, then play on the deck. The waveform draws as it goes.
Stop when the side is done. And now the gap at the front - the seconds between hitting record and the music starting - which would be dead air every time you played the file.
Select from the start of the file to where the waveform begins, then Edit → Cut. Gone.
His note on deleting a whole take is worth having: clicking the cross on an empty track removes it with no confirmation, and he is honest that he is not certain what it does with an hour of audio in it. Save before you experiment.
Exporting
File → Export, name it, and fill in the artist, track and album fields the dialogue offers.
That is not housekeeping. It is the same point as the library lessons in this stage: a player that can browse by artist and album can only do so if somebody typed them in, and the moment you have the file open is the cheapest moment to do it.
What this is for
Getting records you own, and cannot buy as files, onto a USB stick so you can play them on equipment that has no turntable.
Which is most equipment now - and it is the reason this unglamorous eight minutes is in the curriculum.
Contents of the video
0:00 Low, mid and high, y
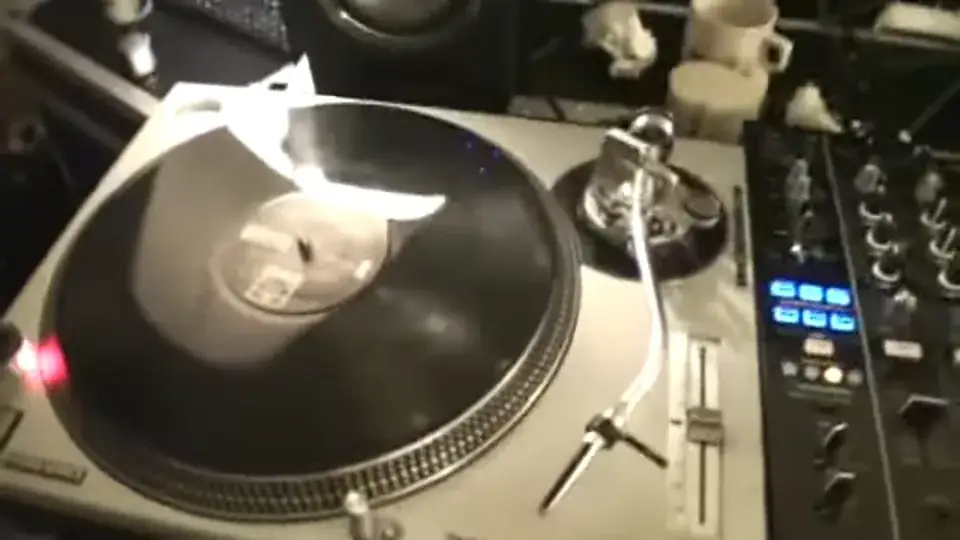
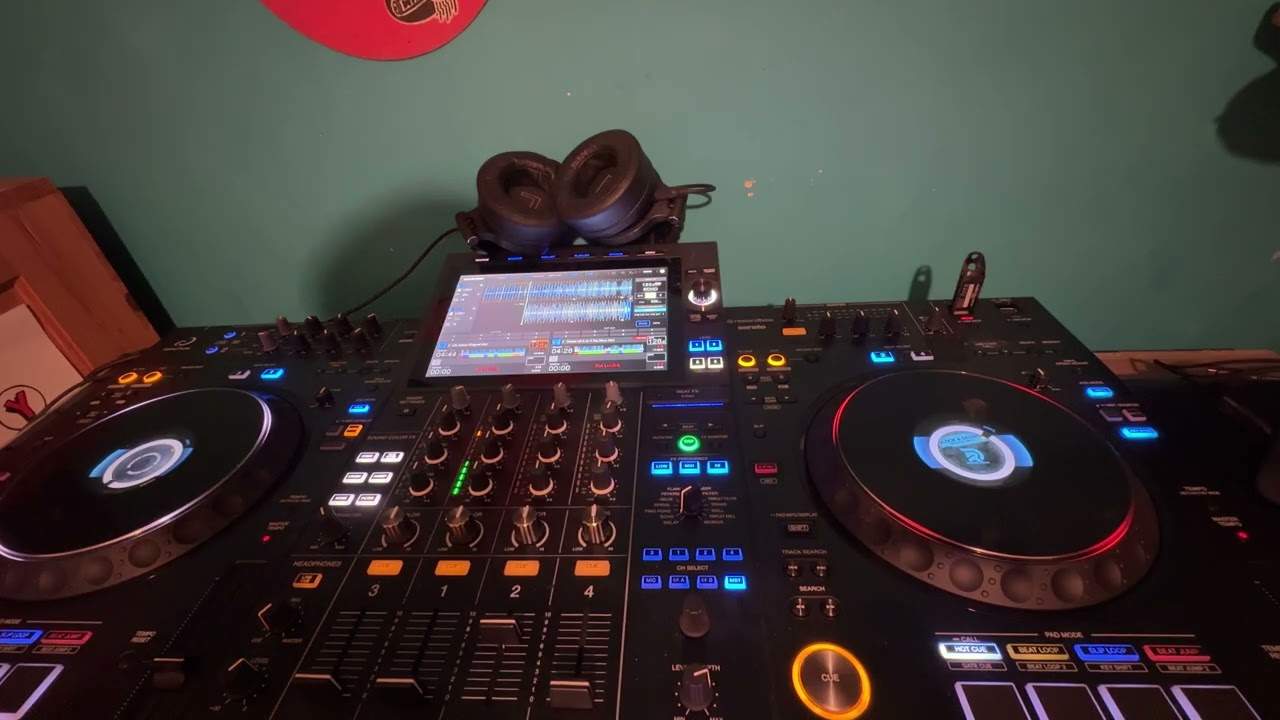
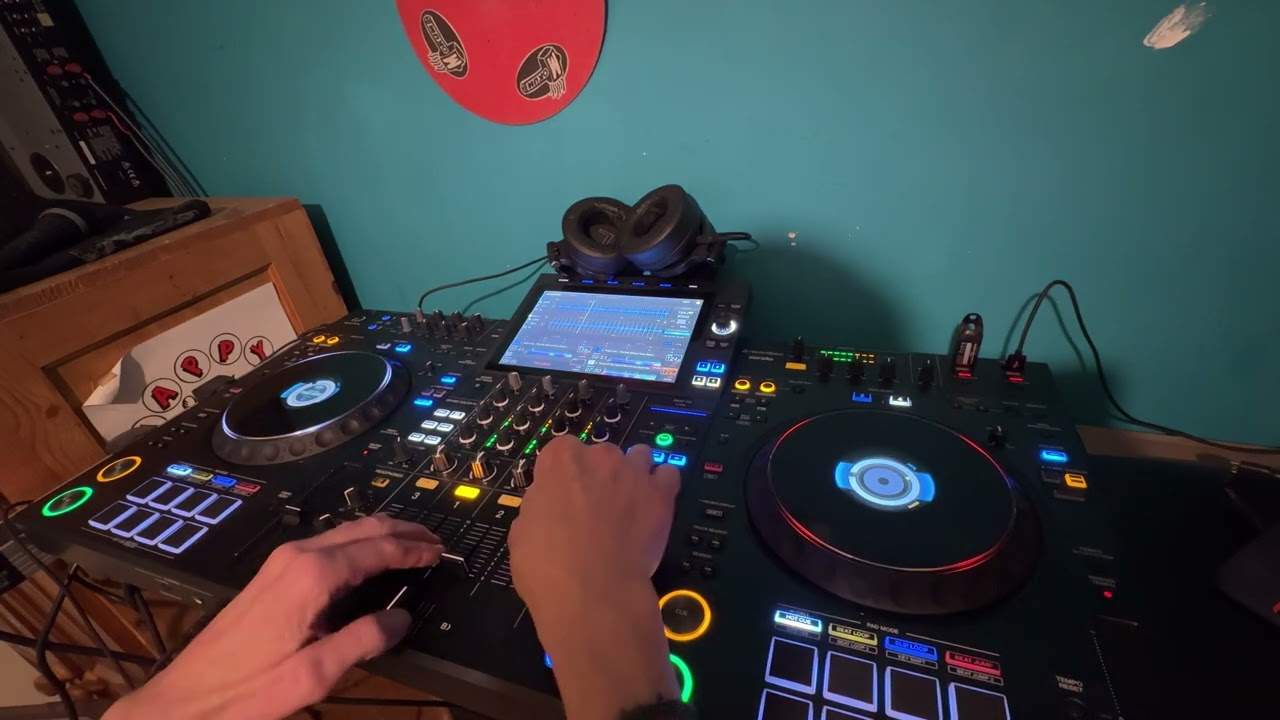
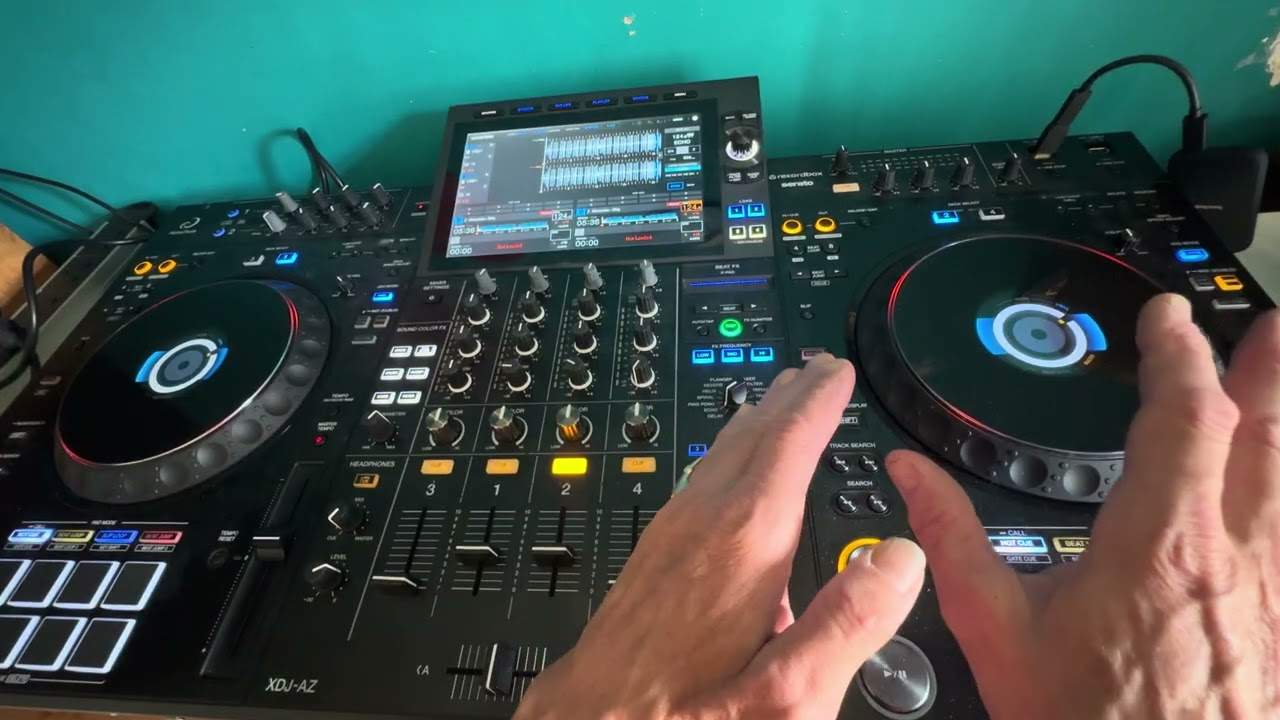
Alright ladies and gentlemen, there's a program out there called Audacity which is free off the web and it will enable you to do your own recording. You can download that onto your PC and where you go? In this video I'm going to give you a very basic look on how you can record from vinyl through a DJ mixer into your PC using what's there into the program known as Audacity. So first of all, I'm going to go hopefully through All of the major points, but very quickly, so you can pause if you want to. First thing is you need to make sure that the mixer is flat, set to flat. So low, mid and high, you'll notice we're all at 12 o'clock. Now the trim here, which is the volume, the gain control for that channel, isn't at 12 because I need to set the level here on the EQ to flat. And the best way of doing that is have your trim down, put the needle on the record. The track I'm using for this demonstration is Eddie Adamore.
1:57 You can use mild non-detergent soap if you want to
The track is entitled The Funk, so we'll press play, volume all the way up, can't hear anything or see anything because the trim's down. Also the monitors you're using make sure that everything is set flat as well, bass, mid and, or bass and high sorry, and also the gain control is set flat as well to zero dB. That is what you want to start everything off at, zero dB. Once you've recorded With some water. You can use mild non-detergent soap if you want to. This is entirely up to you. I recommend just use water, sponge and also a cloth. Why? Okay, what I do first is I will wet the piece of vinyl with water, put a sponge over it and turn it around like this. So if you imagine like that, sponge, water on it. And then I'll use the cloth.
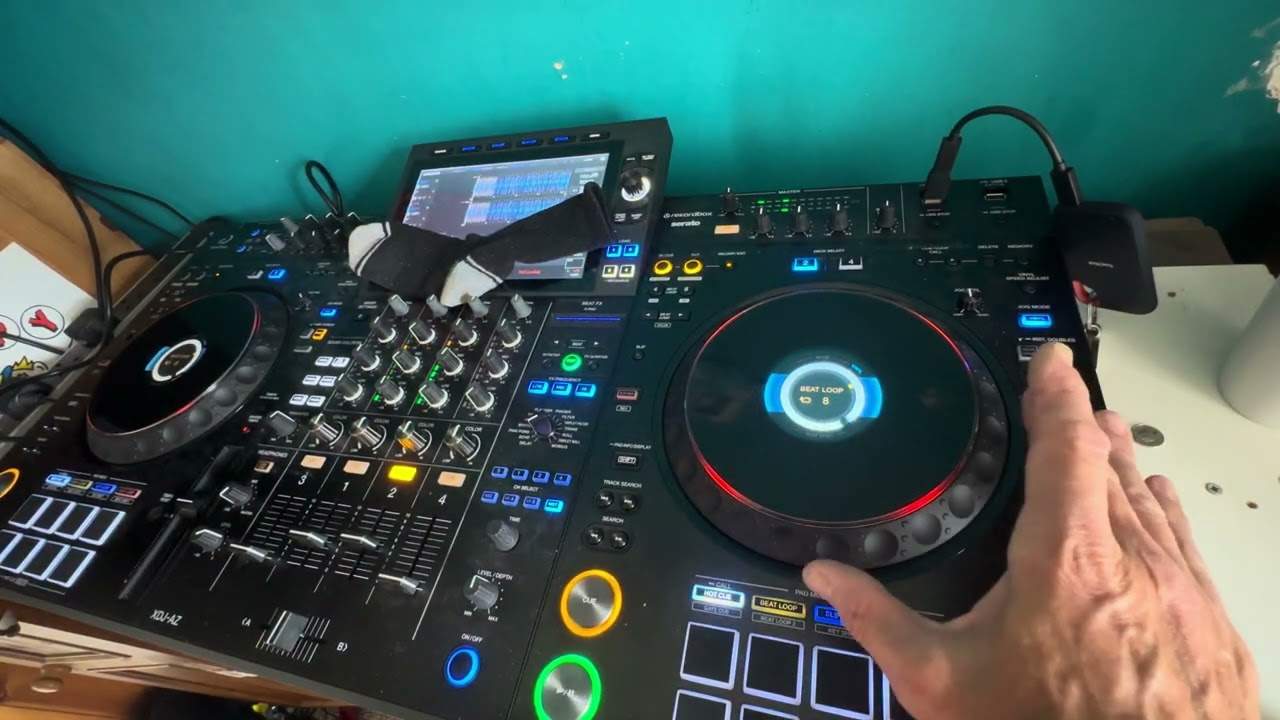
And turn it with my fingers, with no electricity going through it. You know, alright, yeah, it was turned on, but the motor wasn't running. So while you're doing this, you're not having the motor running. What you're doing then is you're getting rid of any dirt in there and you're also cleaning the record as well. Now also, no point at all in having the weight all the way down. Move the weight back a little bit, OK? Because you don't want to put too much pressure on the vinyl. You want to get the true sound out of it. You don't want a grimy... So, that's new enough it. What I've done as well from the back of the, this is the Pioneer DJM 2000, sorry not 2000, it's the 900 Nexus. I've gone from the rekord out. So there we are because with the rekord when you go from rekord out you can set the trim according to how much you want the volume or the signal should I say
I've gone from the record out into my little dodgy PC down here, into the mic in. Now here is the program. This is it, Audacity. So you'll notice, again very simple if you just have a look at the settings here. If we have a look at this, I have gone to that there, speakers, rail tech high definition. Again, I'm just giving you a very, very basic outline. And we have record, see that? And stop. You'll notice it started and it stopped. And to get rid of that file, if you don't want it, just click on the cross there and that will disappear. You won't get anything saying do you want to get rid of it or whatever when you don't record anything. I'm not sure even if you record an hour or so if you click X.
5:21 There is the file recording
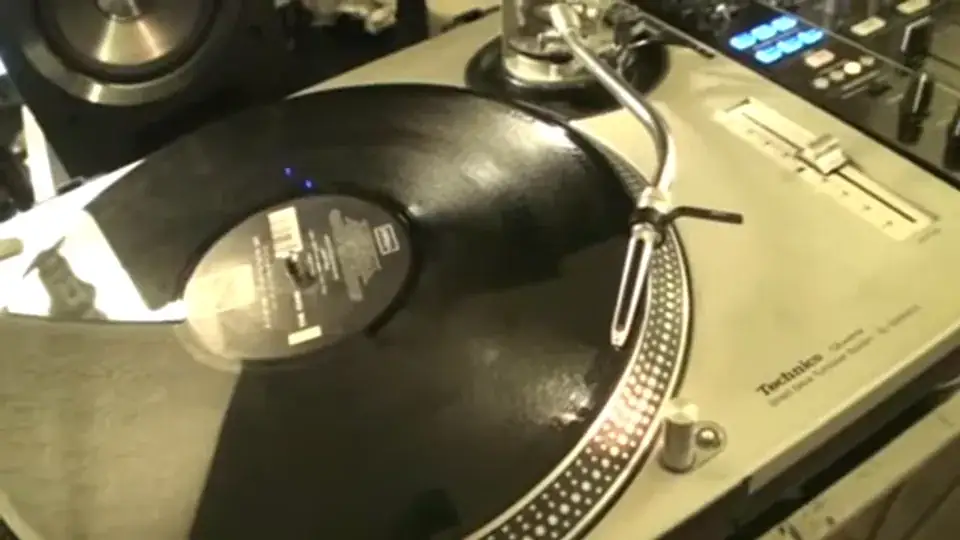
It will ask you if you want to sort of get rid of that, but you need to check. Again, this is just a very basic demonstration. So what I do is, let's say for example now, and I'm just going to do a small clip of this. Just imagine I'm going to record the entire record, but for this demonstration I'm just going to record a tiny clip of it. So first of all we want to make sure that if we're doing any club style tracks You need to make sure that you move the record back at least half a turn because that will give the platter time to speed up so as soon as the first kick comes in it will be in time. Alright, you can do this but then you want to be over at the PC and all will be revealed about this small segment in a second. So we've got all that set up what I need to do now is just press
Record, there, and then press play there. And that's it. There is the file recording. Alright, now let's imagine we've recorded the whole file and we don't want to record anymore. Where's my mouse? I'm going to press stop, and it stopped it. So we can stop that. Alright, now you'll notice that there's a bit of a gap there in between the time I started to record and the time the track started to play. So we need to change that, don't we? We need to almost, we need to start it here. We could, by all accounts, we could record the entire track, but when we play this, let's say on another device, we'll get a gap before the beat comes in. So I'm going to take my mouse at that sort of area there where we've got a line and we've got, it's almost like where the zero dB is. And I'm now going to, hold on, let's just grab that again. This is where it gets a bit tricky.
I'm going to drag that over to there. Now, that will enable me now to cut that. But how do I do it? Right, I need to go up top edit and down to cut. Now watch. Bang! It's gone. There you go. So that's cut. What I need to do now is go to file and I need to go to export. And I can now name it. Hold on. There we go. I'll name it and I'll save it. There we go. Now, it gives me the option here to name the artist, track, album, so I can do all that sort of gizmos there. And also, once I've done that, then I can save. So I just press, so I could just do there, I could do, there we go, and there, I could do, oh, wrong one, there, and so on. Hope you get a general idea. And that's it. It's saved it. Very small file. That's about it. And that will be in my music. So I hope that's a bit of a help for you. Programme is Audacity. It's free off the web. Have some fun, practice and enjoy.
This transcript was produced automatically from the audio of the video and may contain mistakes.