 19:01
Djay and Pioneer DDJ-WEGO Demonstration, Tutorial
Contents of the video
0:00 Plug, wego, speakers
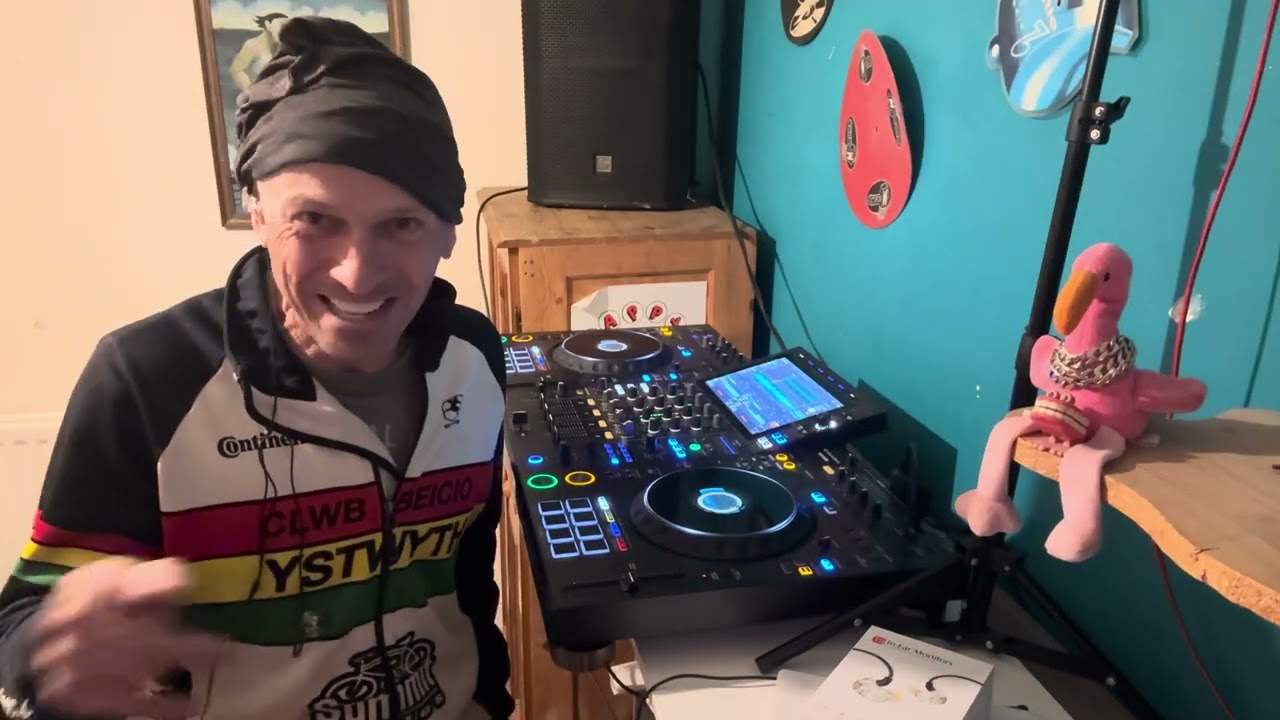
Alright ladies and gentlemen, in this video I'm going to do probably quite a long demonstration and tutorial on how to use the Pioneer DDJ WeGo and also how to use that in conjunction with the Algorithm's software known as DJ. Now first of all, that software can be used on your Mac, your iPad or your iPhone and to be quite honest my own personal opinion out of all the softwares I've used it's probably one of the easiest to get your head around. It's not big and bold, got flashy bits and you have to just do so much, I don't know, organising and setting to get it to work with the hardware you're using. With the WeGo especially, it's as simple as plug it in and it works, it just starts. Great, so all I've done at the moment now, before we go any further, is I have the DJ app on the Mac and I have plugged in...
...the USB from the left hand side of the WeGo into the Mac, I've got my headphones plugged in and I've also got my output, which is RCA, into some powered speakers. They're turned on but they're not configured yet with the software and I'll show you how to do that. At the moment if I just start everything up as it is, I should be able to get some sound just through the speakers on the Mac. So if you haven't got any speakers on the Mac, just plug them in and you're good to go. You've got some powered speakers and all of a sudden you've just decided to buy the WeGo and plug it into your Mac and get the DJ app. You can mix, you can start to get some sounds, even though it won't be that loud because it's coming through your Mac.
So what I'm going to do is I'm just going to highlight the DJ app, just going to double click on that, bouncing around a little bit.
There's the software. I'll run through the software as well, I do apologise though, it's got a bit of a cold. Right, so that's about it and the WeGo is off because it's not flashing. So what I'm going to do, I'm going to bring the camera over here and get a little bit closer.
2:12 What I'm going to do now is on the WeGo, the left hand side
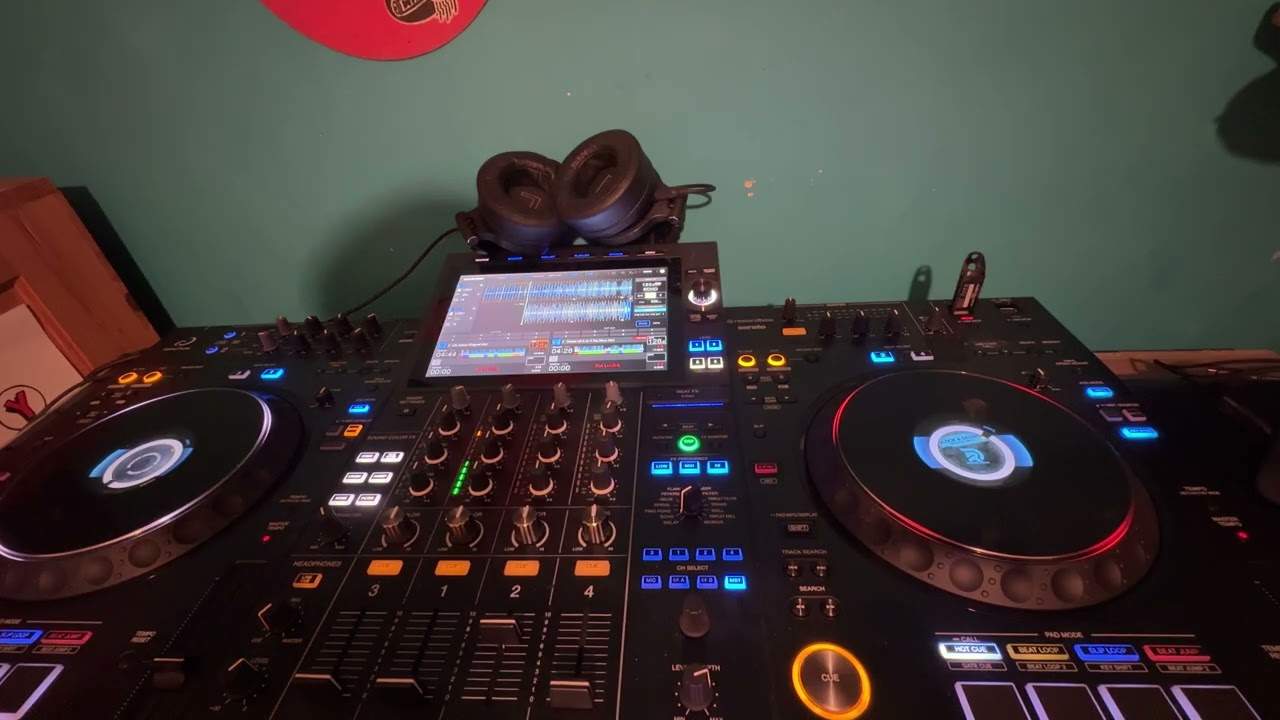
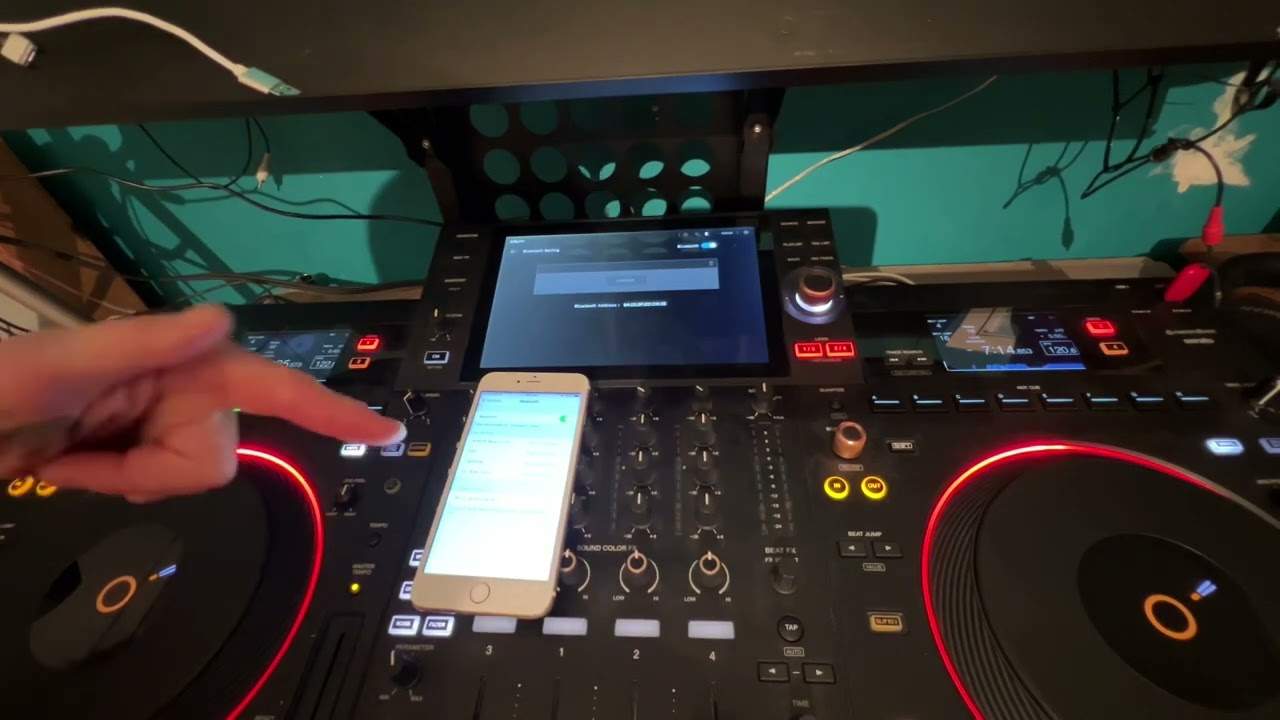
Right, so if we have a look, we have our USB there into the Mac and there it is. So what I'm going to do now is on the WeGo, the left hand side. By the USB input there is a switch, you need to turn that on, press it away from you and you can see that lighting up. Now if we have a look here we should see a Pioneer icon appear very shortly. There it is, so it's found it. So it's going, hold on a minute, you've just plugged something in. And if we have a look there, it says DJ has found a new output device named Pioneer DDJ WeGo. Do you want to use this device for pre-queuing? Whoops. The camera's going yes, so I'm going to just sit the camera there like that and I'm going to click OK. Give it a few seconds to configure and that's pretty much it.
So before we look at the hardware with the software, we'll just run a little bit over the software. Now if you are familiar with controllers then it's a bit like if we go back sort of 10-15 years, if you were a DJ with vinyl turntables. And you turned up to a nightclub with a new mixer, you could basically, you know, you'd never seen the mixer before but you knew how to DJ, you knew half a dozen of the mixers, you'd never seen that one. Take your 10 minutes and you'd learn the basics, you'd know pretty much how to queue faders, bass, mid treble, pretty much the same with controllers but the WeGo is pure simplicity. So we have our two virtual turntables which are the equivalent of vinyl decks. We have our volume controls,
4:14 Right hand side and then
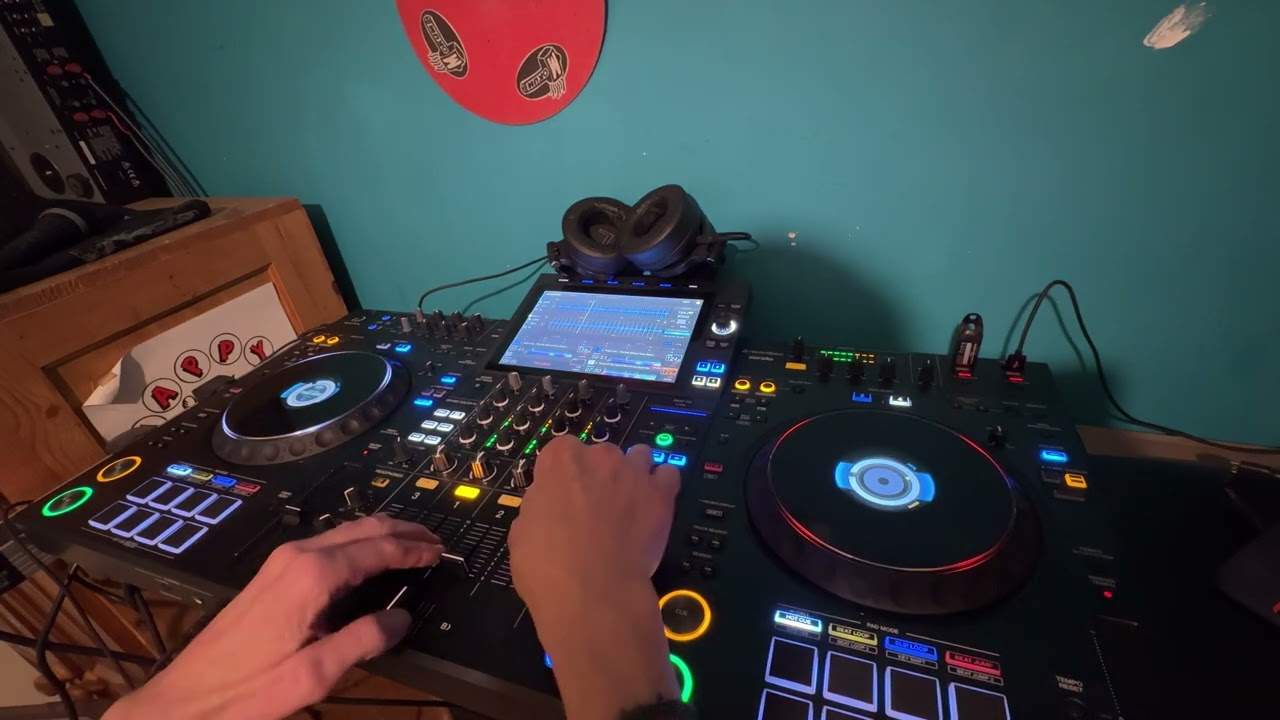
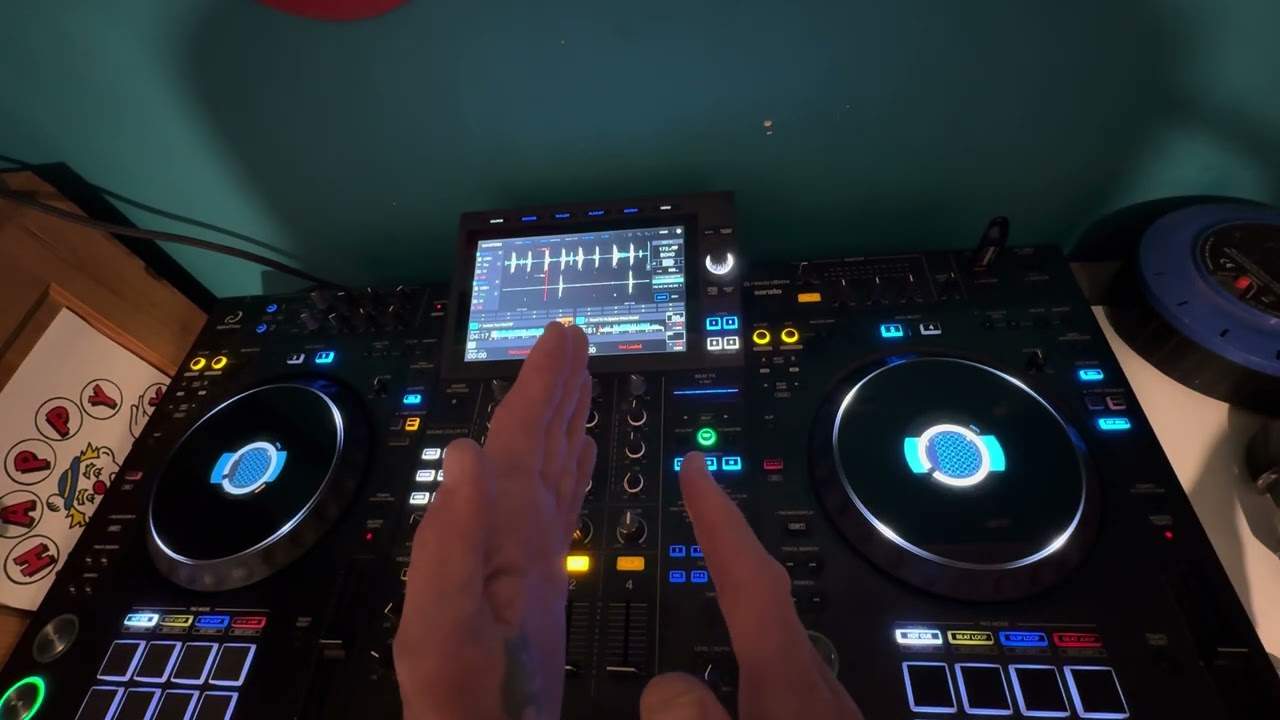
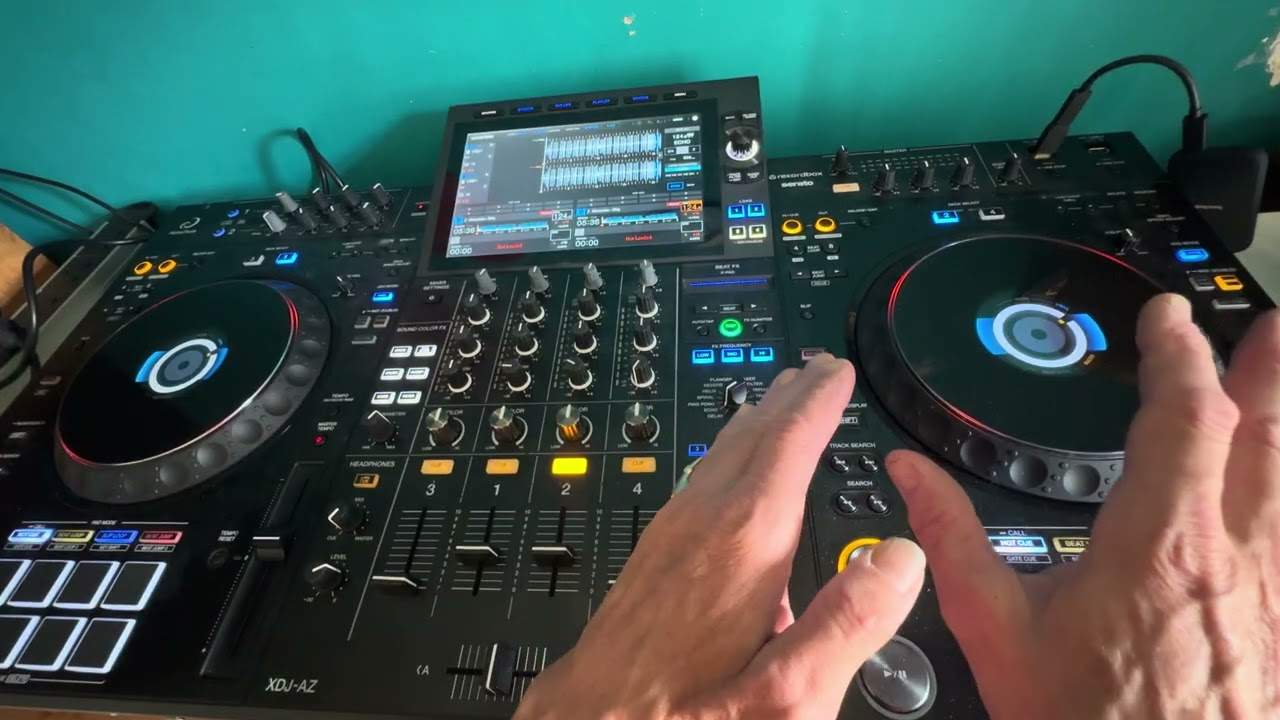
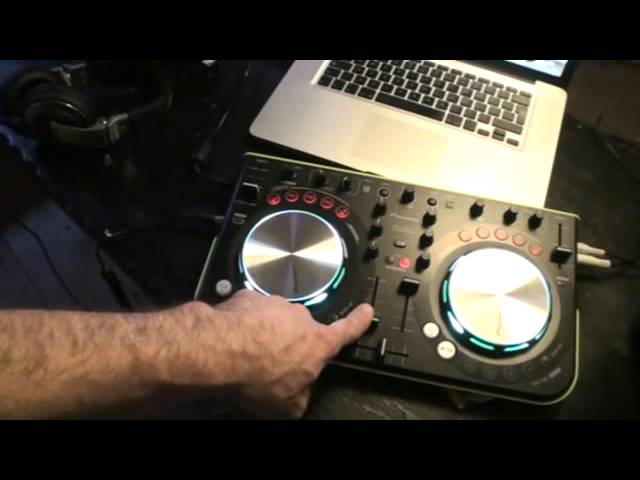
And on the right is the volume control for the right, left for the left. Crossfade to go from one side to the other. Now if you want to, this is entirely up to you, if you don't want to use the crossfade and you just like up faders, you're old school then just leave the crossfade in the middle, forget about it, don't worry about it. So if we have a look at the right hand side and then the left hand side because the right and left are slightly different. Right hand side first. Below the virtual turntable, to the left hand side around about 7 o'clock we have queue first, then we have play pause. Then the next 1, 2, 3, 4 buttons are there for hot queues. Also then next to number four there's a sampler so by engaging that
We can then change the hot queues into samplers. So we have our up faders above there we have two buttons for queue so we can queue either the right side or the left side but of course we have to go into the settings of the software to configure that. Above there we have our shift button, that is great for let's say getting rid of our hot queues or maybe changing certain aspects of the software. Excuse me, to the right and left of the shift we have low, mid and high. Above high we have load for each deck in the centre of load we have our browse dial. We also have deck C and sorry C on the left, D on the right so we can utilise this with other software if we want to use four decks. Now that this is slightly different from the right to the left on the
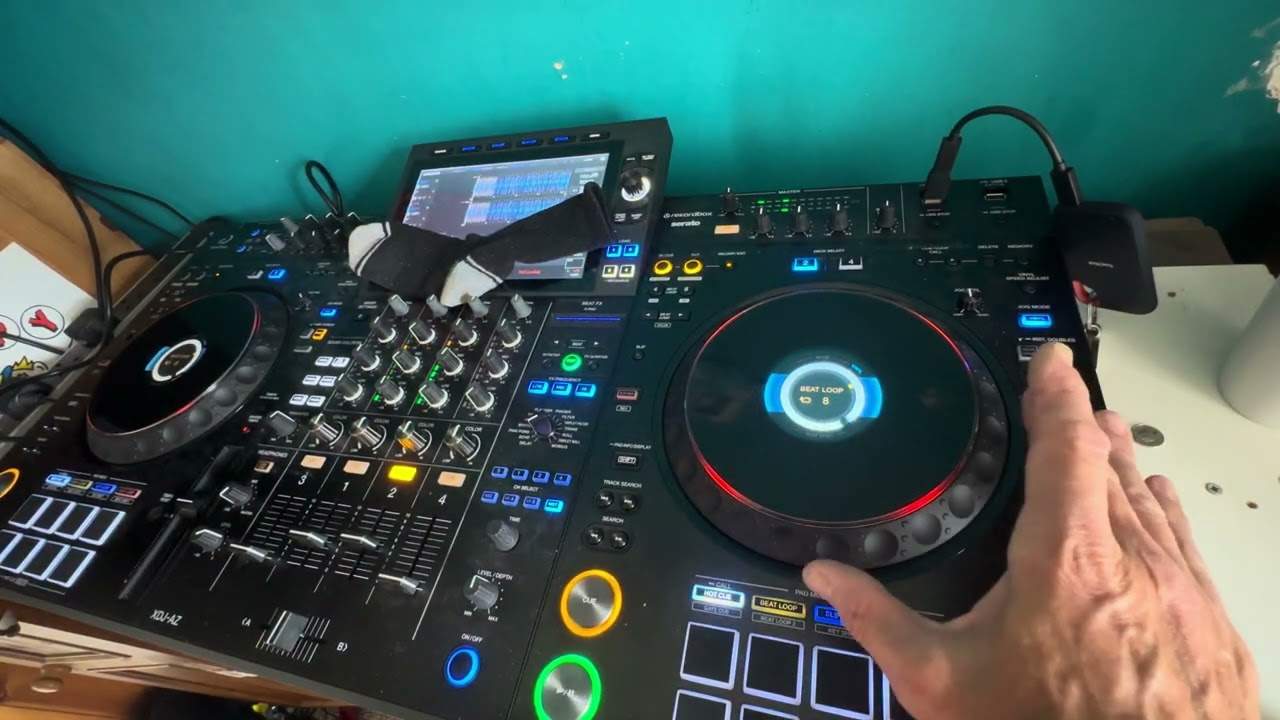
Right hand side above the virtual turntable first of all what is similar these are effects so we can utilise effects above the effects. We have auto loop now on the right hand side, we have a microphone volume and the master volume on the left hand side. Around about 12 o'clock and 1 o'clock we have our headphones mix and then headphone volume the headphone volume when that's set at 5 o'clock that's very loud and when it's set 7 o'clock you won't hear anything at all so you need to make sure that's anywhere around about let's say for your ears sake, say for example around about the 9 or 10 o'clock try not to turn it up too much and remember look after your ears mine are going now so this is from many years of loud music.
Pardon right the mix dial when it's set to Q which is at 7 o'clock that will mean if I just have a close up there what that means is that you will only hear the track that you're playing now as you turn this clockwise, you'll start to hear the track that's playing out. So for example set to Q you can queue up and only you can hear that as you move this over. So for example, if we just scroll out if I just zoom out a little bit volume down volume so volume down on the left volume up on right. Excuse me.
7:06 I will hear the side with the volume down
Bloody cold honestly. Right? So volume up on right let's say that's playing at people are jumping around thoroughly enjoying themselves someone puking in the corner and a bit of a kiss and a cuddling the other corner. That one's playing the one on the left is not playing so with the mix dial set to Q I can if I want to, I can hear this side and I won't hear the side that's playing. I will hear the side with the volume down. If I then start to turn this dial what will happen? I'll not only here the side the volume that's down. I'll also start to hear the vault the side that's up as well. I'll start to hear the side that's playing through the main PA now. This is just by-the-by if you turn everything con you think you've
Configured it and everything's hunky-dory, but you are starting to hear the other side even when you want to even while you're trying to queue up a track just check. It could be this dial that needs to be set to Q all right small point but very valid to the right hand side and to the left hand side at the top of the we go. We have our tempo also known as pitch control. I believe at the moment I've set that to about plus eight but you can set it think 1025 as well, but you do need to go into settings which I will. Show later on in this video. So there we go now what I'm going to do and bring that down and if we then have a look at the software again, what we've got here? We've got your music you go into your iTunes music as well or into music
That you've already got into your Mac and if I can just you know, you see I can browse that using this function which is the Browse dial center top of the we go. So we have Mr Lenny Fontana here don't need to press down or anything don't need to press that all I need to do is press there and it's loaded up. That's pretty much it also just remember as well this is let's say if you've only plugged your we go into your Mac and you haven't got any of the powered speakers or anything like that because we do need to go into settings to set the we go so it recognizes. External speakers, so I'm going to press play and there we go. That's it's playing right? So how do we get it now? So we can get it through the main PA or our monitors.
9:55 Is it's down there asset
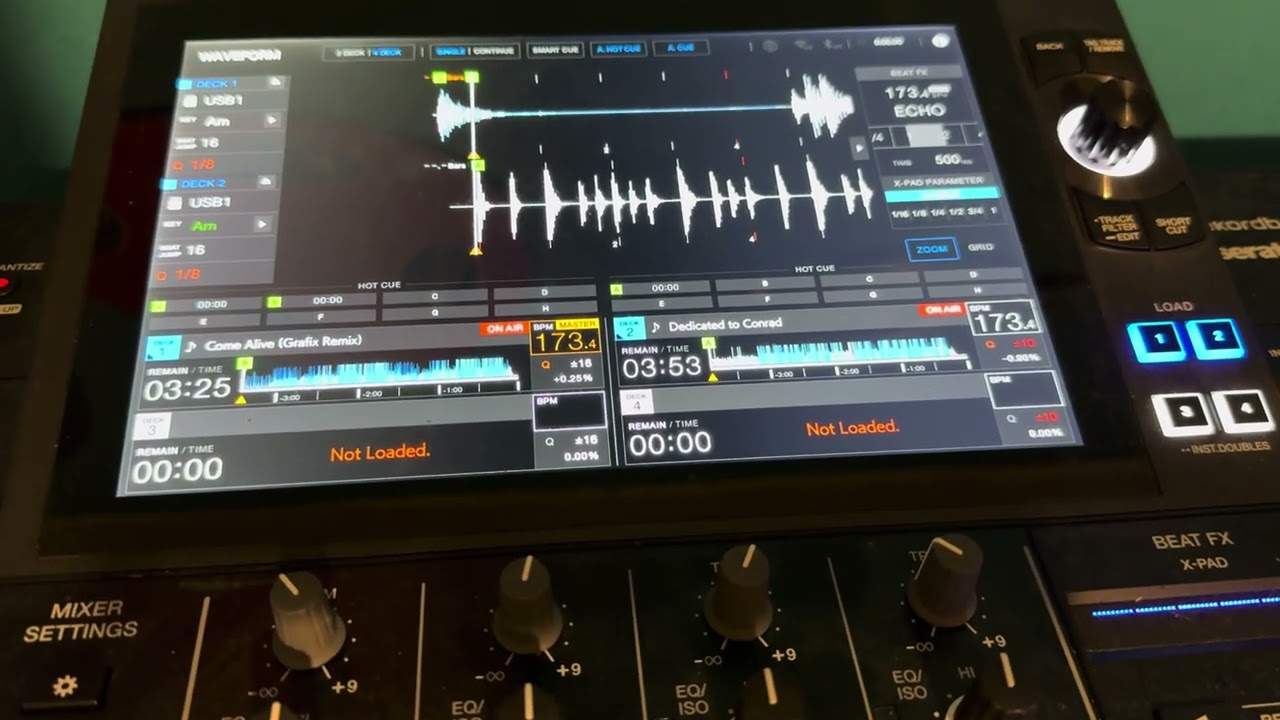
So I'm just going to bring that down right what I'm going to do now is I'm going to go to the software. And the area you need to look at is it's down there asset is right hand side. Bottom. Now I don't know if you can see we've got these icons. We've got a microphone got headphones and a play. I'm going to go over the headphone and just highlight that. All right, pre-cuing so I've got that auto select now what I need to do. I want to get it so I can use the monitors instead of the small very dodgy sounding speakers on the Mac. So I've got to configure audio devices. That's where I'm going to go. So I'm going to go to configure audio devices and just zoom out a little bit and you should see something like that.
Main output, You can see built-in output now. I don't want the built-in output. So if I just scroll over that I'm going to set that to Pioneer DDJ we go And also now I've got that channel one and two pre-cuing. I've got DDJ we go and I've got channel three and four. All right, now that's what I want. I'm going to apply just leave it configure again. This is how I like to do videos sometimes in real time sort of loads of blinking editing. So I'm just going to
If I just bring the camera out to about there ish and you like my lamp as well. Isn't that sweet? There you go. All right, so bring that out and I'm just going to get rid of that like so. That works still press play and there we go. We've got the main PA now.
11:55 Sorry, I beg your pardon
So now we're using our monitors but of course the monitors could be the main PA
And at the same time if I want to headphones
There's the headphones. So now we're now monitoring using headphones
And also again to just proof in the pudding master is full on. Sorry, I beg your pardon. The volume is full here with the headphones. How come we're not getting any sound out the headphones? That's because there's no sound. We haven't got the volumes up that the up faders are up on the we go but of course we've set that to master. So what's happening is I'm trying to monitor a master output. Because I but because I haven't got any signal going out into the main PA. That means I can't hear anything but as I start to move this mix to the cue point have a listen,
There you go. So I'm now being I'm now able to queue up the track. I want to queue.
All right, so we've got that far if we have a look now at the hardware itself.
Let's set some hot cues. So if I want to get rid of that hot cue I press shift there you go. Here's one I set earlier
Shift get rid of that sampler for a sampler again samples go away. All right, so what we do now have a look at some of the effects
So above by the way, the track you're listening to is Lenny Fontana as a track entitled moment in love is beautiful tune. I'll put a link in the description to Lenny Fontana as well. Okay, so echo again this video I'm doing is hopefully demonstration and a tutorial but you know there is a lot more to this than meets the eye and I will be doing more intuitive videos on certain aspects of the software and more than likely do we go as well to disengage the effect just press the button against flanger. We go so you can loop if you want to so we have a look at the we go. We have auto-loop if I press down forms a loop press down again loop disappears press down again. We've got that loop and watch what happens in listen or should I say
When I start to turn the dial
So turn the dial clockwise will increase the loop anticlockwise will decrease it and anytime. I want to get out. That loop just press down and it's gone.
All right, I think that's pretty much it for this video. Hopefully I've shown you how simple it is to set up the we go with DJ app and I have to admit I mean I am no expert.
It's going to turn that down and turn that down. I mean let's get one thing straight here. I am known as the DJ tutor on the web and I have been doing this stuff for a very long time. But first of all, I need to explain something. No, it's explicitly. I'm no bloody expert. All right. I am you know if you watch videos I make and think always the DJ tutor. He must be one of the best DJs in the world. Yeah, right. I am not by far but what I can say is that I know little bits about lots of stuff. I don't know lots of stuff about little bits of stuff anyway. What I can tell you about this is out of a lot of the software and the hardware. I've used this is possibly one of the easiest bits of kit to get your head around.
It's very simple. It's very straightforward and also even if you're not a DJ but you like music and you've got a shitload of music on your iPad or your iPhone or something like that then grab yourself a piece of hardware. All right, I'm not going to say oh we must get this but what I will say is that this is so simple to use. It's a sort of thing if you're wanting a house party and you think you know what? Yeah, let's have a house party. Do we need to book a DJ? Actually I shouldn't be saying that because it means DJs will be out of work. No book a DJ if you're in the middle of nowhere and there are no DJs. That's the best way of putting it then you can become a DJ yourself because don't think for one second that the life of a DJ or to become a DJ you need to pass tests
And do this on the other. All right, I'm not going to go there because then we get into an argument here. What I will say is that if you have got a lot of music and you enjoy music and you want to become a DJ for yourself and for your family, then you can because the kit is out there software. There is called DJ is by algorithm. I will put a link in the description and I'll put something on the Wego as well. I will say practice and enjoy. Thank you for spending about 19 and a half minutes with me. And have some fun. Thank you practice and enjoy.
This transcript was produced automatically from the audio of the video and may contain mistakes.