 6:44
KAM Digi Two Demonstration Tutorial
Contents of the video
0:00 Up-faders, there's four of them
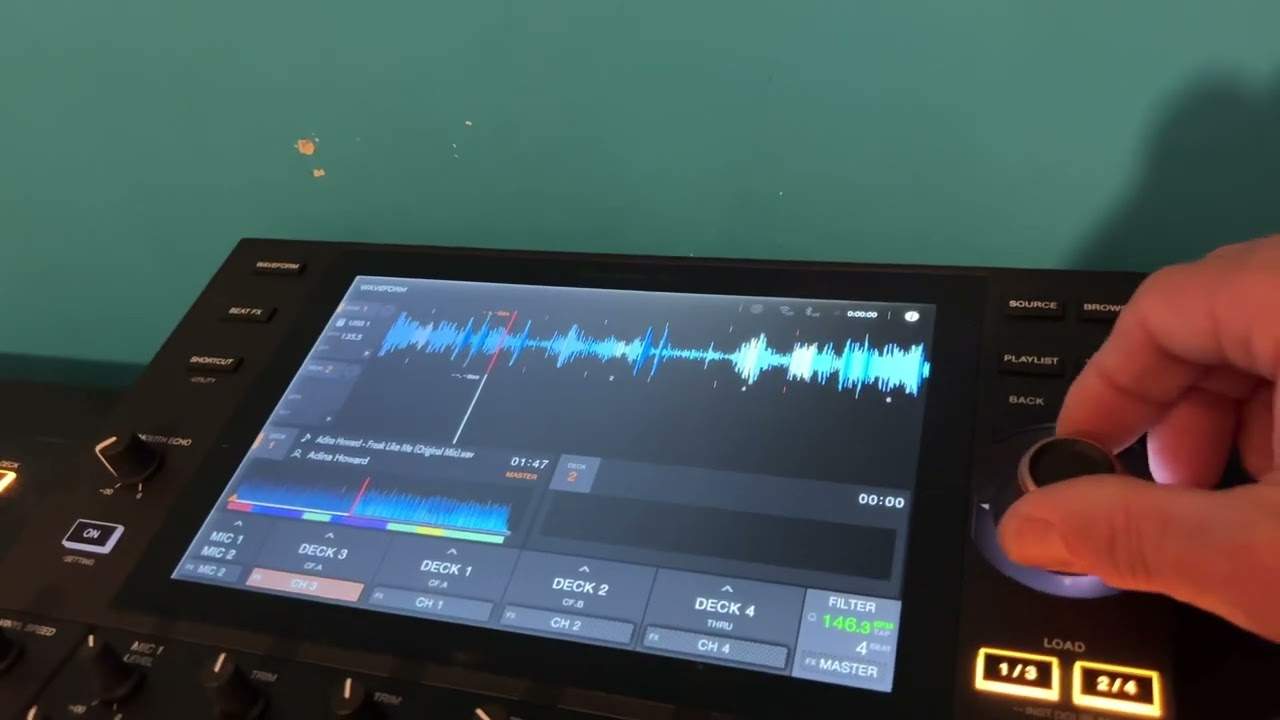
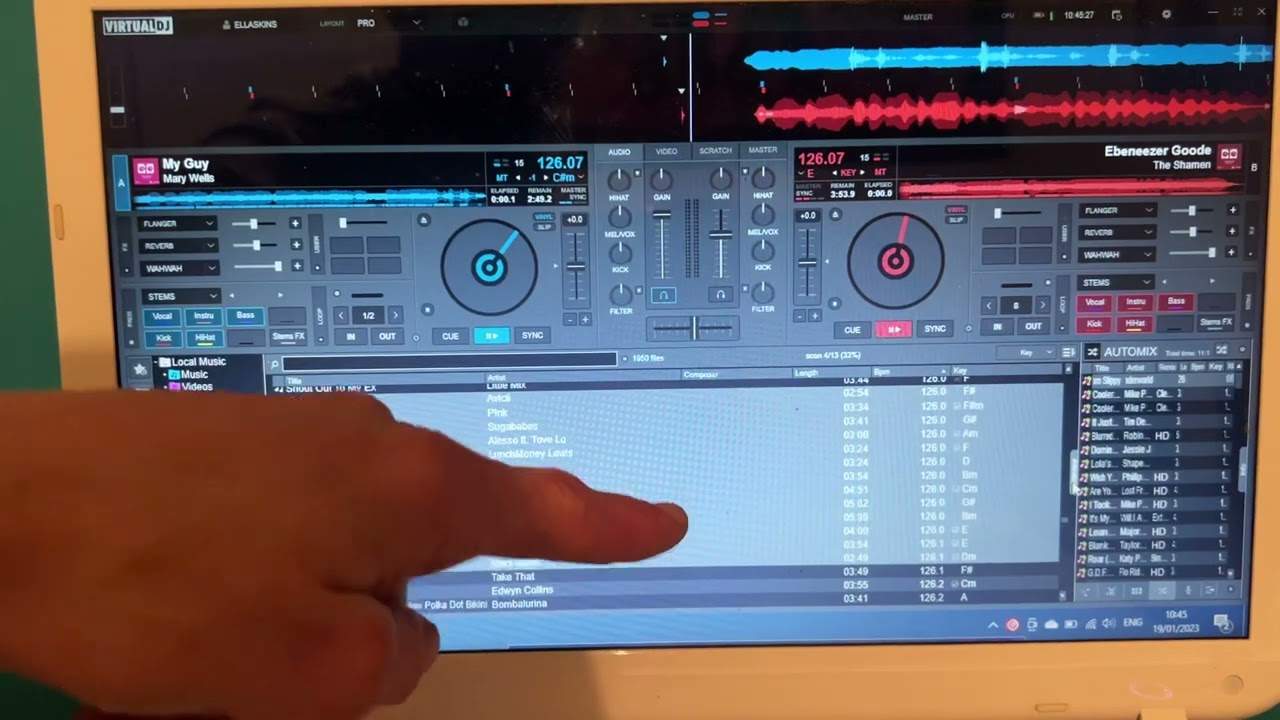
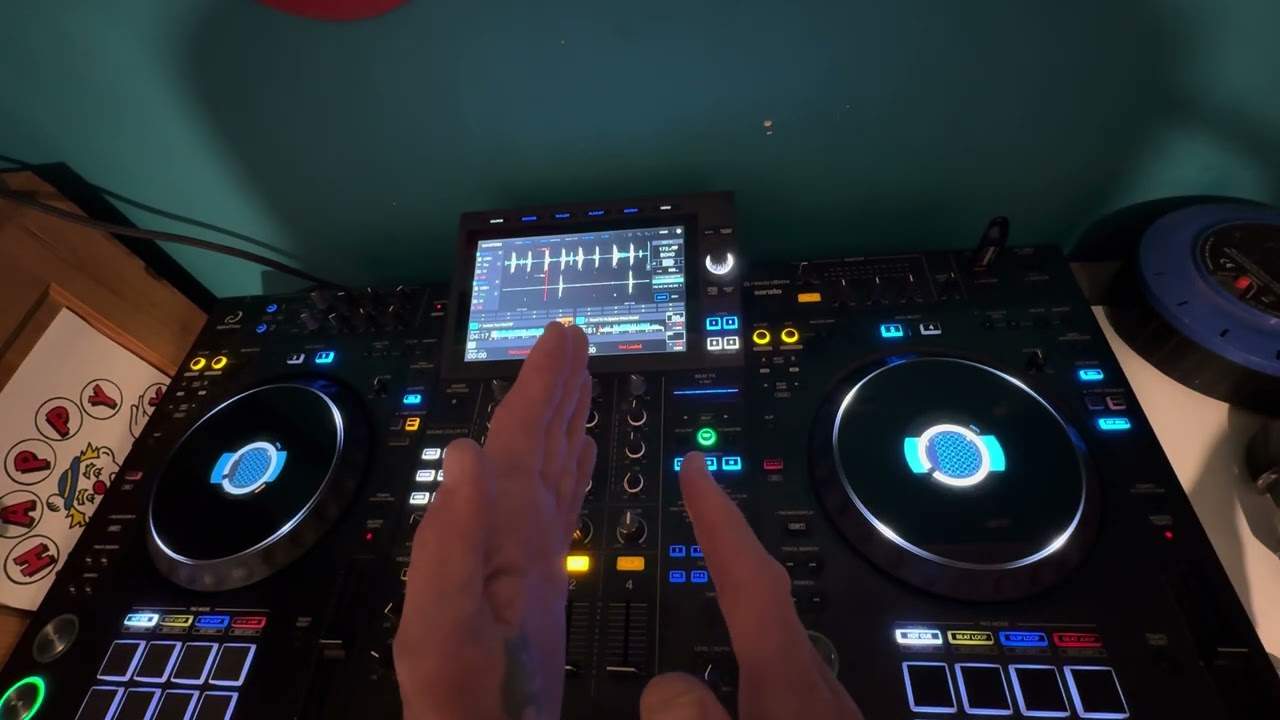
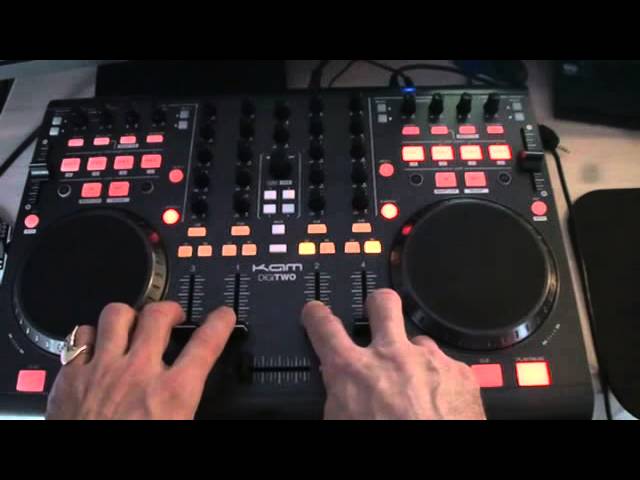
Right guys, tutorial here on the Digi 2 from a company called Cam. In this tutorial we're going to look at the up-faders, there's four of them, the centre part of the particular controller, the platters, cue, play, pause, assigning the crossfade, also have a look at the software and how to set up the software so this controller will work. Right, now this guy here will come with VirtualDJ LE. There it is and to set up is very, very simple. Top right hand corner we have the icon there, configure, so you'll need to go to that and you'll notice here we have this area with sound card. You need to just make sure you'll highlight the MIDI device 800. Click there, apply, OK and you're good to go. Right, if we have a look.
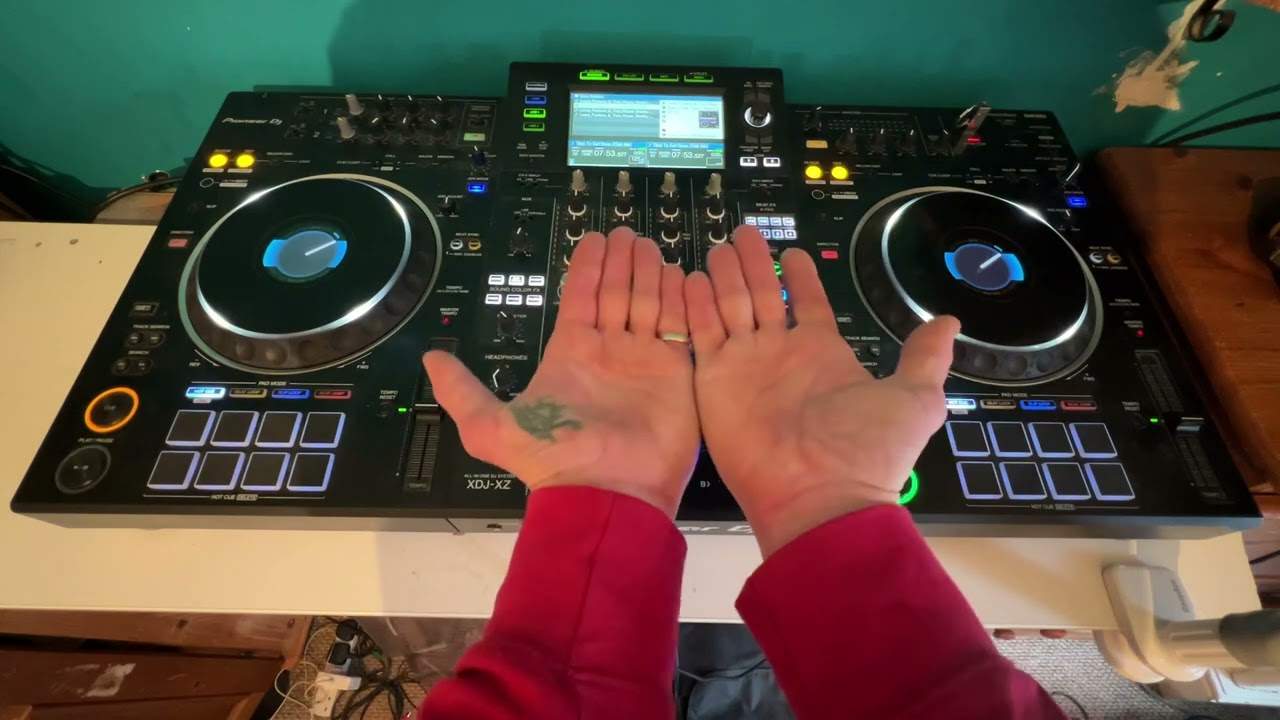
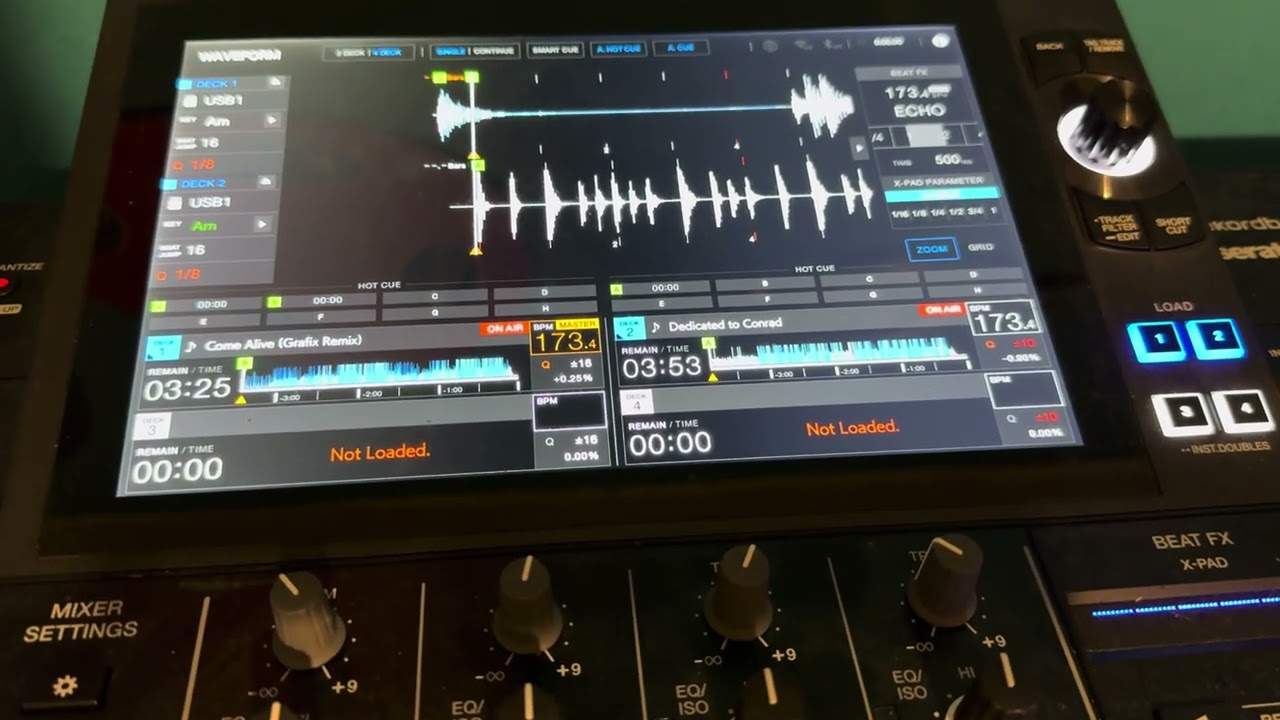
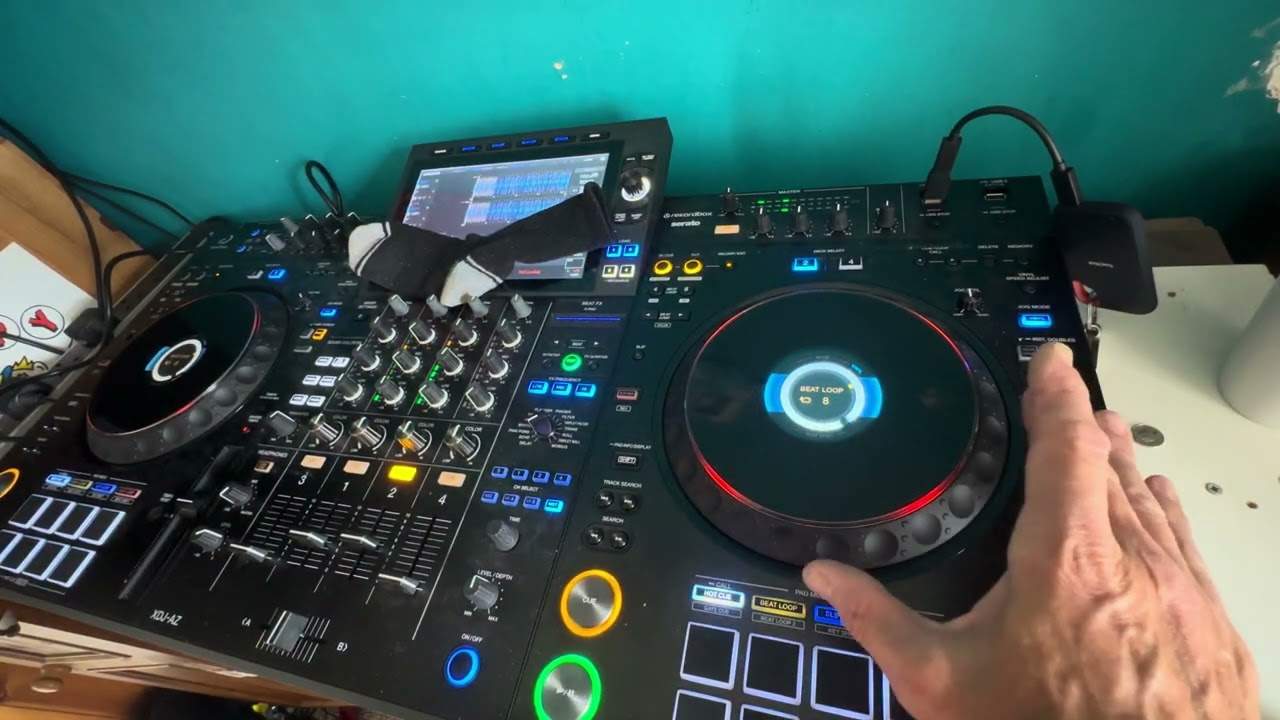
Now at the hardware and again for the beginners out there, this here is classed as the hardware and that is classed as the software. Alright, now this guy here you can, if you want to, you can mix with four turntables. Now you'll notice we only have two virtual turntables on this particular piece of kit but what you can do is on the right hand platter you'll notice at around about 11 o'clock in the morning, we've got a button there with deck 4 above it. By pressing that, we can then change from deck 4 to deck 3 and exactly the same on the left hand side. At 1 o'clock we have a little icon with deck 3 above it. By pressing that we can go from deck 3 to deck 1. So right hand side we will go from 2 and 4, left hand side 3 and 1.
2:22 You can assign the crossfade to whichever side you want
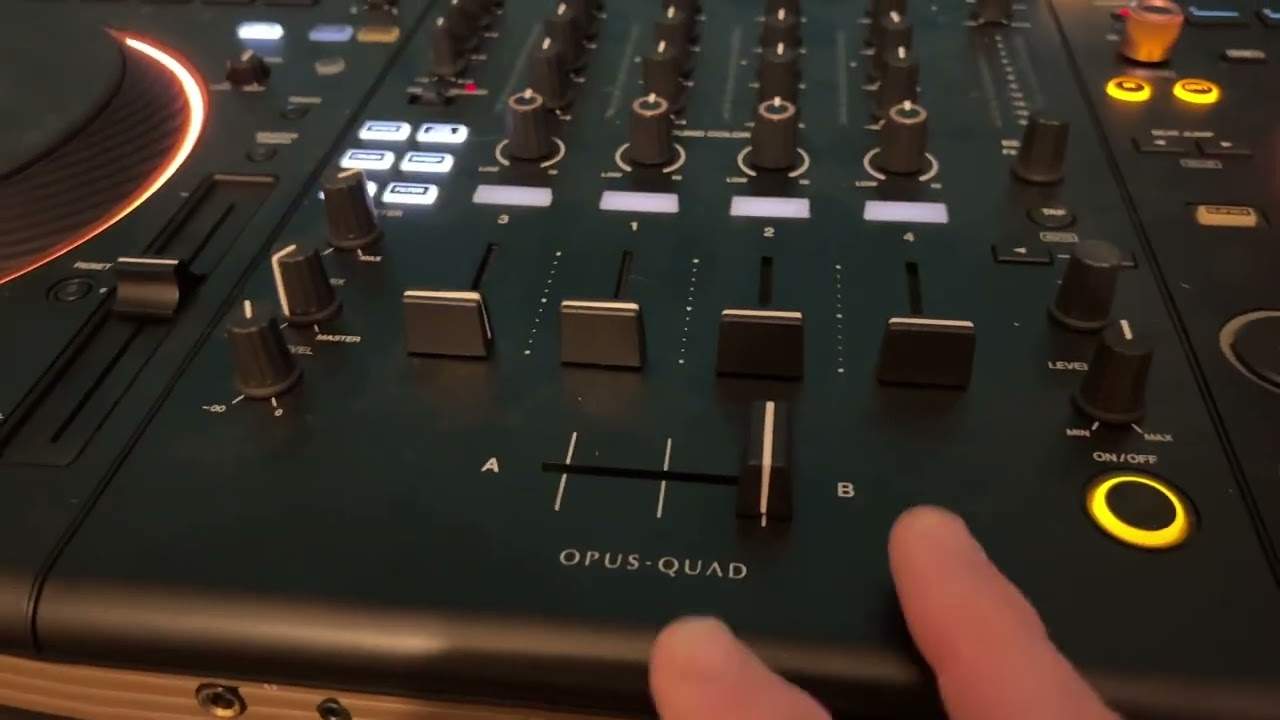
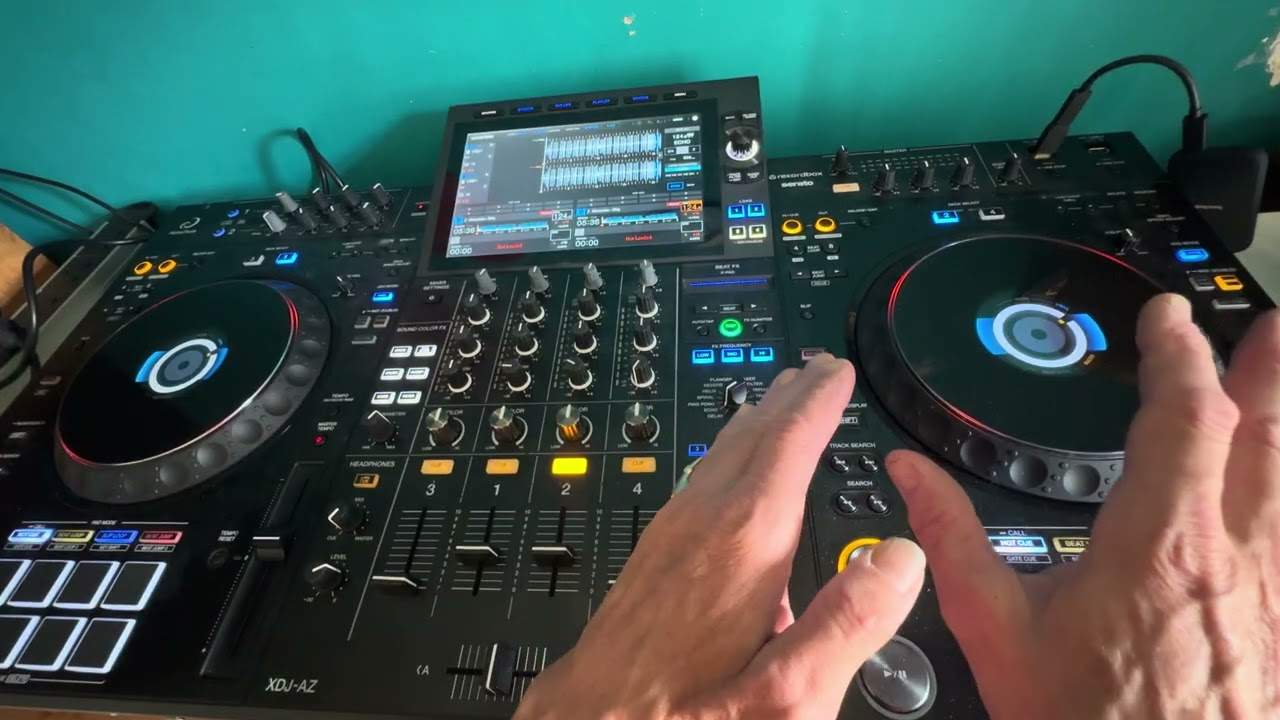
Alright, excuse me. We've got a crossfade here as well and above each of the up faders we have two buttons that can, when you press them they'll light up. On up fader 3 we have L3 and R3, up fader 1 we have L1 and R1, up fader 2 guess what we've got L2 and R2 and up fader 4 we've got L4, R4. Now they are there for you to assign the crossfades. You can assign the crossfade to whichever side you want. So if we press play there, on deck 3 at the moment now, what I can do if I want to by pressing R2, now I have assigned that channel to the right hand side. If I move the crossfade over, the sound's gone but at the same time if I want to I could press that one again and now the crossfade has been taken away.
We're not utilising the crossfade at all. If I put it back to the L side and press L2, move the crossfade then over to the right hand side, the sound has gone. So we can do that at any time we want to any of the channels if you require. You can assign all of the channels to the right hand side, all of them to the left or some to the left, to the right. It's entirely up to you so we'll bring those down. Now what we do find with a lot of controllers they've got this area here. A small dial in the centre of the unit. Now this is a great way of scrolling through the tracks, scrolling through your PC to find the relevant files you need to use. So if I just move that and we look at the PC you can see I'm scrolling through the particular files at the moment.
4:21 One, two, three, four buttons
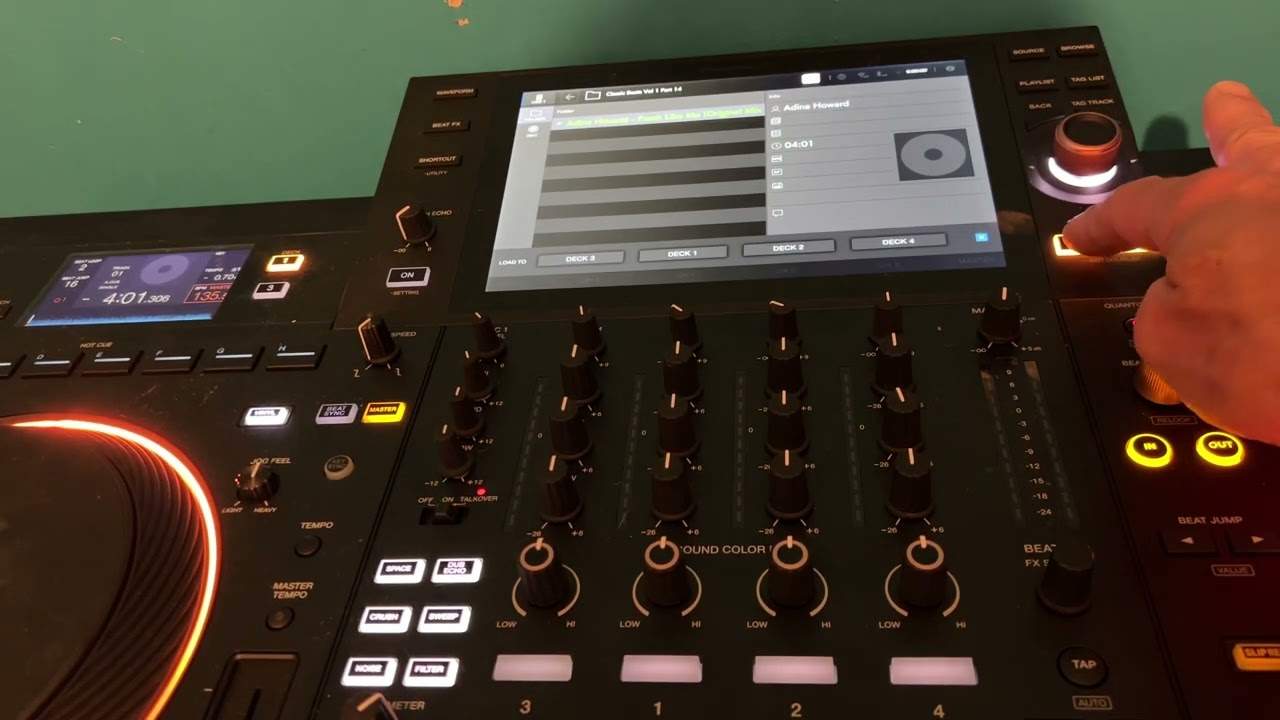
There's a button here with back on it so at any time I can press that and I can go back where I was prior to getting to this point. So for example by pressing back now I'd go back to the folder at which those files were in. If I hit back again, I'll then go to maybe a part of the PC where that folder was. So again it's very straightforward to use back. You will go further back, back, back eventually you'll probably get to just computer. So at the moment now I've got some files there so by utilising this dial I can flick through the files. You'll notice here we have one. One, two, three, four buttons. As soon as I've got to a file I want to play I can then press one, two, three or four and you'll notice that file now is loading up.
So that's near enough ready to go but of course I need to make sure if I've put that file, assigned it to channel one I need to make sure I'm ready to go on deck one. There we go. Bring that down. Now maybe I need to choose another track like so and I'm going to assign that to number three. What I need to do though is I need to press the icon here, now that's shining. Now that file is ready to go on deck three. Press play and away we go. So now I've got a track on channel one and a track on channel three. It goes down on this mixer, controller. The first dial here is for filter. Then the next one is bass. Mid and then high and then your gain control. Bring that down. Right also here we've got a master volume control now that's the master output.
So each one of these, the gains on each channel is specifically designed to increase or decrease the volume for that said channel. The middle one here will increase or decrease the volume for the whole of the unit itself. Below that we've got booth, so this kind of thing is ideal let's say for a small club or a bar. So for example if the DJ needs their own monitor system then you can have a separate output into a separate amplifier and in turn into separate speakers so this is the volume for the DJ and the master is the volume for let's say the dancers etc. Alright a basic look at this guy as well alright there will be more videos to come it's called the Digi 2 from Cam and I will say practice and enjoy, nice one.
This transcript was produced automatically from the audio of the video and may contain mistakes.
Related videos
-
Complete Beginner DJ Lessons Tags Key BPM Etc
A more advanced lesson folded in early, and worth doing once rather than putting off, because everything it sets up gets used for years…
-
Complete Beginner DJ Mixing Lessons Video 19 Getting Your Kit Ready for an Easy Mix
A whole lesson on getting ready, which is the right call - the exercise in the next video only teaches anything if the two decks are…