 4:52
PIONEER DJM-5000, How the Zone feature workes
Contents of the video
0:01 And show how the zone feature
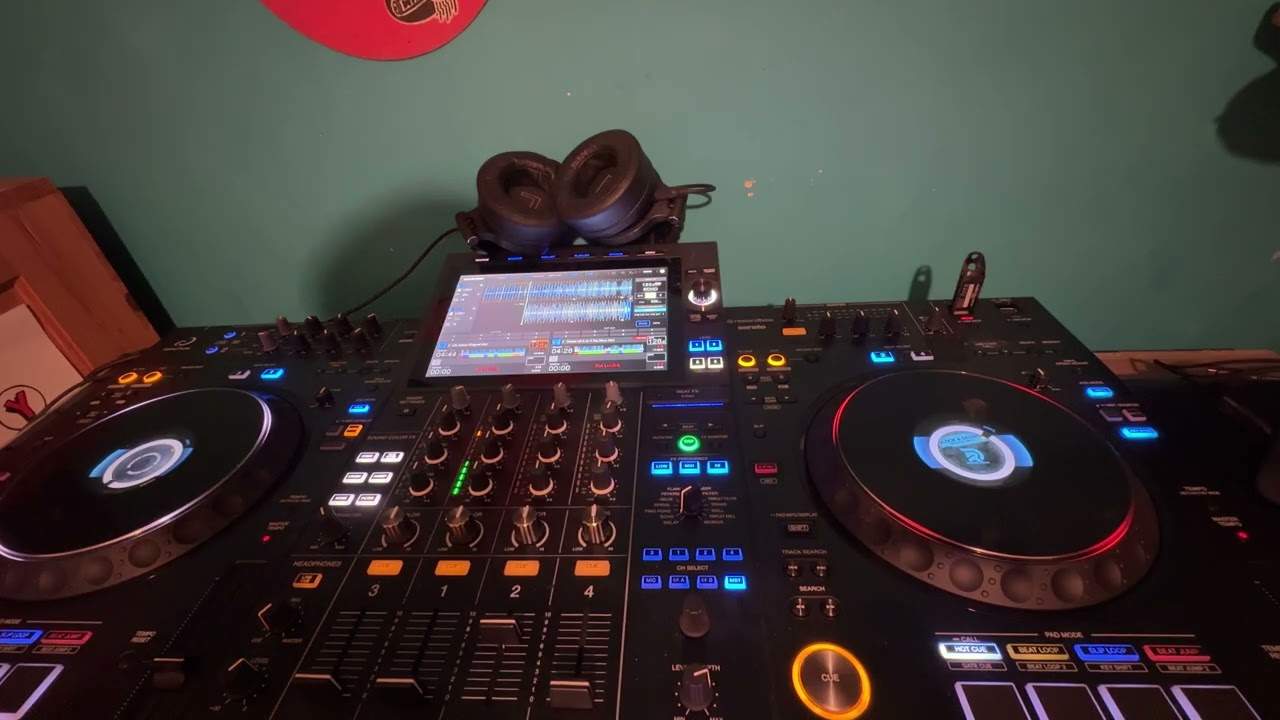
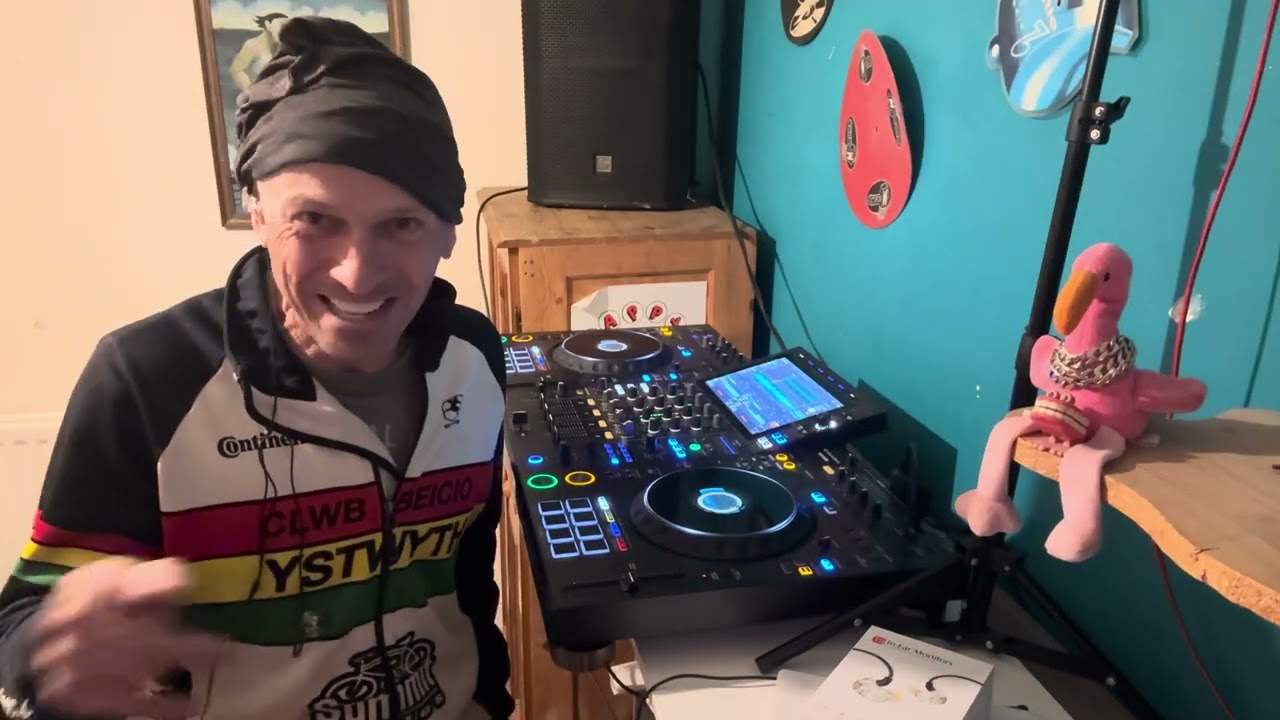
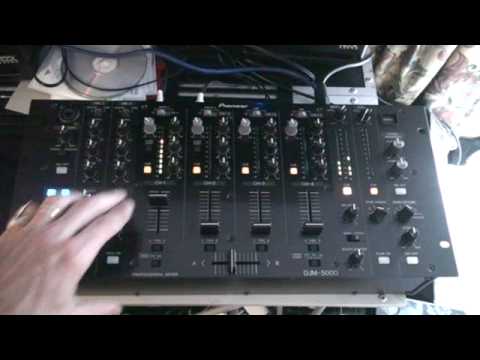
Alright folks, another demo stroke tutorial on this guy here, the Pioneer DJM5000 mixer. In this one I'm going to explain and show how the zone feature works. In the back of the mixer we have quite a few outputs, two of them being for zone and also for master out and their XLR outputs. Now to make life easier you can see I have a black cable here going into that powered speaker, excuse me, a fever. And then I have a blue cable there, which is from the master out going to that speaker. Now theoretically as well, you would have two cables going to your master out, two cables if you wanted to, to zone. In other words, right and left into stereo amp, out of the amp, into two speakers, and near enough exactly the same for zone over there.
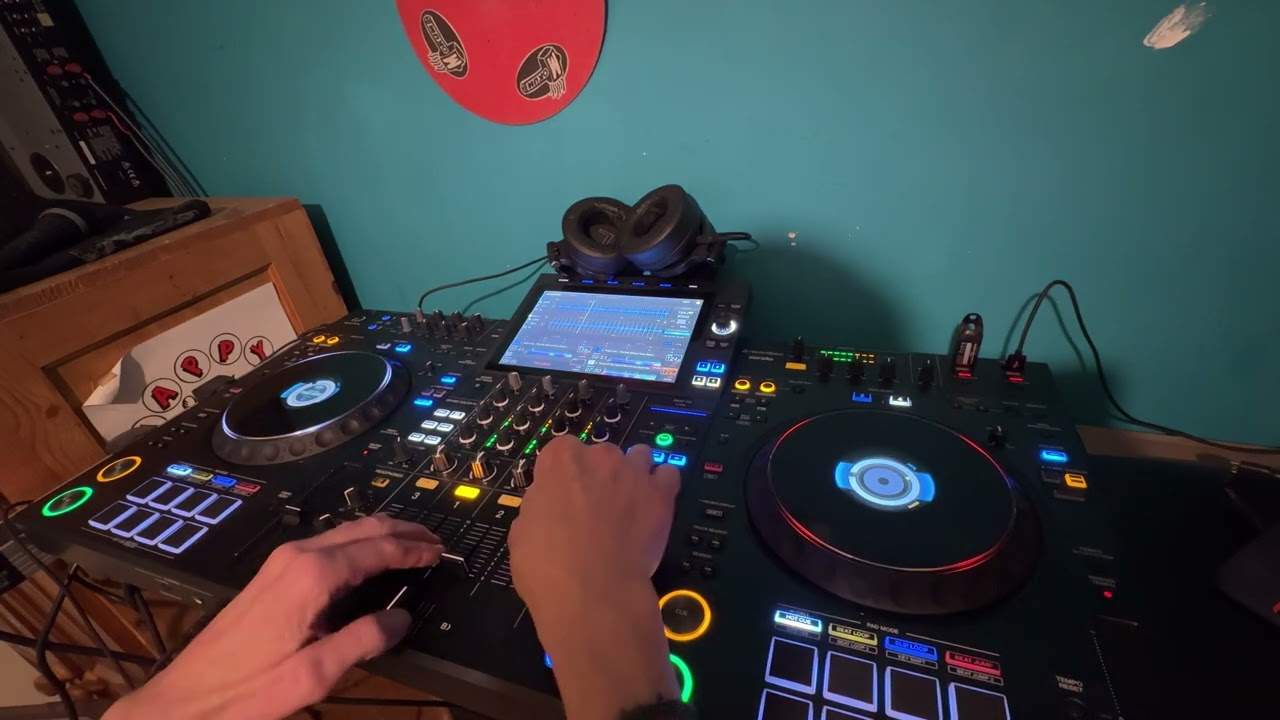
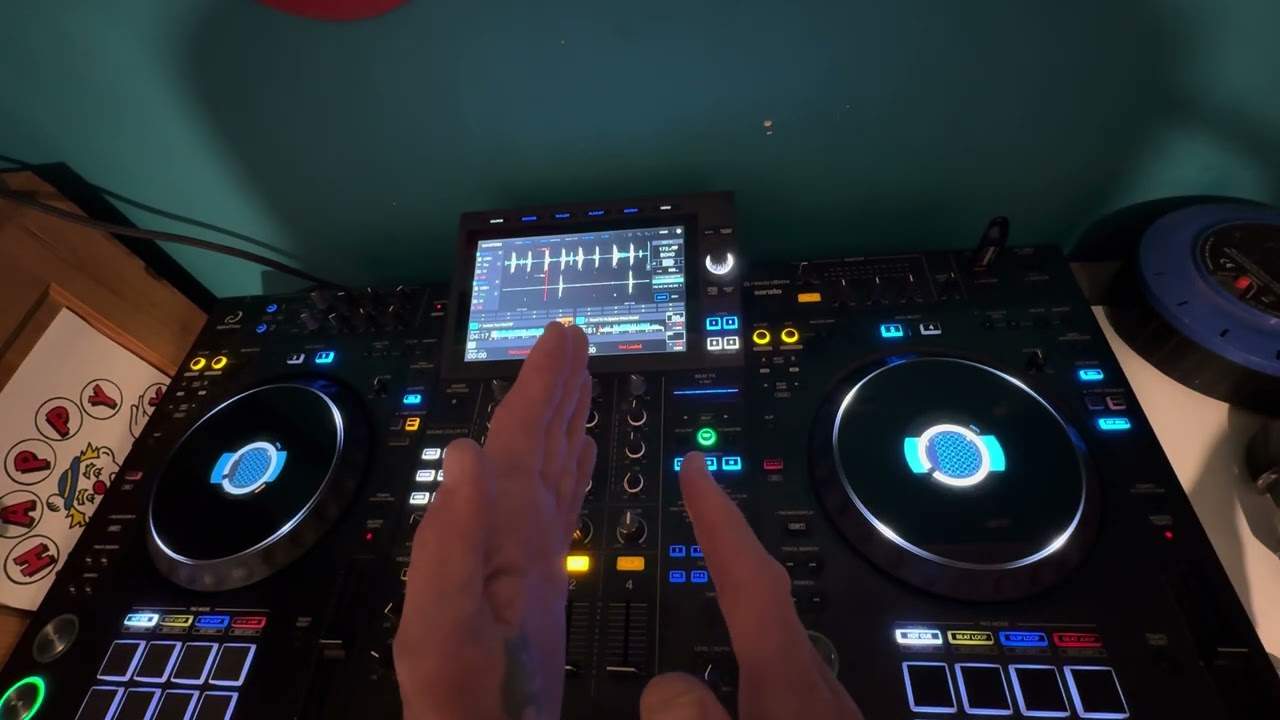
So, what I'm going to do, first of all, I'm going to put both volumes down. All this is totally relevant to this video and I'm going to play the two tracks. So there you go, you can see track on channel one is playing track one and then also here we've got another track, track one on channel two is playing but we don't have any volume at all. What I'm going to do now is press that zone on. I've got zone assigned to number one. And I'm going to turn this dial all the way down. What I'm going to do now is press play again. You can see the master volume here for this channel is still down. But I'm now going to slowly increase this dial here and have a listen. Right, let's just cue that up again. So, I'm going to turn that back down. I'm now going to depress zone on so now that light is not shining and turn the volume up. Press play again. And there we go.
1:53 Speaker attached, heard speaker
Now it's probably very difficult to hear this utilising the microphone on the camera, but when I originally played the track and you heard it, you heard it through that speaker there which is attached to the zone. The second time I played it, you heard it through this speaker here which is attached to the master out. So let's go back here. Now let's say for example we are playing a track in our room, in the room where your main PA system is as follows. And for example, we want to play some cocktail music or some laid-back music, maybe in another room that's just maybe, I don't know, 10, 20 metres away. But, of course, logically, we don't want those people to hear this track. OK, now let's just turn that down a second so you can hear me. This is what we need to do. I need to set the zona sign to number 2, which is channel 2 here. What I need to do then is make sure that...
3:27 Zone assign number two
Ellaskins, The DJ Tutor. But because I'm using this volume here, we're now getting that track in the next room where they want to listen to cocktail music, etc. So, how do we do all of that and still make sure the night is running smoothly? Okay, let's pause that. Let's play this one here. Like so. What I can do then, I can go to zone assign number two. I can then press this button here, zone on. I can press play. We can see a signal's coming through there, and then I can turn this up. I have got that track in the other room, and at the same time I've got this track playing in my room where I am. So for example, I can turn that down, and that is, let's say, when they're listening to cocktail music. This one here is the main room. And at any time I can turn that down, and there you go.
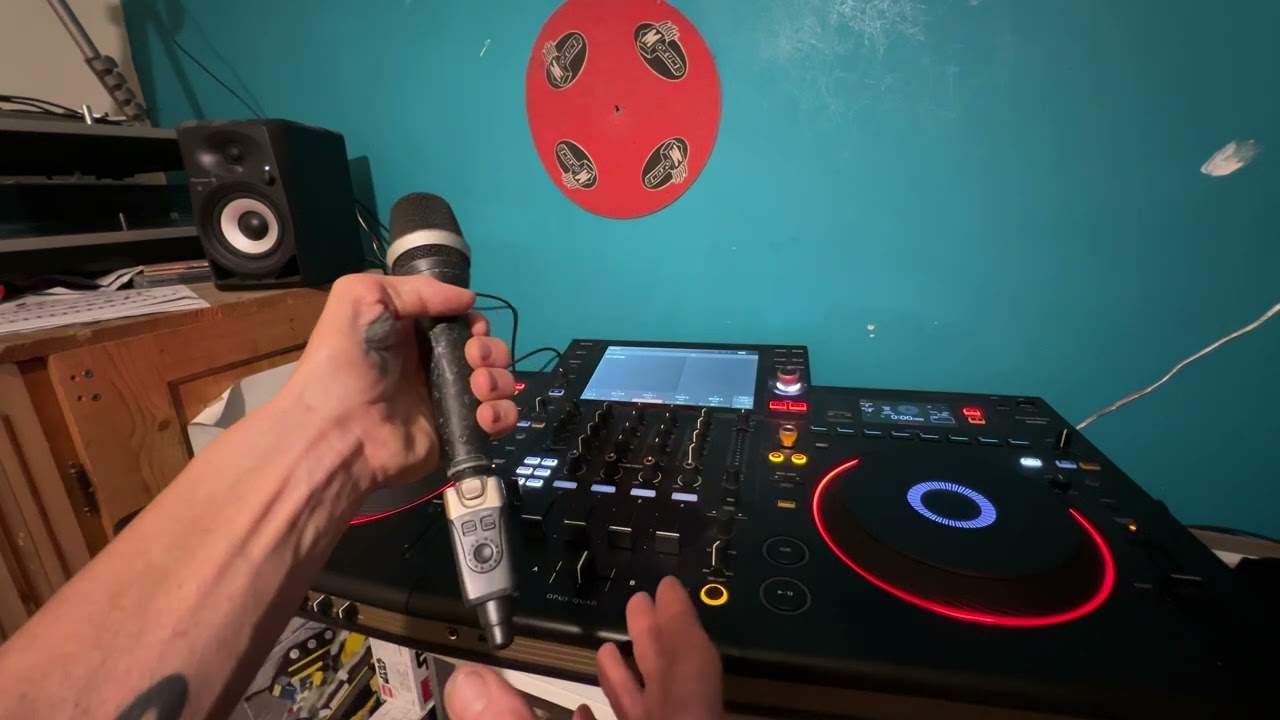
Also what I can do, I can set this guy here so I can talk through the microphone to that room and not to the room that I'm playing in as well. Alright now I hope you get that. If there's any questions, comments, put them underneath here. Quick video on the DJM5000 mixer and in this one we're looking at the zone feature. Practice and enjoy.
This transcript was produced automatically from the audio of the video and may contain mistakes.