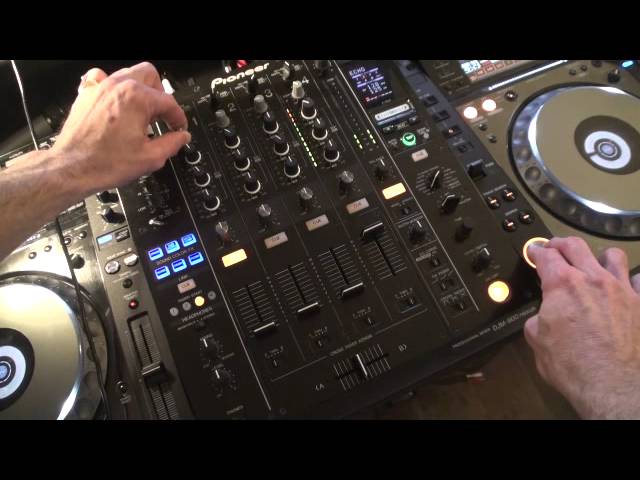
 3:27
Cue, mixing and the master dial
On YouTube this video is called Pioneer DJM900 NEXUS. Tutorial 4, Cue, Mixing and Master dial
What this lesson teaches
A short lesson on the headphone section of a mixer, which contains one genuinely important idea.
Cue, and the blend
Each channel has a cue button. Press it and that channel goes to your headphones, regardless of whether its fader is up - which is how you audition the next record while the current one plays.
The cue/master dial then blends what you hear. Turned fully one way, your headphones carry only the cued channel. Fully the other way, only the master output - what the room is hearing. Anywhere in between, a mixture of both.
That blend is the control that makes beatmatching possible. You need the incoming track and the outgoing track in the same ears at the same time, and this is the knob that sets the balance between them.
The part that matters, and that almost nobody explains
His closing reason for the dial is the best thing in the video: it is for when you have no monitor speakers in the booth.
Here is why that is a problem rather than an inconvenience. If your only reference for what is playing is the main PA, you are listening to speakers several metres away. Sound travels at roughly 340 metres a second, so a speaker ten metres off arrives about thirty milliseconds late - and in a reverberant room, smeared as well.
Thirty milliseconds is a long time when you are trying to line up two kick drums. You cannot beatmatch against a delayed, echoing version of your own output; you will chase it, correct for the delay, and end up out.
The cue/master blend solves it by giving you the master signal electrically, inside the headphones, with no travel time. His word for what you avoid is echo, and that is exactly it.
So in a booth with no monitors: blend towards master to hear the mix as it really is, blend towards cue to work on the incoming track, and never trust the room for timing.
Mono split
Most mixers have a switch nearby for mono split, which does something different with the same signals: it puts the cued channel in one ear and the master in the other, both in mono.
Some people find that far easier for matching, because the two tracks stay separated rather than blending into one image. It is worth trying both and finding out which your ears prefer - there is no right answer and plenty of professionals use each.
Contents of the video
0:01 Function here, which is Cue, Mixing
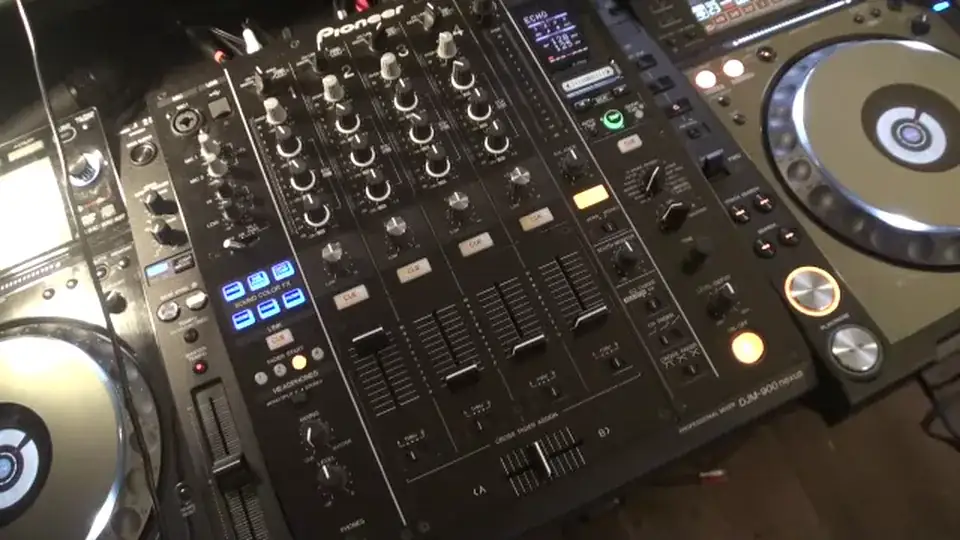
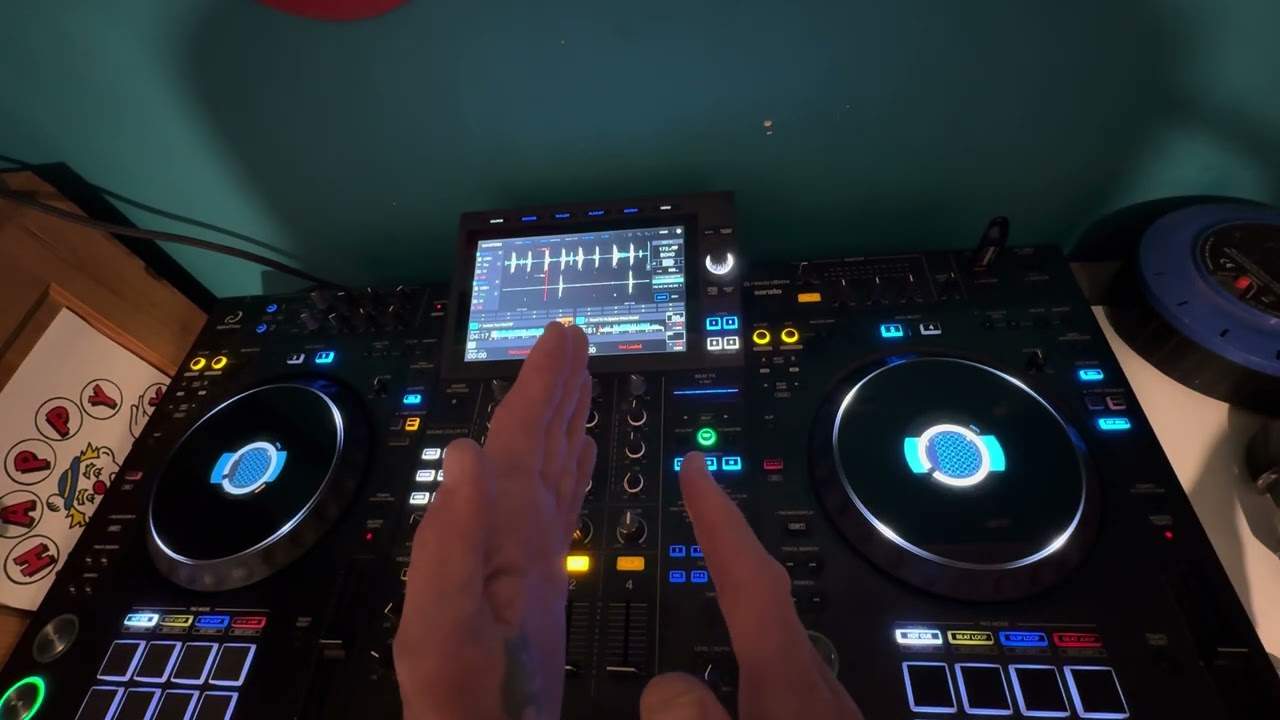
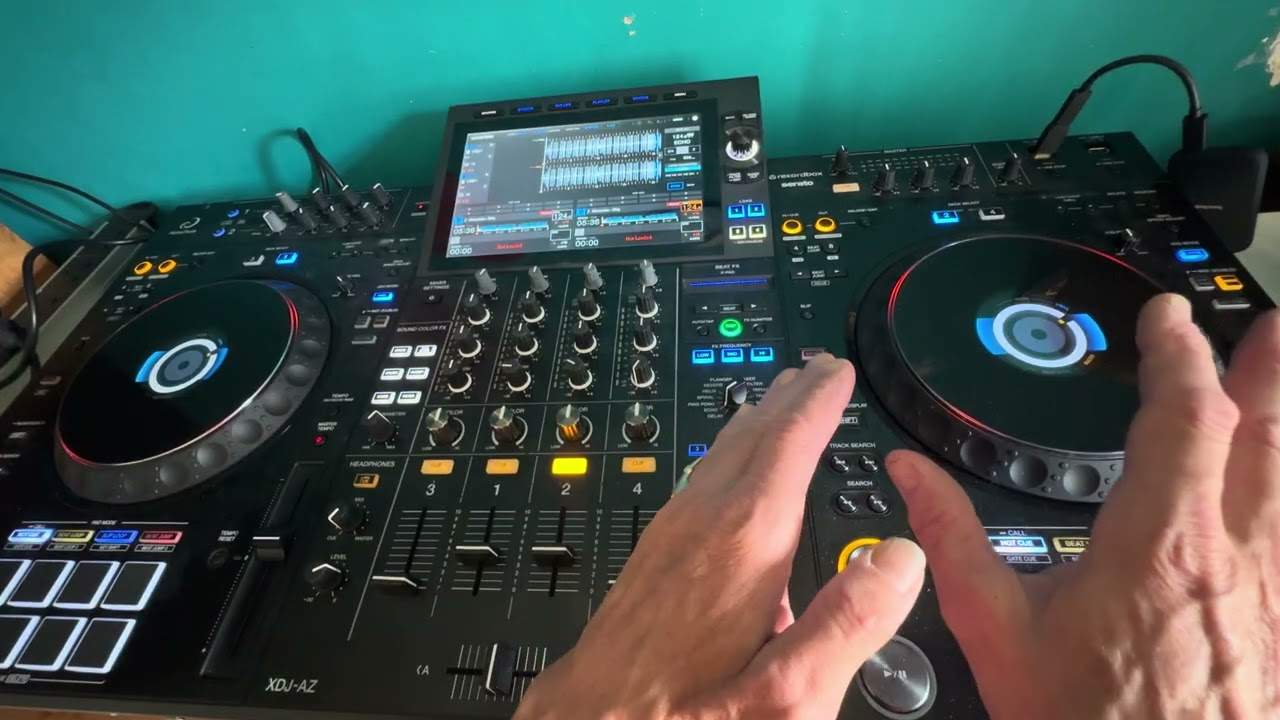
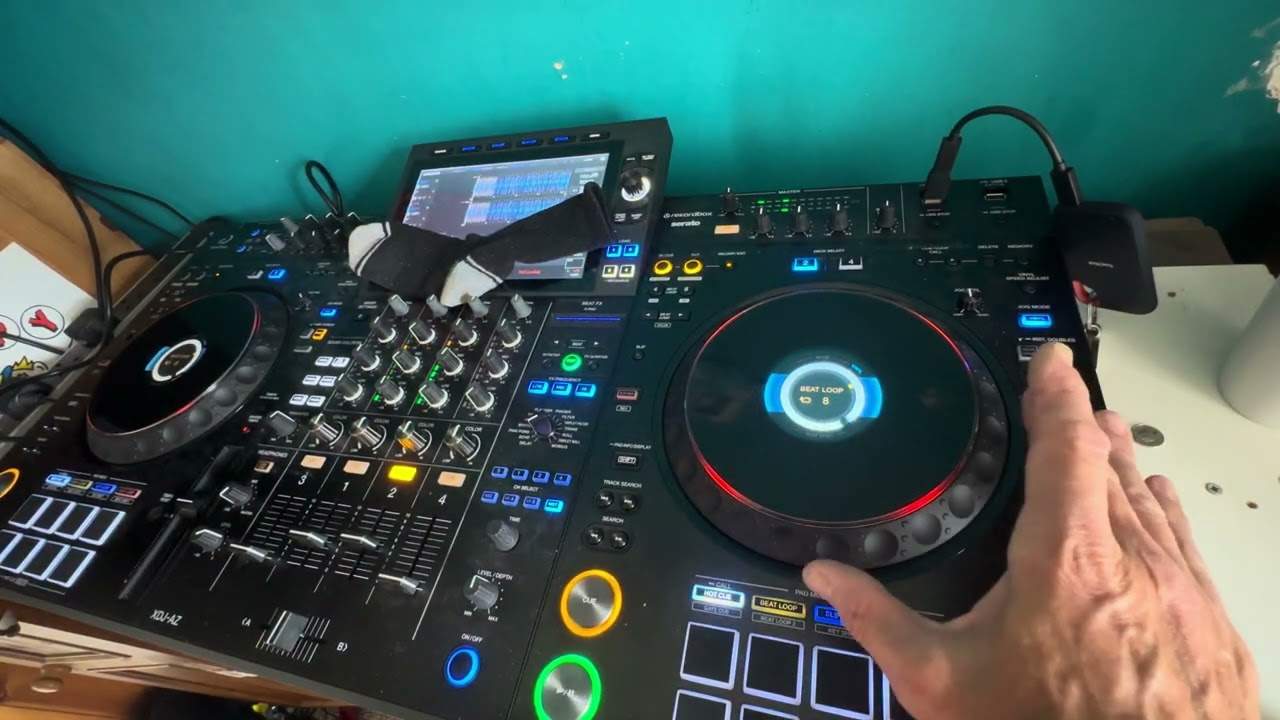
Alright guys, tutorial number 4 on the DJM-900 Nexus Mixer from Pioneer. In video number 4 we're going to look at the function here, which is Cue, Mixing and Master. This in turn will work with the headphone level volume. So, I've got a track ready to play on channel 1. It's called Higher by Deception. We'll press play. As you can see, we have the LEDs shining here, but no volume, even though I have the slider up and I have the headphone volume up as well. Also note, on the master volume, I've set Cue. We notice here, we have Cue, Mixing and Master. As I now increase the volume here, from 7 o'clock up to 12, we can now hear through the headphones the track that's playing.
1:02 Press Cue on the master and the volume, the sound has gone
Press Cue on the master and the volume, the sound has gone. This dial will let the user not only hear what they decide to listen to on the individual channels, but also enable the user to listen to the audio. So, for example, the user could listen to track 1, line 1, channel 1. And if they wish, they could hit the Cue button there. They could also have another slider up. So, for example, we can hear in the background the other track playing, which is the same song. But of course you can see the Cue button isn't highlighted there. That's because the volume is up and the track is being played through the master out. We can see here and here.
2:18 Move the dial anti-clockwise and the opposite will happen
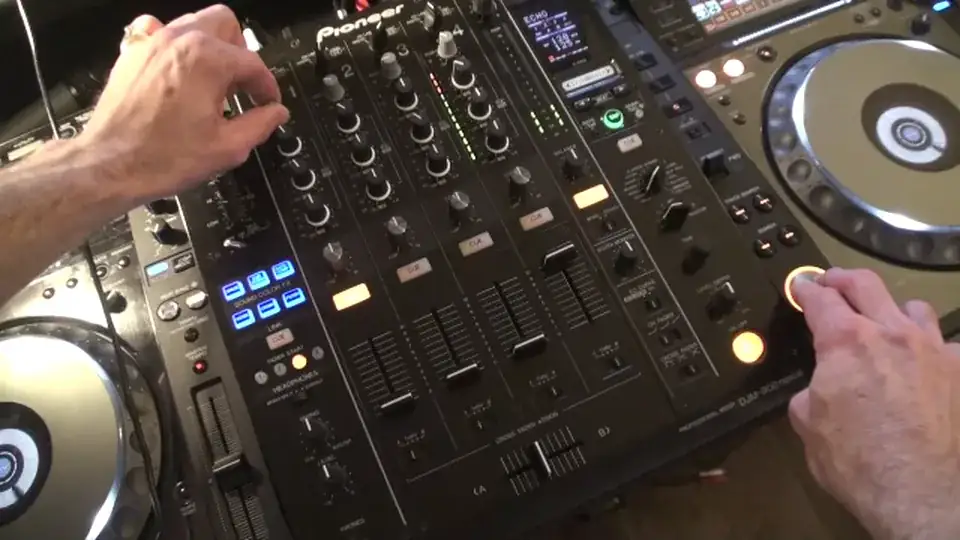
By moving this dial more clockwise will mean that the user will be able to hear more of that track because we have Cue pressed here. And as the user moves the dial clockwise, the user will be able to hear less of any other track. Move the dial anti-clockwise and the opposite will happen. One of the main reasons for this dial is, for example, if you're in an environment where you do not have any monitors. It's a good way of getting a good quality real-time sound for the person who wants to do some proper beat mixing. By utilising this feature you will not get any echo enabling you to do good beat matching. Hope that's been a help. Tutorial number four. Practice and enjoy.
This transcript was produced automatically from the audio of the video and may contain mistakes.
This video is part of
Related videos
-
Complete Beginner DJ Lessons Tags Key BPM Etc
A more advanced lesson folded in early, and worth doing once rather than putting off, because everything it sets up gets used for years…
-
Complete Beginner DJ Mixing Lessons Video 19 Getting Your Kit Ready for an Easy Mix
A whole lesson on getting ready, which is the right call - the exercise in the next video only teaches anything if the two decks are…