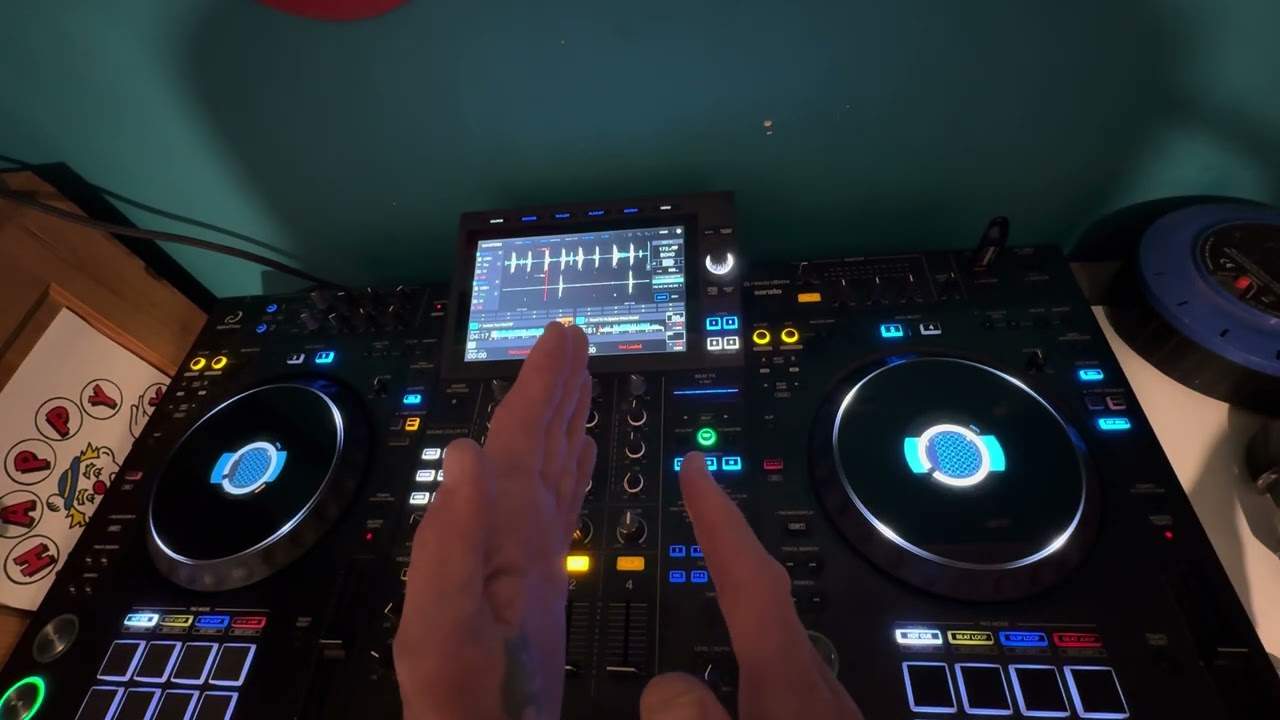
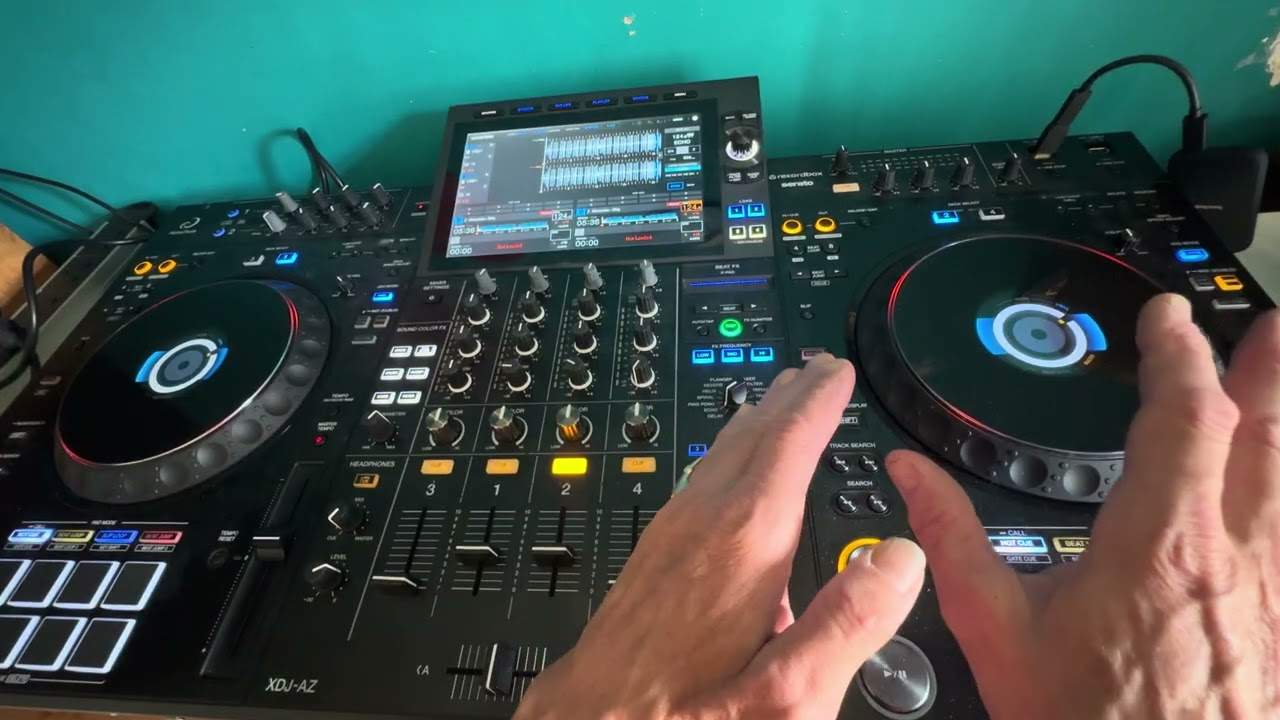
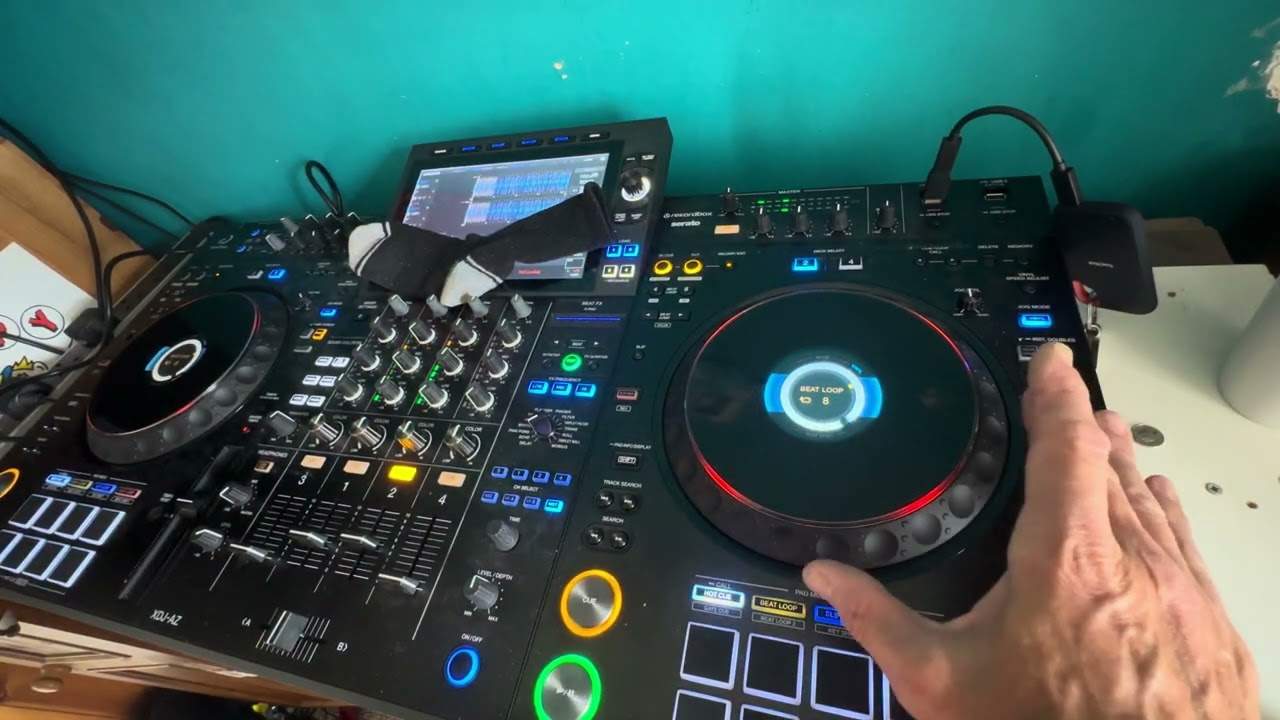
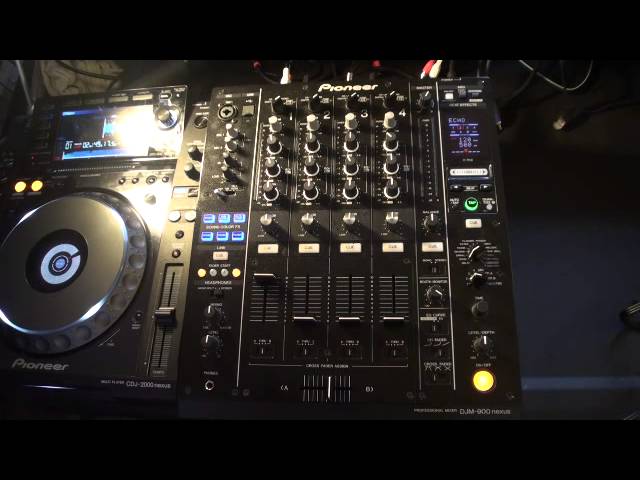
 7:06
A club mixer, control by control
On YouTube this video is called Pioneer DJM900 NEXUS. Tutorial Number 1
What this lesson teaches
A full walk round the DJM-900 Nexus, narrated deliberately for partially sighted viewers - he describes position as well as function throughout, which makes it unusually easy to follow.
It is worth reading even if this mixer is well out of reach, because it shows what a flagship club mixer is designed to do.
A channel strip, bottom to top
Each of the four channels is identical, and learning one teaches you all of them:
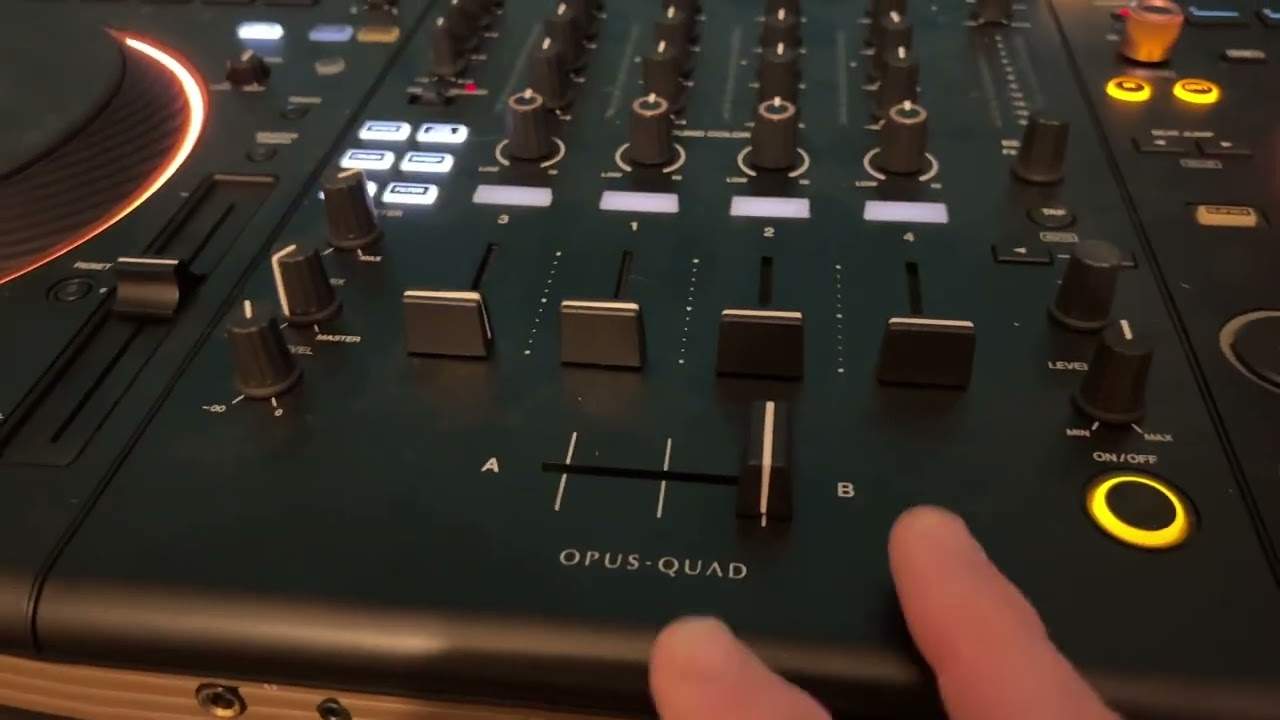
- A crossfader assign switch below the fader, to connect that channel to the crossfader or disconnect it.
- The channel fader.
- A cue button for headphone monitoring.
- A colour effect dial, a per-channel effect you can sweep in.
- Low, mid and high - the EQ.
- Trim at the top, the input level, with its own meter alongside.
- An input selector: digital, CD/line, phono, or USB.
One detail with practical consequences: only channels 1 and 4 have phono inputs. Channels 2 and 3 get an extra line input instead. So on this mixer your turntables go on the outside channels, which is also where most people want them.
The headphone and microphone section
Bottom left: the headphone socket, its level, the cue/master blend, and a mono split / stereo switch. Above those, fader start switches for each channel.
Then two microphone channels, each with its own level and a two-band EQ, and an input at the top that takes either XLR or jack.
Two microphones with their own tone controls is a mobile and club feature rather than a bedroom one - it means an MC and a host can both be live without sharing a channel.
The master section
Master level with meters, master cue, balance, mono/stereo, and separately a booth monitor level.
The booth control is worth singling out: it feeds the speakers in the DJ booth from a level control of its own. You can turn yourself up without touching what the room hears, which is the difference between hearing what you are doing and shouting at the sound engineer.
Effects
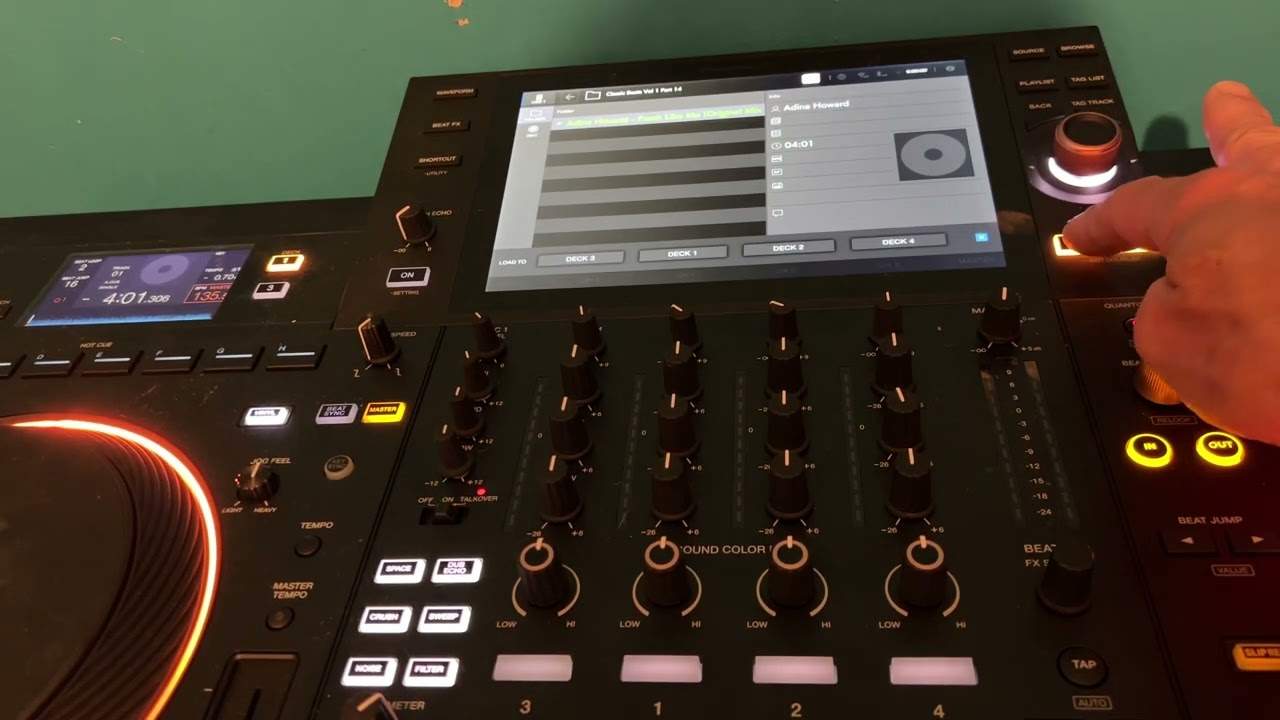
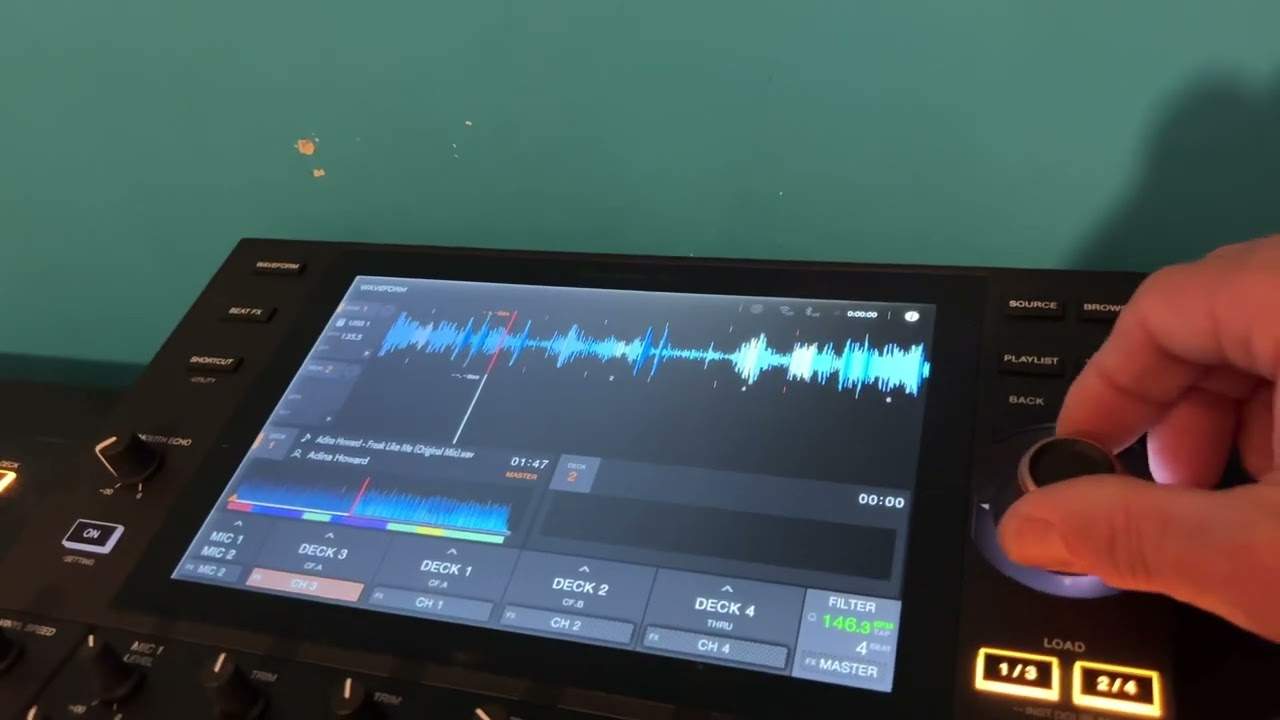
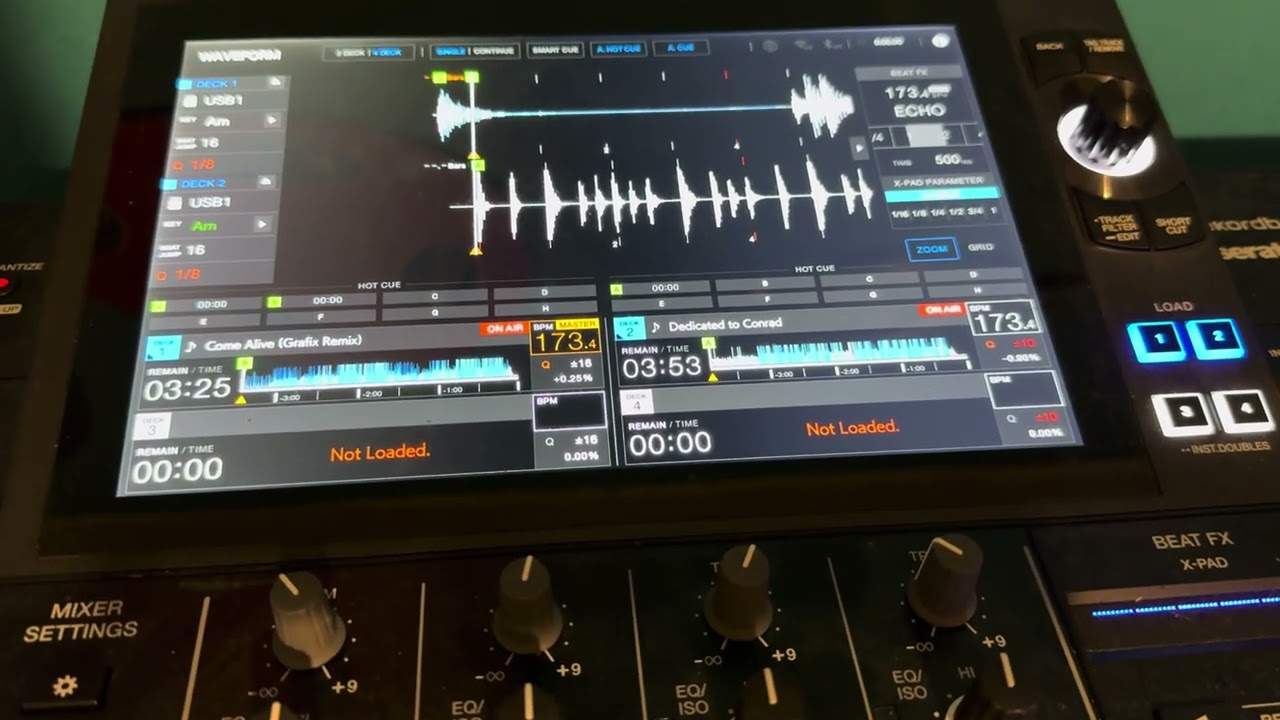
A screen, a dial to pick the effect, a dial to choose which channel it lands on, beat division buttons, time and depth controls, an on/off, tap tempo, auto/tap, quantize, and the X-pad touch strip underneath the screen.
What the money actually buys
The tour makes the real point by accident. There is nothing here a cheaper mixer cannot do in some form - plenty of controllers have effects, EQ and cue.
What this has is a dedicated physical control for every one of them. Very little is behind a shift key, a menu or a second function. In a club, at volume, with people waiting, the difference between a knob you can find by feel and a setting you have to go and look for is the difference between doing it and not bothering.
That is what club-standard means, and it is worth knowing so you can judge what you are paying for lower down the range.
Contents of the video
0:01 Basic functions of the mixer
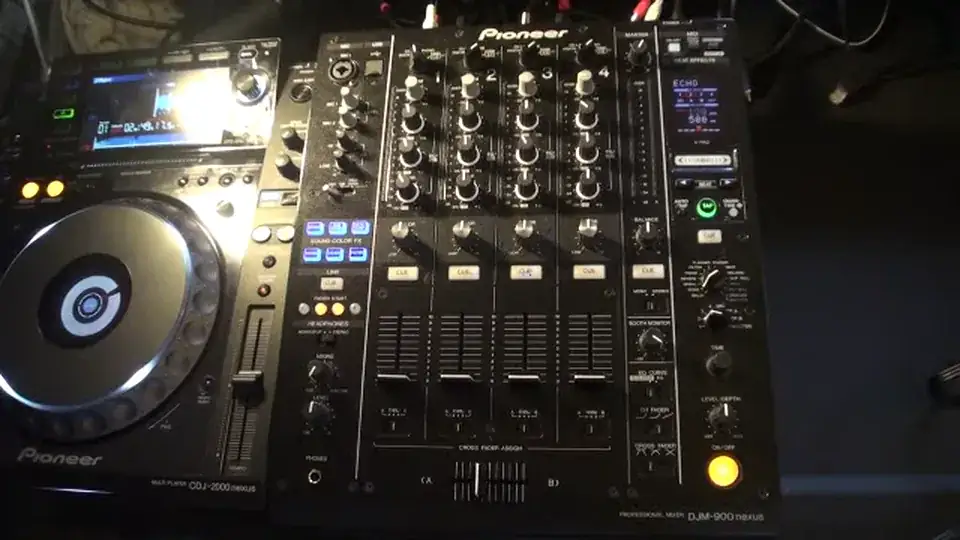
Alright guys, tutorial number one on the DJM-900 Nexus from a company called Pioneer. In tutorial number one we're just going to have a look at the basic functions of the mixer. I'm going to try and explain everything precisely and concisely as possible for the partially sighted. In future tutorials we're going to have a look at more of the functions and concentrate in future videos on certain aspects of the functions. So first of all, this guy here is a four channel mixer from left to right, one, two, three, four. Below the channels we have small switches and these are for one purpose to engage or disengage the crossfade which is bottom centre of the mixer. Left hand side bottom we have our headphones input, above there volume control for the headphones. Above that we have a dial for Q or master. This is to enable us to mix the sound we're hearing through the headphones.
Above there we have a switch mono split or stereo. Above there we have four switches for fader start. Above that we have the Q switch. Above there we have six colour sound effects. Above that we've got a toggle switch for using the microphone. Above that we have low and high. These here are our EQ for microphones. We can have two plugged into here, the next one above the high is the volume control for microphone 2. The next one is microphone 1. Right top left hand corner we have the input for microphone. You'll notice we can use either an XLR or a jack input there. Next to that our USB input. Just going to use one track, the track I'm using is called Higher it's by Deception. You can see to the left hand side of the low mid and high we've got the LEDs.
2:20 Channel 1, channel 2, 3
That will show us how high the signal is coming into the mixer. If I turn the trim down which is just above the high we can see that the LEDs have stopped flashing and also there's no sound. I'll just stop that track. So on channel 1, we'll look at channel 1, channel 2, 3 and 4 are near enough exactly the same but I will be explaining how they are slightly different. So channel 1, above the fader we have a button for Q monitoring. Above that we have our colour effect dial. Above that low also known as bass. Mid above the low and then high also known as treble above the mid. Above that we have trim. Above that we have a switch. This will enable us to use different music sources in this one channel. So if we switch that all the way to the left, we can have a digital input.
Switch it to the right slightly we go to CD line. Again slightly we go to phono and then all the way to the right and we go to USB 1 and 2. Now channel 1 and channel 4 are near enough exactly the same because next to the USB we can use we can plug in a vinyl turntable. On channel 2 and 3, we can't but we have an extra line input instead of the phono. If we have a look then at the right hand side we have utility on off. We have a MIDI start or stop and LFO form button also as well. Below that we have our screen where we can see how we are using and what effects will be used. Here we just have the effects dial which is the centre part of the right hand mixer but we'll have a look at that in a second. Also on this mixer, a great feature is the X pad
4:43 Again, I will be explaining in future tutorials how we can use that
And that is below the screen showing us what effects we're using. We have two switches here enabling us to change the beat. Below that we have this button here with tap on it. Now again, I will be explaining in future tutorials how we can use that. To the right hand side of that we have a button for quantize to the left hand side of the tap we have auto-tap. Below that we have a Q button and then below the Q button on the right hand side we have this dial where we can go through our effects. Below there we have a dial which will let us choose what channel we want the effects to be used on. Below that we have the time dial and below that we have level depth. Below that we have a button for on-off. This will let us have the effects on
Or the effects off. To the left hand side of the on-off button we can set the crossfade. Above that we have channel fader select above that we have EQ or we can set that to EQ. Above that we have the booth monitor this dial here is similar to the master volume the difference is with this guy this is almost letting the DJ have their own PA system. Above that we have mono or stereo above that we have the Q button for the master volume above that we have balance so we can set the complete sound through the master volume to the left speakers alternatively if you want to if we set it to the centre which is the ideal position we can have as we should do have the volume coming equal sound through both speakers or we can set it to the right
Which means it will only go through the right channel. Above that we have the LEDs showing us the output to the master volume so we can either increase or decrease the sound into the PA for example let's say you've got a huge nightclub that is what people will be listening to if that is all the way set to zero they won't hear anything if you turn that up then they're going to be blasted. Alright, a basic look at the DJM-900 Nexus in future videos we'll be having a look at more of the functions in depth practice and enjoy!
This transcript was produced automatically from the audio of the video and may contain mistakes.
This video is part of
Related videos
-
Complete Beginner DJ Lessons Tags Key BPM Etc
A more advanced lesson folded in early, and worth doing once rather than putting off, because everything it sets up gets used for years…
-
Complete Beginner DJ Mixing Lessons Video 19 Getting Your Kit Ready for an Easy Mix
A whole lesson on getting ready, which is the right call - the exercise in the next video only teaches anything if the two decks are…