 3:11
Importing and exporting your files
On YouTube this video is called Pioneer rekordbox How to Import and Export Files
What this lesson teaches
Deliberately basic, and it covers the round trip: music in, music out, drive removed safely.
In
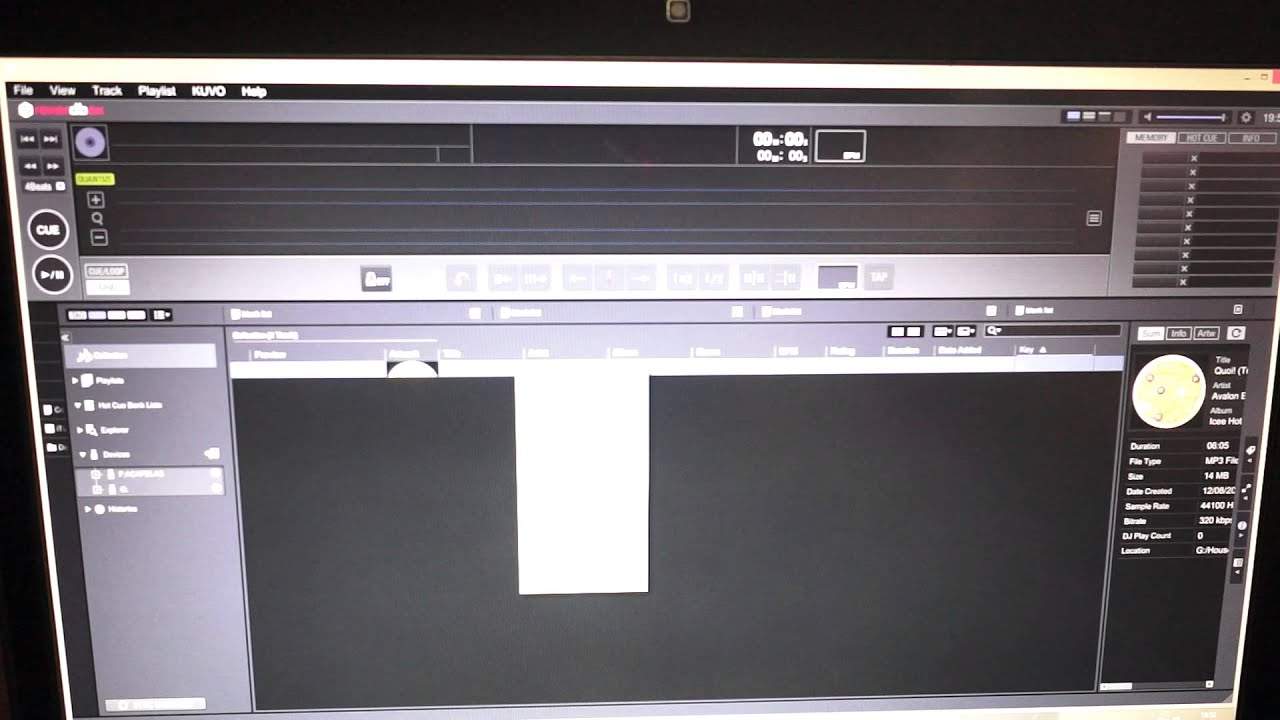
File → Import, with three options: track, folder or playlist.
And his caveat, which is the actual obstacle: you need to know where your tracks are first. Importing is trivial; finding your own music across an external drive and a few folders is what takes the time.
The track is analysed on import. One track takes seconds; a collection takes as long as it takes, so start it before you need it.
Right-click
Two useful things on the context menu.
Remove from collection, which asks you to confirm - and worth understanding: it removes the track from the library, not from your hard drive.
Export track, which is the one this lesson is about.
Out
Export, choose the destination drive, and it copies. His own aside is a sensible check: he deliberately picks the other drive, because exporting a track back to the drive it came from achieves nothing.
Progress shows at the bottom of the window. One track is instant; a night's worth is not, which is the reason to do this the evening before rather than on the way out.
Eject from inside the software
The part worth paying attention to.
There is a small eject icon next to each drive in the software, and clicking it ejects the drive properly - so you do not then have to go to the operating system and eject it again.
Why this matters: a USB stick pulled out while the software still has it open can lose the database the player needs, and the failure does not show up until you plug it into a CDJ in a club and it reports nothing on the drive.
So: eject in the software, then remove. Every time, including when you are in a hurry - especially then.
What this gives you
The whole workflow in one lesson: tracks from a computer or an external drive into the software, analysed and prepared, out onto a stick, stick out safely, and into a player.
It is the least glamorous lesson in this stage and it is the one that decides whether the night happens.
Contents of the video
0:00 In this video we're looking at the program called Rekordbox
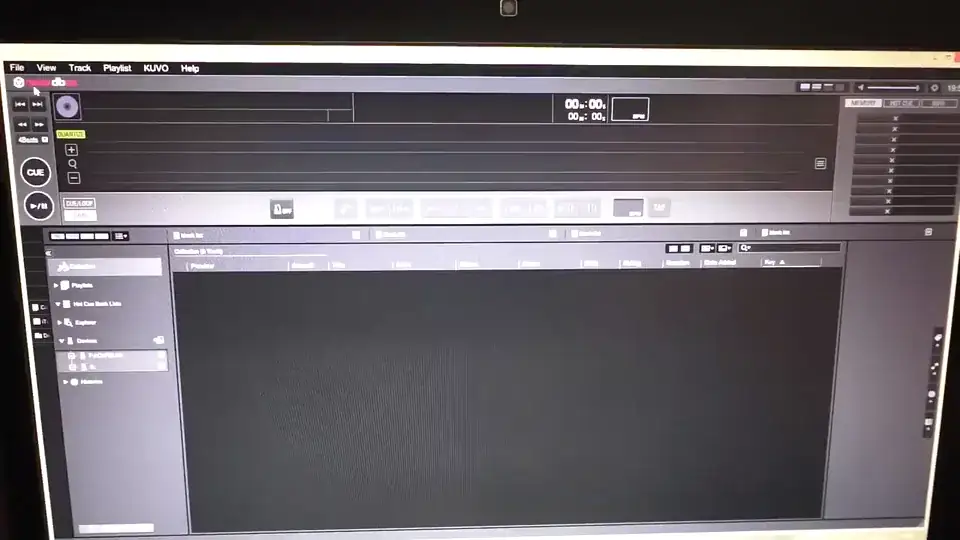
Alright guys, in this video we're looking at the program called Rekordbox. It's a free downloadable software from Pioneer that will analyze your music files. Now first of all, of course, it is free. Secondly, it's fantastic to use with a lot of the high-end Pioneer kit and it will analyze your tracks in many ways. Now, first of all, in this video it's going to be a very simple, straightforward video of how to find the tracks, how to bring them into the software and then how to take them out of the software and transfer them to an external thumb drive. Okay, you can use SD cards as well but this video, very basic, in future videos very soon hopefully we'll go into more in-depth of the different types of SD cards and thumb drives you can use.
1:19 In this demonstration
Okay, top left hand corner we have file. I'm going to click on that and then we've got import. We can import track, folder or playlist. For this demonstration we're just going to import a track. So I'm just going to drag a track open and that's it. Of course you need to know where your tracks are first. So once you go to file and track then you need to delve through external hard drives you've got plugged in or maybe folders in your computer. Okay, so that track has now been analyzed. Depending on how many you want to use, you can do that. The amount of time that you bring into the program is of course dependent on how long it will take. It took seconds, it's one track. Now I'm going to right click on that track. If I want to, I can do quite a few things. Two things I'll show you in this demonstration.
2:04 Computer and eje
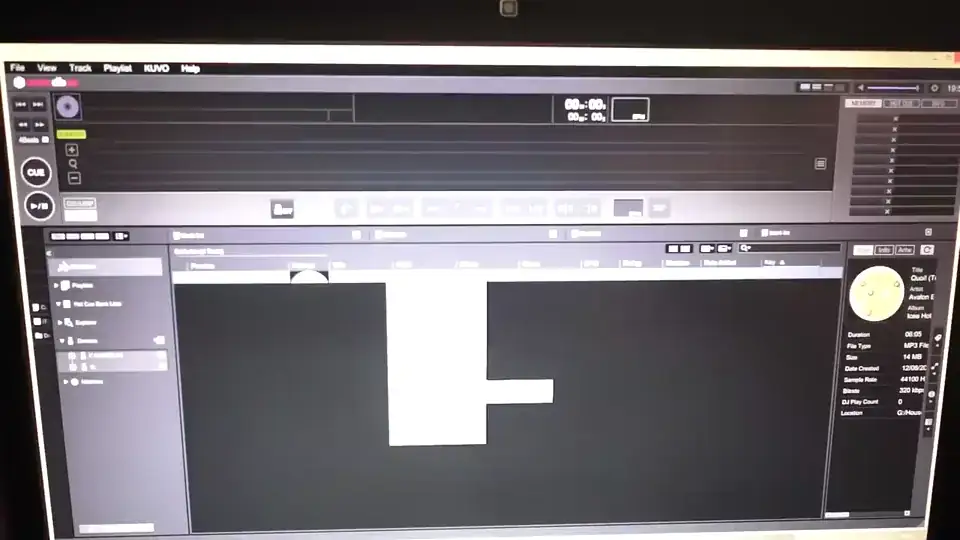
I can remove from the collection if I want to. Press left hand click and then it will ask you again do you want to, yes or no. For this demonstration though all I want to do now is export track. Now it's given me the options here of exporting it. So I'm going to export it to G but I'm not going to export it because that's where it came from, I'm going to export it to F, so press there. Now on the bottom here we can see exporting to F. Now there's only one track so it's taken seconds, pretty much done, that's it. Okay, we can see here we have F, I've put acapellas and G. Now to eject the thumb drives or the SD cards whatever you're using you need to then press left hand down on the small eject icon and that will eject the thumb drive or whatever you're using from the computer.
So you don't then have to go to the computer and eject it again. So I'm going to eject G as well and that pretty much should be it, there you go, so I can now take these two out and that's it we're good to go. Alright, so I hope that's been a help, very simple, very straightforward, but again this is showing you how easy it is to transfer files from your computer or an external hard drive, whatever into the Rekordbox software and then out of the Rekordbox software. More videos like this to come, practice and enjoy, thank you.
This transcript was produced automatically from the audio of the video and may contain mistakes.